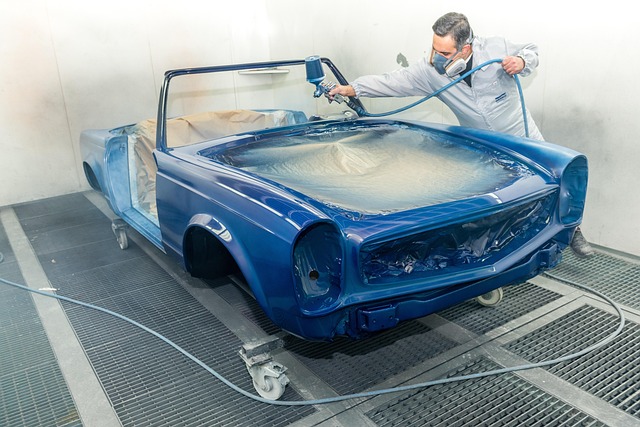


Tesla taillight assembly repairs are common due to debris damage, harsh weather, and structural issues. Specialized body shop services offer effective solutions like full housing replacement. Disassemble and inspect the housing thoroughly for cracks or damage. Replace the housing if needed, following a careful step-by-step process and referring to the Tesla service manual for model-specific instructions.
If your Tesla’s taillight assembly is giving you trouble, you’re not alone. Common issues can include broken or flickering lights, loose connections, and damaged housing. In many cases, a full housing replacement may be necessary for effective Tesla taillight assembly repair. This guide breaks down the process step-by-step, from disassembling and inspecting the housing to replacing it with a new one. Understanding these steps can help you navigate the repair process and ensure your Tesla’s lights function safely and reliably.
- Understanding Common Taillight Assembly Issues
- Disassembling and Inspecting the Taillight Housing
- Replacing the Taillight Housing: A Step-by-Step Guide
Understanding Common Taillight Assembly Issues
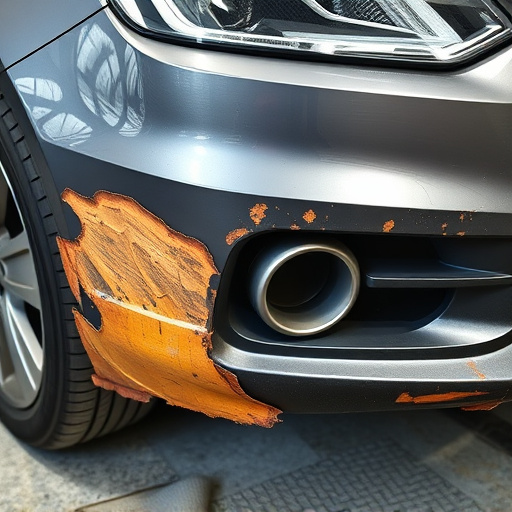
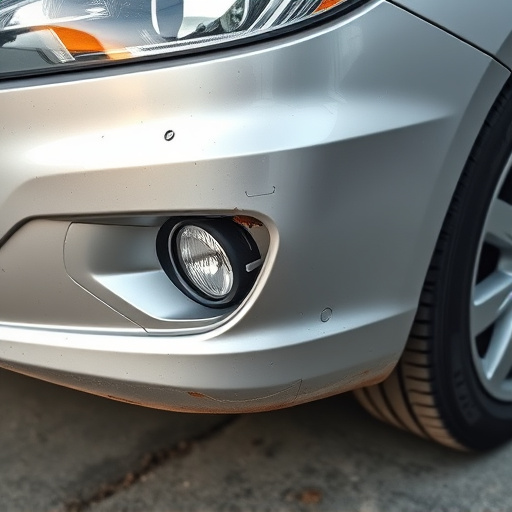
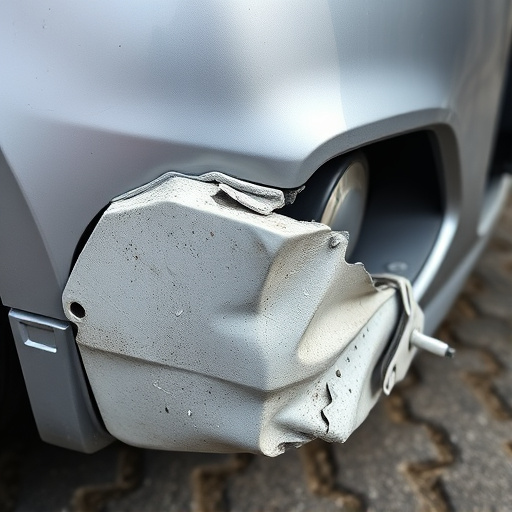
Tesla taillight assembly repairs are often necessary due to a variety of common issues that can arise over time. One of the most frequent problems is damage caused by road debris, such as pebbles or small stones, which can impact and crack or chip the lens and housing. This not only affects the aesthetic appeal but also compromises the functionality, potentially leading to reduced visibility at night or in low-light conditions.
Additionally, exposure to harsh weather conditions, including extreme temperatures and precipitation, can contribute to the deterioration of the taillight assembly. Over time, the seals and gaskets may fail, allowing water penetration and causing internal damage. Corrosion is another significant concern, especially in regions with high humidity or salt-treated roads. These issues often manifest as rust spots or discolouration, ultimately weakening the structural integrity of the component. Body shop services that specialize in Tesla vehicle repair are equipped to address these challenges, providing solutions like full housing replacement for a lasting fix.
Disassembling and Inspecting the Taillight Housing

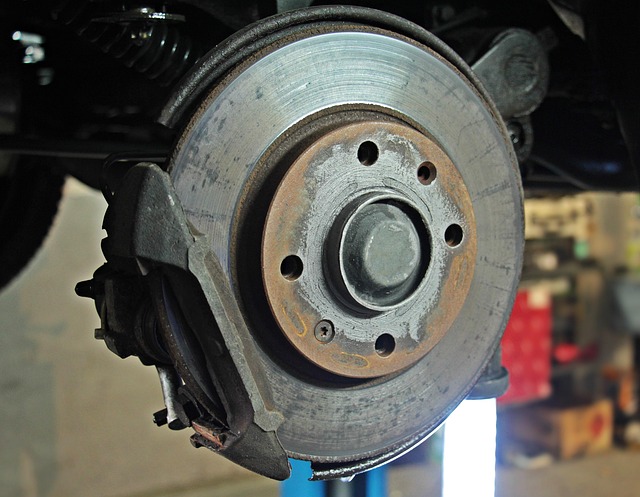
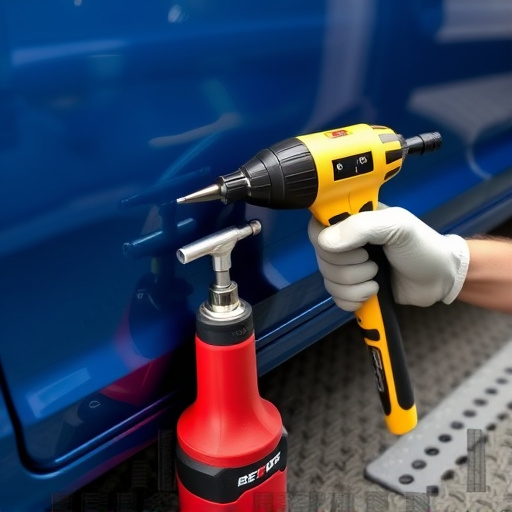
When tackling a Tesla taillight assembly repair, disassembling and inspecting the housing is a crucial step. Begin by carefully removing any visible components, taking note of their positions for an easier reassembly. This process involves unscrewing bolts, detaching wiring, and carefully pulling out the old taillight. Once disassembled, inspect the housing for cracks, breaks, or signs of damage. It’s not uncommon for the housing to require replacement alongside the actual taillight due to structural integrity issues, especially in cases where the car has been involved in an accident or experienced severe weather conditions.
Proper inspection ensures that you address all potential problems, preventing further damage during the repair process. This meticulous approach is similar to tasks involving car body repair and car paint repair, where identifying hidden issues is key to achieving a durable outcome. Remember, a thorough examination can save time and resources in the long run, ensuring your Tesla’s taillight assembly functions optimally and enhances road safety.
Replacing the Taillight Housing: A Step-by-Step Guide

Replacing the Tesla taillight housing involves several steps, ensuring a thorough fix for any damaged or faulty components. It’s recommended to approach this task with caution, as it requires precision and knowledge of car bodywork. First, locate the taillight assembly, typically mounted on the car’s rear body panel. This process may vary slightly depending on your Tesla model year. Once identified, carefully disconnect the electrical connectors to avoid short circuits or power-related issues during the repair process.
Next, assess the condition of the existing housing. If it’s beyond repair due to severe collision damage or extensive corrosion, a full replacement is necessary. This involves removing the old housing and installing a new one, ensuring proper alignment with the car’s body. It’s crucial to have the right tools and, if needed, consider seeking assistance from a professional for complex tasks like dent removal or collision damage repair, especially if you’re not experienced in such repairs. Always refer to your vehicle’s service manual for detailed instructions tailored to your Tesla model.
When addressing Tesla taillight assembly repairs, understanding common issues and following a structured guide are key. If replacement is necessary, consider that the process may involve swapping out the entire housing for optimal functionality and durability. By carefully inspecting and disassembling the existing housing, you can determine the best course of action. Whether it’s a simple fix or a full housing replacement, these steps ensure your Tesla maintains its safety and aesthetic appeal on the road. For a successful DIY repair or when seeking professional assistance, remember that a well-executed Tesla taillight assembly repair enhances both performance and vehicle longevity.