

The Tesla ultrasonic sensor cover replacement is a safety-critical component for low-speed maneuvers. These sensors use sound waves to detect objects, aiding parking and navigating tight spaces. Proper installation after body repairs ensures optimal performance, protecting intricate machinery from scratches or damage. Regular maintenance is vital for reliable advanced driver-assistance systems (ADAS), enhancing vehicle road safety. High-quality covers from reputable shops, installed by skilled techs, mitigate debris and moisture risks.
Looking to enhance your Tesla’s safety features after a fender panel swap? This guide delves into the essential task of replacing the Tesla ultrasonic sensor cover. Ultrasonic sensors play a crucial role in autonomous driving, detecting obstacles and ensuring safe navigation. Understanding their functionality is key before initiating the replacement process. We provide a step-by-step approach, highlighting critical considerations for a precise fit, thus maintaining optimal safety standards post-panel swap.
- Understanding Tesla Ultrasonic Sensor Functionality
- Step-by-Step Guide to Replacement Process
- Ensuring Proper Fit and Enhanced Safety After Panel Swap
Understanding Tesla Ultrasonic Sensor Functionality

The Tesla ultrasonic sensor is an advanced safety feature designed to aid in parking and low-speed maneuvering. These sensors emit high-frequency sound waves that bounce off nearby objects, providing real-time data on their distance and location. By integrating this technology into vehicles, Tesla offers enhanced visibility and precision during critical driving maneuvers.
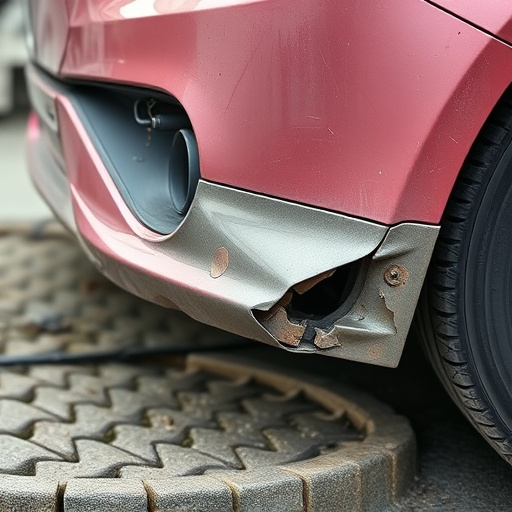
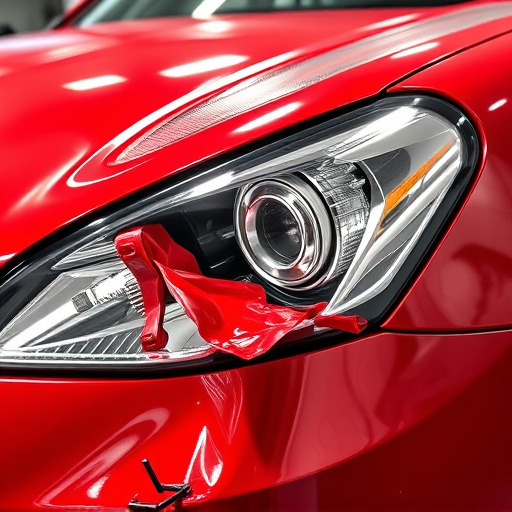
When considering a Tesla ultrasonic sensor cover replacement, especially after a fender panel swap or auto body repair, it’s crucial to understand the sensor’s function. The cover not only protects the intricate sensor machinery from environmental damage but also ensures optimal performance. Proper installation of a new cover is essential for maintaining the vehicle’s safety systems, guaranteeing that the car continues to detect obstacles effectively during everyday driving conditions and parking scenarios.
Step-by-Step Guide to Replacement Process

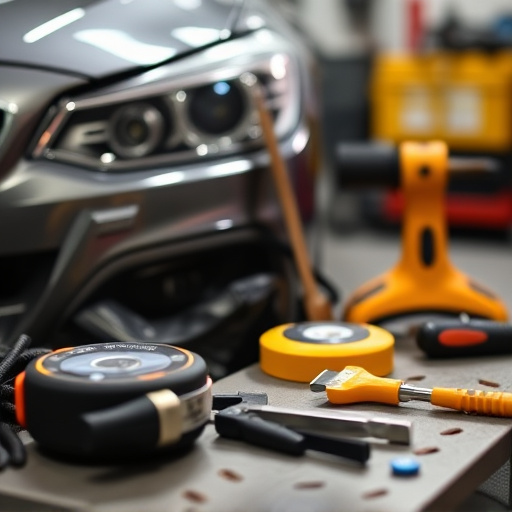
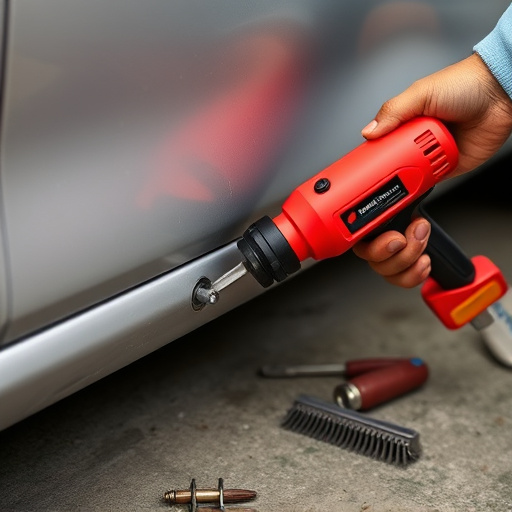
Replacing a Tesla ultrasonic sensor cover after a fender panel swap is a straightforward process that can be accomplished with some basic tools and patience. First, gather all necessary parts, including the new sensor cover and any required fasteners. Park your car on a level surface for safety and convenience. Next, pop the trunk and locate the affected area – typically near the front or rear fender panels. With the help of a partner or by using a jack and stands (for added security), carefully remove the damaged fender panel. This will expose the ultrasonic sensor and its cover.
Now, carefully unfasten the old cover, taking note of its positioning and any specific alignment markers. Once detached, inspect the sensor for any damage or debris accumulation. Clean the area thoroughly to ensure optimal performance. Next, install the new cover by aligning it precisely with the sensor and reattaching the fasteners securely. Double-check all connections before lowering the fender panel back into place. With a collision repair shop’s expertise or your own DIY skills, you’ll have your Tesla ultrasonic sensor cover replacement complete in no time, reducing the risk of car scratch repair and ensuring smooth operation for years to come.
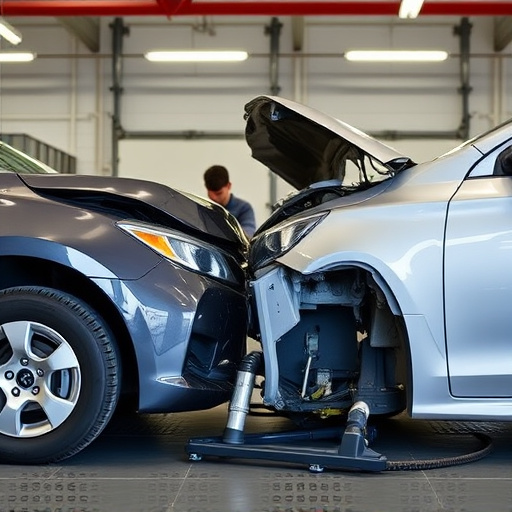
Ensuring Proper Fit and Enhanced Safety After Panel Swap

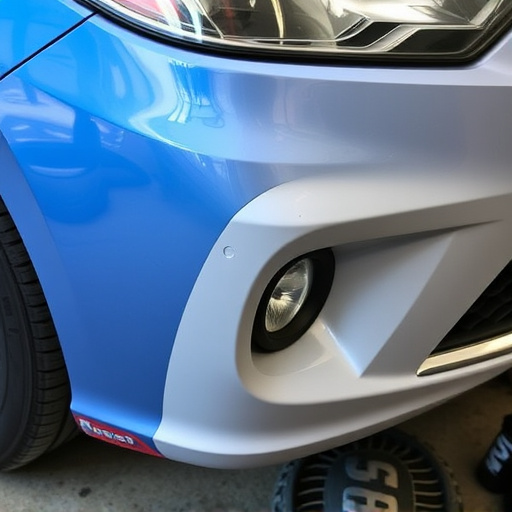
After swapping out your fender panel, ensuring proper fit for Tesla ultrasonic sensor covers is paramount. These sensors play a crucial role in enhancing safety features like automatic emergency braking and lane departure warnings. A precise fit guarantees their optimal performance, ensuring that your vehicle’s advanced driver-assistance systems (ADAS) function at peak efficiency.
Choosing high-quality Tesla ultrasonic sensor cover replacements from a reputable auto body shop is wise. Proper installation by skilled automotive repair technicians ensures the covers seal tightly, protecting the sensors from debris and moisture, which can compromise their functionality. Regular maintenance and timely replacement are key to keeping these safety systems reliable, making your vehicle safer on the road.
After successfully swapping your Tesla fender panel, ensuring proper fit and enhanced safety with a Tesla ultrasonic sensor cover replacement is crucial. By following the step-by-step guide outlined in this article, you can easily install a new cover, maintaining your vehicle’s advanced safety features. Remember that a well-fitted ultrasonic sensor cover not only contributes to improved safety but also preserves your Tesla’s sleek and modern aesthetic.