
Tesla repeater cameras enhance safety in ADAS for Model S, 3, X, and Y, but are prone to failure due to extreme conditions, accidents, and electrical glitches. Regular maintenance and timely replacement, involving removing old housing, reconnecting cables, installing new camera, and testing, improve safety and driving experience, especially at night or in parking lots. Aftermarket solutions should be chosen for seamless integration and optimal performance.
“Enhance your Tesla Model S, 3, X, or Y’s driving experience with this comprehensive guide to Tesla repeater camera replacement. Understanding the vital role these cameras play in advanced driver-assistance systems (ADAS), we’ll explore common issues and their causes. Then, follow our step-by-step process for a seamless replacement, ensuring improved vision and peace of mind while navigating the road. Get ready to upgrade your vehicle’s safety features with this essential Tesla repeater camera replacement guide.”
- Understanding Tesla Repeater Cameras: A Comprehensive Guide
- Common Issues and Causes of Camera Failure
- Step-by-Step Replacement Process for Improved Vision
Understanding Tesla Repeater Cameras: A Comprehensive Guide

Tesla’s repeater cameras are a sophisticated part of their advanced driver-assistance systems (ADAS), designed to enhance safety and visibility. These cameras serve as backup eyes, repeating what your car’s main cameras see, especially in low-light conditions or when there are blind spots. Understanding these cameras is crucial for anyone looking into a Tesla repeater camera replacement, whether it’s for Model S, 3, X, or Y.
The system comprises several small, high-resolution cameras strategically placed around the vehicle. They capture and transmit images to the car’s computer, which then processes this data in real time, helping with tasks like parking assistance, lane keeping, and autonomous driving. Should a primary camera experience issues, such as a scratch repair or auto glass replacement affecting its view, the repeater cameras kick in, ensuring continuous safety functionality. This comprehensive guide aims to equip readers with knowledge about these essential components during their Tesla repeater camera replacement process, from identifying potential problems to selecting suitable aftermarket solutions for seamless integration and optimal performance.
Common Issues and Causes of Camera Failure

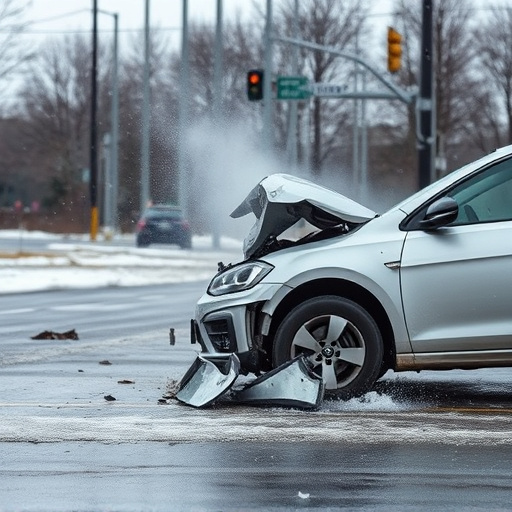
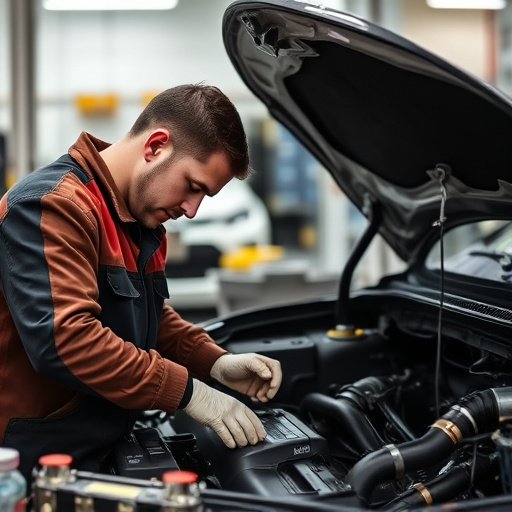
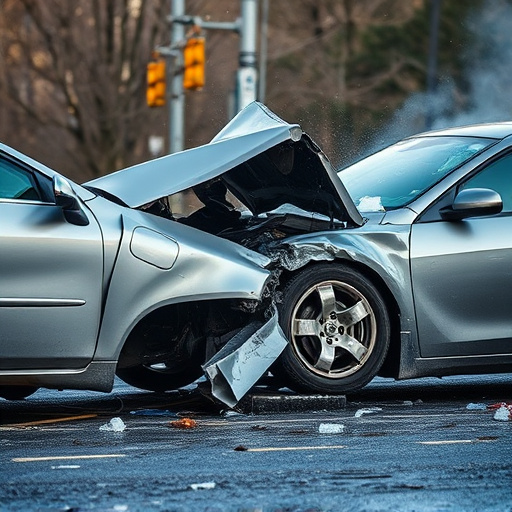
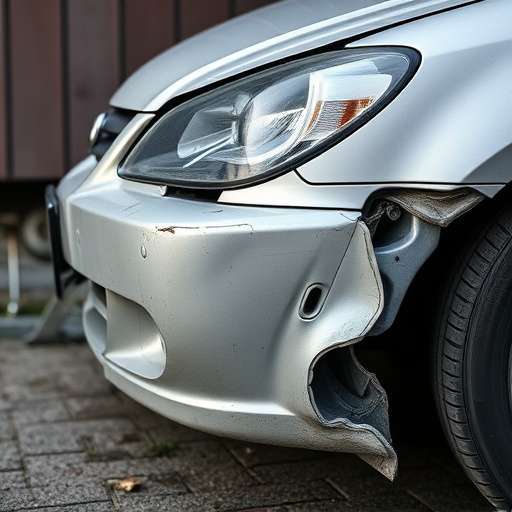
The Tesla repeater cameras, while offering enhanced safety features for Model S, 3, X, and Y owners, are not immune to failure. Common issues include pixelation, distorted images, or complete camera blackout, often occurring due to a variety of factors. One primary cause is exposure to extreme temperatures, which can damage the camera’s internal components over time. Additionally, accidents and collisions at car body shops or automotive repair facilities can subject these cameras to significant force, leading to malfunctions. Power surges during charging or glitches in the vehicle’s electrical system can also contribute to their failure. Regular maintenance checks and timely Tesla repeater camera replacements are essential to ensure optimal performance and safety for all vehicle occupants.
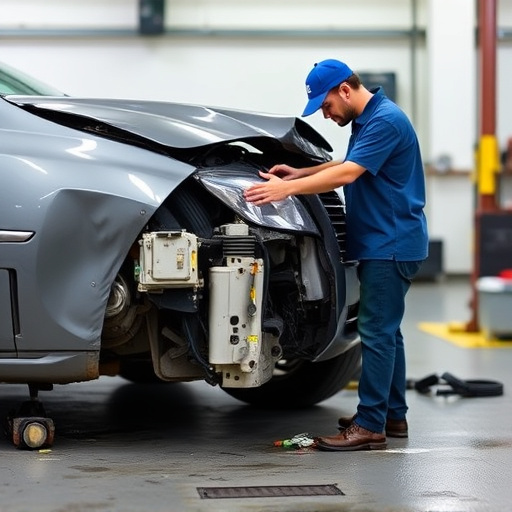
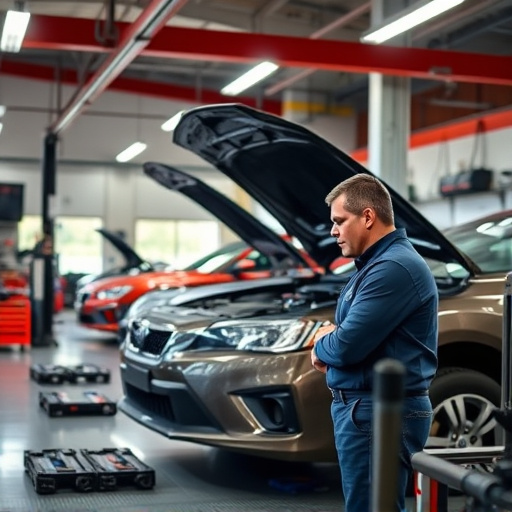
Step-by-Step Replacement Process for Improved Vision
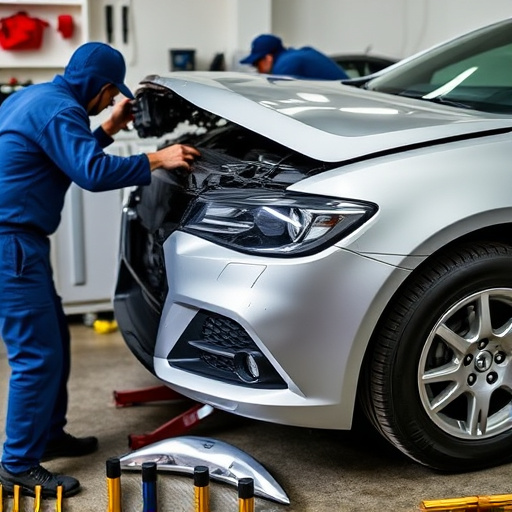
Replacing a Tesla repeater camera is a straightforward process that can significantly enhance your vehicle’s safety and driving experience. Here’s a step-by-step guide to help you through the procedure, making it easier than ever to get back on the road with improved vision.
Start by parking your Tesla Model S, 3, X, or Y in a safe, flat area. Engage your vehicle’s parking brake and ensure the car is in Park mode. Next, locate the camera you want to replace—usually positioned at the rear of the vehicle. Using a suitable tool, carefully remove the existing camera housing, taking note of its placement and any screws used for attachment. Once exposed, disconnect the cable from the camera module. With the old camera removed, fit the new repeater camera, securing it with the corresponding screws. Reconnect the cable and ensure all connections are tight. Finally, test the new camera’s functionality by powering on your Tesla and checking its display for clear, unobstructed vision. This simple process, when carried out correctly, can dramatically improve your driving experience and vehicle safety, especially during low-light conditions or in parking lots where visibility is crucial. Think of it as a form of vehicle restoration, giving your Tesla’s safety features a new lease on life without needing to visit a collision repair shop.
The process of replacing a Tesla repeater camera, as outlined in this guide, empowers owners of Model S, 3, X, and Y vehicles to tackle common issues efficiently. By understanding the importance of these cameras for enhanced safety and visibility, and following a straightforward step-by-step process, you can ensure your Tesla maintains its cutting-edge technological advantages. For any Tesla owner facing camera failure, taking on this DIY replacement is a practical solution, allowing you to maintain optimal driving conditions with improved vision. Remember, a well-maintained Tesla is a safe and visible Tesla.