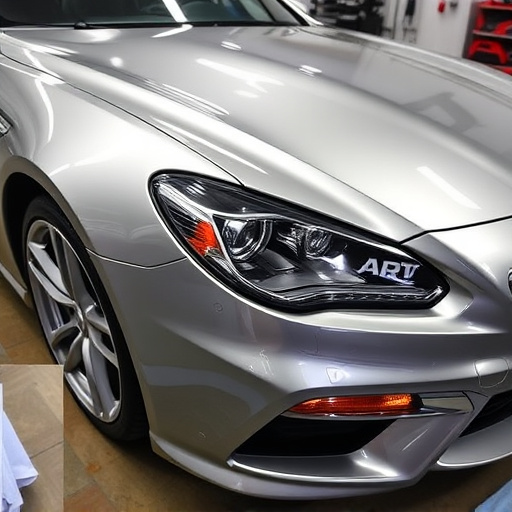


The Tesla Model 3 front fascia is both aesthetically important and a safety critical component, requiring prompt professional repair after damage from collisions or road debris to preserve structural integrity and modern design. Repairs involve specialized disassembly, precise techniques, and strict torque specs during reassembly, using genuine Tesla parts or high-quality aftermarket components. A clean workspace with drop cloths and proper ventilation is essential for an efficient process, ensuring the vehicle regains its sleek appearance through professional auto body shop services.
“Discover the steps to expertly repair your Tesla Model 3’s front fascia with our comprehensive guide. Learn how to identify common damage and prepare for a seamless repair process. We’ll walk you through the essential tools, materials, and specific torque specs required for successful reassembly. By following this detailed tutorial, you’ll be equipped to tackle the task confidently, ensuring your Tesla shines like new again.”
- Understanding Tesla Model 3 Front Fascia Damage
- Preparing for Repair: Tools and Materials Needed
- Reassembly Torque Specs: Step-by-Step Guide
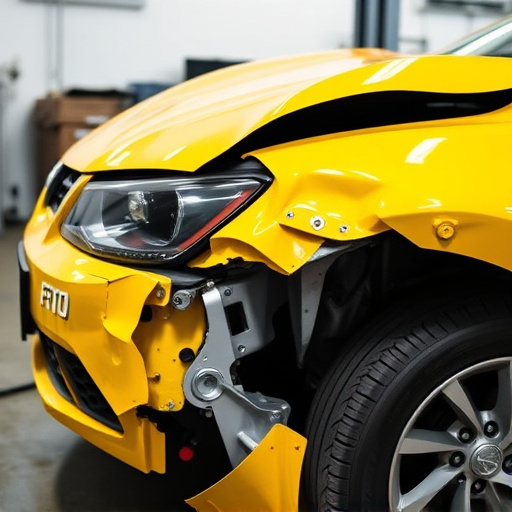
Understanding Tesla Model 3 Front Fascia Damage
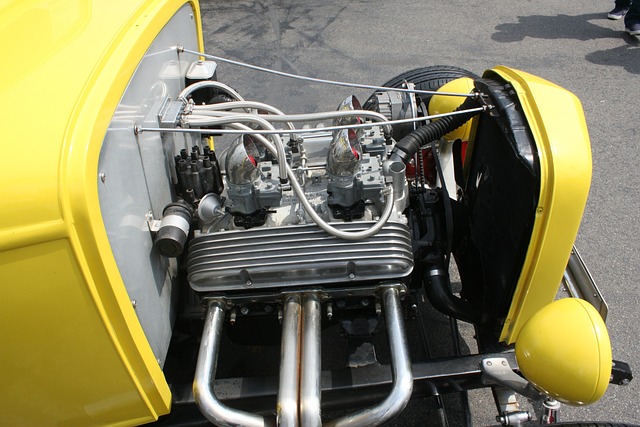
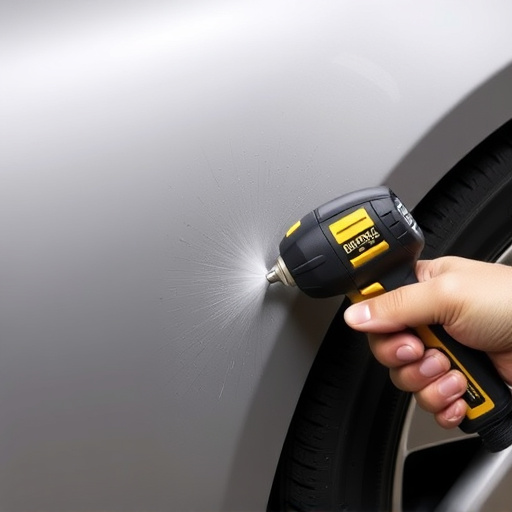
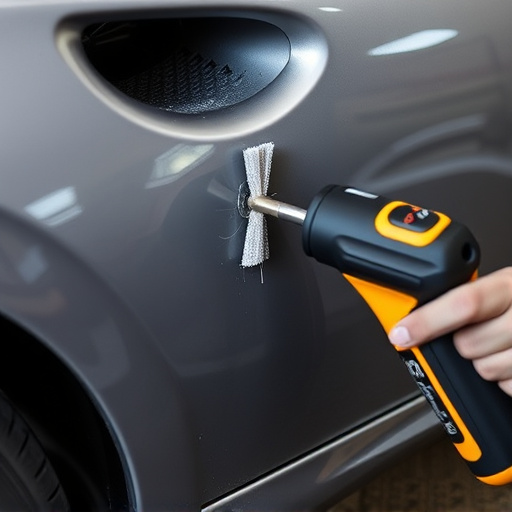
The Tesla Model 3 front fascia is a prominent feature that not only enhances the vehicle’s aesthetic appeal but also plays a crucial role in its overall safety. Damage to this component can arise from various incidents, such as collisions, road debris impact, or even minor scratches. Recognizing common types of front fascia damage is essential for efficient Tesla Model 3 front fascia repair. Dents, cracks, and breaks are typical issues that may require professional attention.
An automotive body shop specializing in vehicle collision repair offers the expertise needed to assess and rectify such damages accurately. The process involves careful disassembly, precision tooling, and adherence to torque specs during reassembly to ensure structural integrity. By addressing front fascia damage promptly through collision damage repair, owners can maintain their Model 3’s safety features and preserve its sleek, modern design.
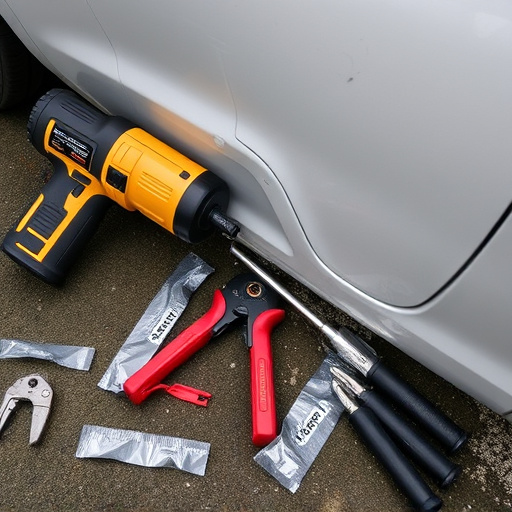
Preparing for Repair: Tools and Materials Needed
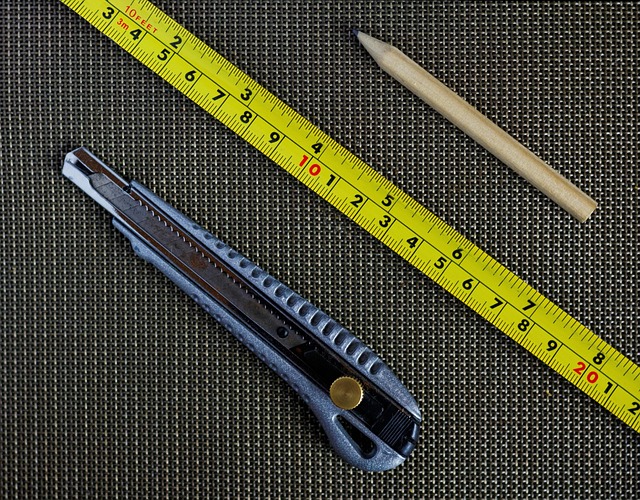
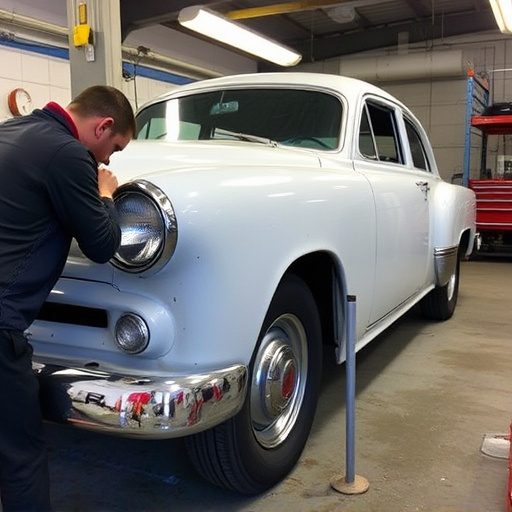
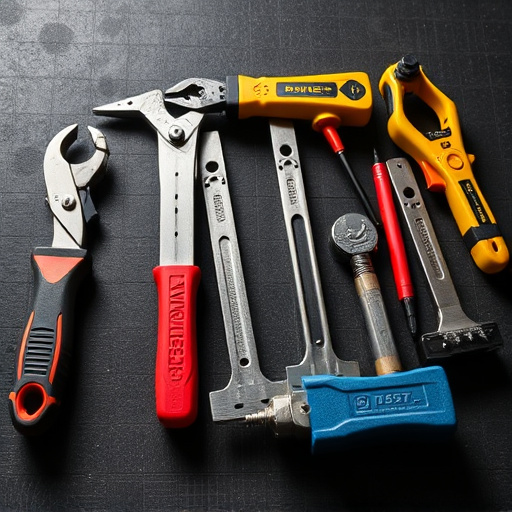
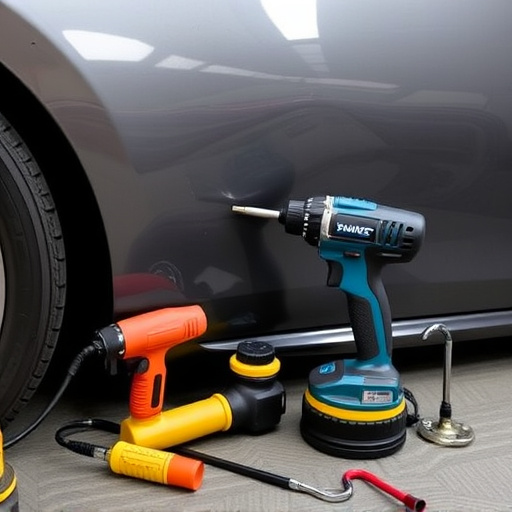
Preparing for a Tesla Model 3 front fascia repair involves gathering the right tools and materials to ensure precision and quality work. For this task, you’ll need a variety of automotive repair tools including a set of socket wrenches, torque wrench, pliers, screwdrivers (both flathead and Phillips), and a putty knife. Additionally, it’s crucial to have access to genuine Tesla replacement parts or high-quality aftermarkets that fit the Model 3’s specific design.
Among the essential materials are body shop supplies like body filler, primer, and paint that match the car’s original finish. A clean workspace, complete with drop cloths and proper ventilation, is also vital. Remember, a well-prepared environment and equipped toolkit significantly contribute to an efficient and effective Tesla Model 3 front fascia repair, ensuring your vehicle regains its sleek and original appearance through professional auto body shop services.
Reassembly Torque Specs: Step-by-Step Guide
When reassembling your Tesla Model 3 after a front fascia repair, following the correct torque specs is paramount to ensure structural integrity and performance. Start by locating the specific torque values for each component in your vehicle’s service manual or manufacturer guidelines. This process involves a step-by-step approach that requires precision and attention to detail.
1. Begin with the wheel bolts—tighten them to the recommended torque, typically around 70 Nm, using a torque wrench to guarantee the right amount of force. Then, address the brake calipers and rotors, ensuring they are securely fastened according to the provided specifications. For other components like the bumper and grilles, refer to the detailed instructions in your repair manual for the precise torque values, typically ranging from 20 Nm to 40 Nm, depending on the part. Remember, adhering to these guidelines is crucial for a seamless Tesla Model 3 front fascia repair and eventual hail damage repair or car paint services if needed.
Repairing a damaged Tesla Model 3 front fascia can be achieved with the right tools, materials, and a step-by-step guide. By understanding the common causes of damage and preparing accordingly, owners can confidently tackle this task. Reassembly torque specs ensure proper alignment and structural integrity, making it a crucial aspect of the repair process. With these steps, you’re equipped to address front fascia issues on your Tesla Model 3, enhancing both its aesthetics and safety.