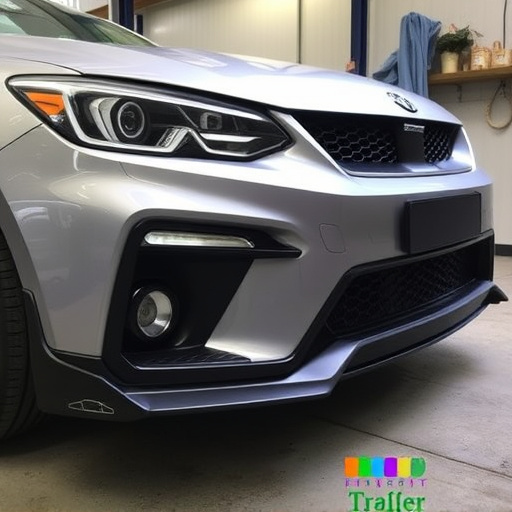


Before attempting Mercedes metallic paint repair, assess damage and consider complexity. Gather necessary tools and materials for DIY or professional services. For minor repairs, use matching paint, sandpaper, primer, applicator, clear coat; skip sanding for light scuff marks, sand otherwise. Clean thoroughly before priming and painting, then apply clear coat for protection.
Looking to refresh your Mercedes’ gleam? Learn how to tackle minor metallic paint repairs with our DIY guide. Discover the essential tools and materials needed for a successful makeover, starting with evaluating damage like scuffs or scratches. Our step-by-step process ensures you achieve a professional-looking finish without the dealership’s cost. Elevate your car’s curb appeal with these expert tips tailored for Mercedes metallic paint repair.
- Evaluating Damage: Assess Before Repairing
- Gathering Supplies: Essential Tools & Materials
- Step-by-Step Guide: Fixing Metallic Paint Scuffs
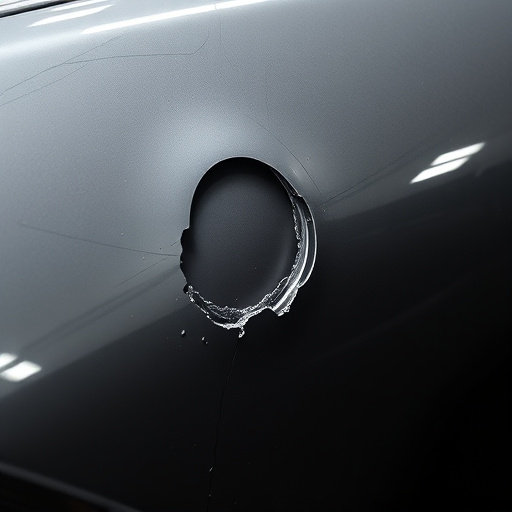
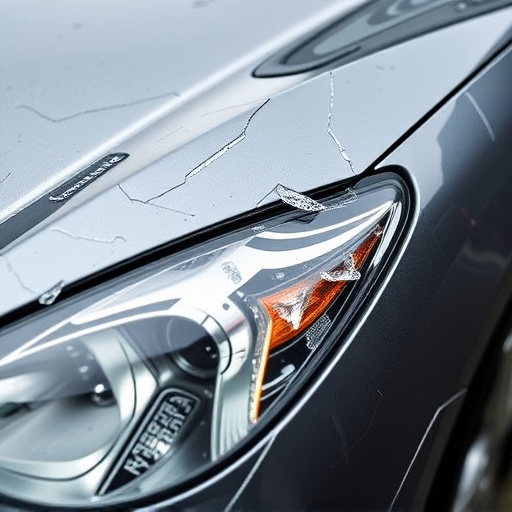
Evaluating Damage: Assess Before Repairing
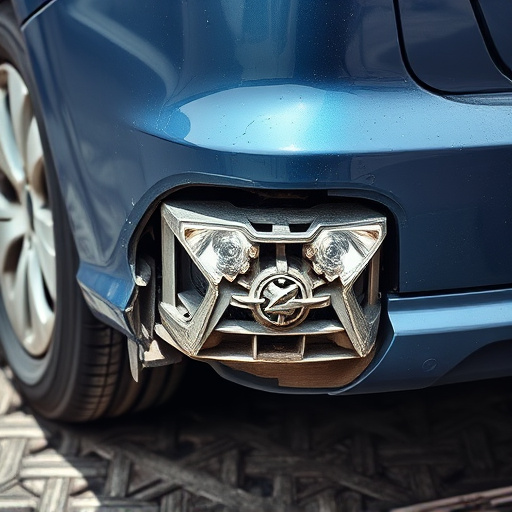
Before diving into any Mercedes metallic paint repair, it’s crucial to properly evaluate the damage. Take a close look at the affected area – is there a small chip, a dent, or a larger crack? The extent of the damage will determine the level of repair required. Examining the surrounding paint and body panels for any signs of impact or stress can also help identify potential hidden issues.
Remember that DIY repairs are suitable for minor damages, but for more extensive metallic paint repairs, considering professional body shop services is often recommended. Collison damage repair experts have the tools, expertise, and experience to handle complex cases, ensuring a seamless and durable fix.
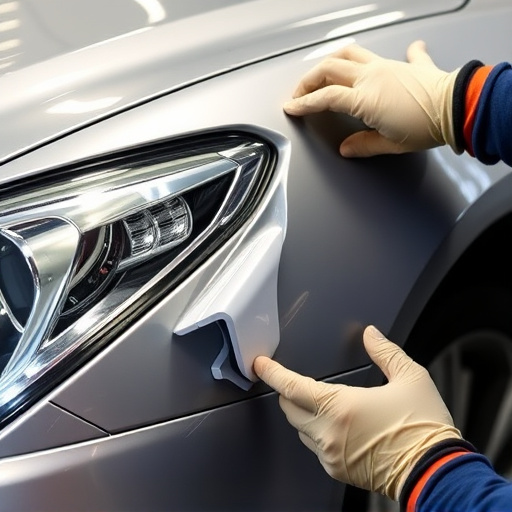
Gathering Supplies: Essential Tools & Materials
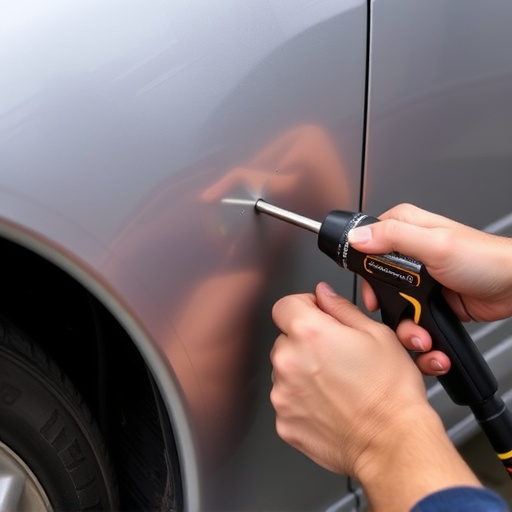
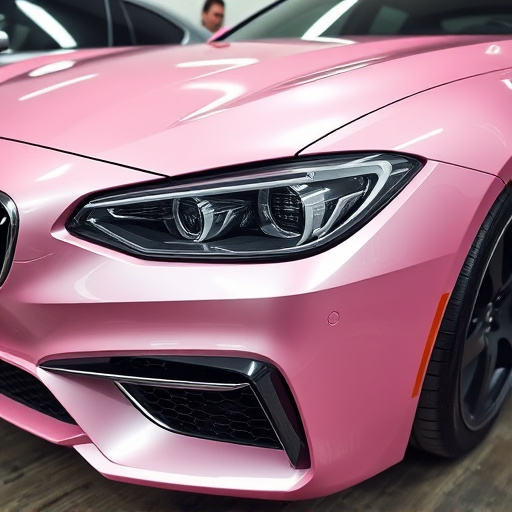
Before tackling any Mercedes metallic paint repair, ensure you have all the necessary tools and materials. For minor repairs, a well-equipped DIY kit is your best friend. Basic supplies include sandpaper (in various grits), a degreaser to clean the affected area, and a putty knife for applying filler. For the actual painting process, you’ll need a high-quality automotive paint that matches your Mercedes’ original finish—available in a range of colors at most auto parts stores. A spray gun or a fine-tipped brush is ideal for precise application. Don’t forget safety gear: gloves, goggles, and a mask to protect against fumes. For more complex repairs, consider investing in professional-grade tools like an angle grinder with sanding discs and a heat gun, which can streamline the preparation process. Remember, proper preparation is key to achieving a flawless finish, so take your time gathering these essential items before beginning any Mercedes metallic paint repair work.
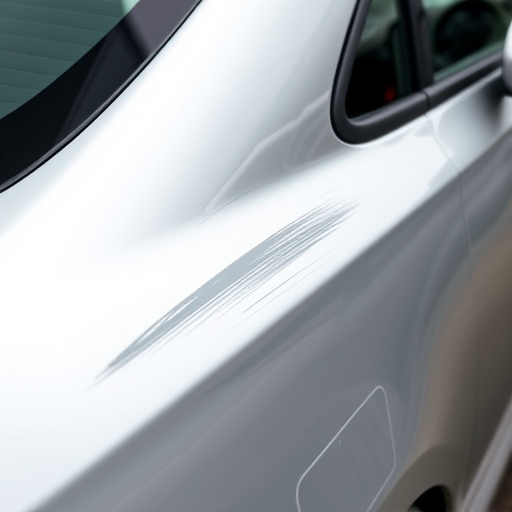
Step-by-Step Guide: Fixing Metallic Paint Scuffs
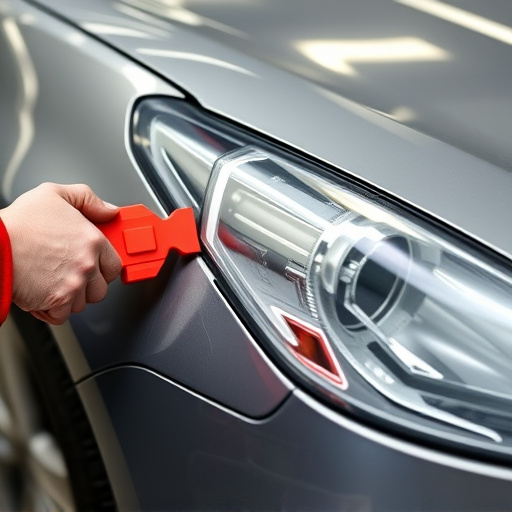
Scuffed or damaged Mercedes metallic paint can significantly impact your car’s appearance, but don’t worry; minor repairs are entirely doable for dedicated DIYers. Here’s a step-by-step guide to fixing those pesky scuffs and bringing your vehicle back to its gleaming best. Start by gathering your supplies: you’ll need a high-quality Mercedes metallic paint that matches your car’s exact shade, some fine-grit sandpaper (around 400-600), an automotive primer, a paint applicator pad or spray gun, and clear coat.
Carefully inspect the damaged area to assess its severity. If it’s just a light scuff mark, you can skip the sanding step. However, for deeper scratches or dents, gently sand the affected metal until the surface is smooth, taking care not to overdo it and create more damage. Clean the area thoroughly with a degreaser to remove any dirt or grime, ensuring an even paint job. Apply a thin layer of primer designed for metallic finishes, allowing it to dry completely. Once primed, use the applicator pad or spray gun to apply the matching Mercedes metallic paint in even strokes, building up coverage as needed. Finish by applying a clear coat to protect the repair and restore your vehicle’s shiny exterior, matching the gloss of the surrounding paintwork.
Repairing minor scuffs and dents on your Mercedes’ metallic paint doesn’t have to be a daunting task. By properly evaluating the damage, gathering the right supplies, and following a simple step-by-step guide, you can achieve professional-looking results at home. Remember, prompt action is key to minimizing repair needs, preserving your vehicle’s value, and keeping its metallic finish looking as good as new.