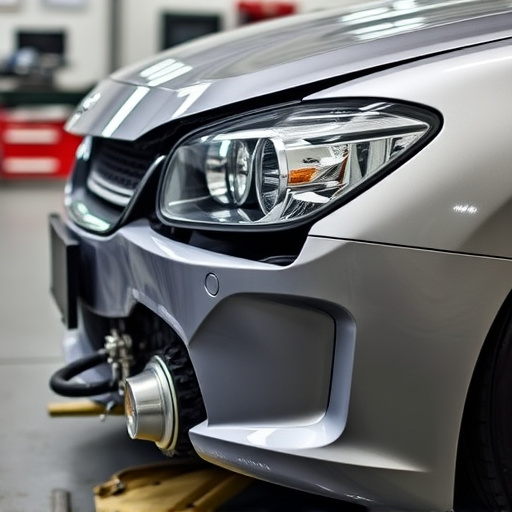


Precision is key in OEM glass replacement for safety and durability. Each vehicle model has unique dimensions and requirements. Proper sealant application, after thorough cleaning, prevents water damage and maintains structural integrity. For minor damages, assessment is crucial before sealing to preserve aesthetics and longevity of the glass. Sealant curing times must be strictly observed for optimal results.
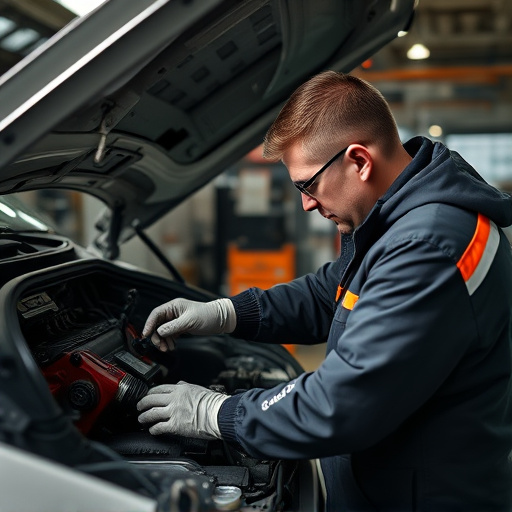
When it comes to OEM glass installation, ensuring a proper seal is paramount for both performance and safety. This guide delves into the essential steps of applying sealants for seamless OEM glass replacements. From understanding specific glass requirements to preparing surfaces and curing sealants accurately, each stage demands precision. Master these techniques, and you’ll achieve durable, high-quality OEM glass installations.
- Understanding OEM Glass Requirements
- Preparing the Surface for Sealing
- Applying and Curing Sealants Correctly
Understanding OEM Glass Requirements
When it comes to OEM glass replacement, understanding the specific requirements is paramount for ensuring a seamless and secure installation. Original Equipment Manufacturer (OEM) glass is designed with precise dimensions, curvature, and optical clarity in mind, all of which are critical factors for safe and effective operation. Each vehicle model has unique specifications, including special considerations for side windows, sunroofs, and rear view mirrors, among others.
For auto maintenance professionals or fleet repair services specializing in vehicle body shops, staying attuned to these details is essential. Proper sealant application plays a pivotal role in meeting OEM glass replacement standards. The right sealants ensure weatherproofing, prevent water intrusion, and maintain the structural integrity of the glass, enhancing safety and reducing the risk of damage over time.
Preparing the Surface for Sealing
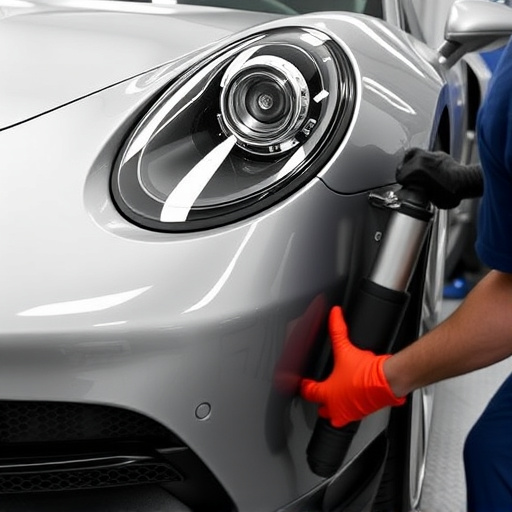
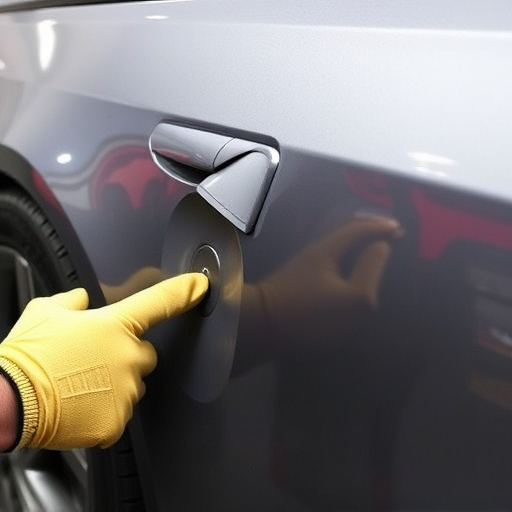
Before applying any sealant, proper preparation of the glass surface is essential for an OEM glass replacement. This involves cleaning the area thoroughly to remove any debris, dust, or contaminants that could interfere with the bond strength of the sealant. A simple mixture of water and mild detergent, along with a soft cloth, can effectively clean the surface. Rinse well and ensure it’s dry to the touch.
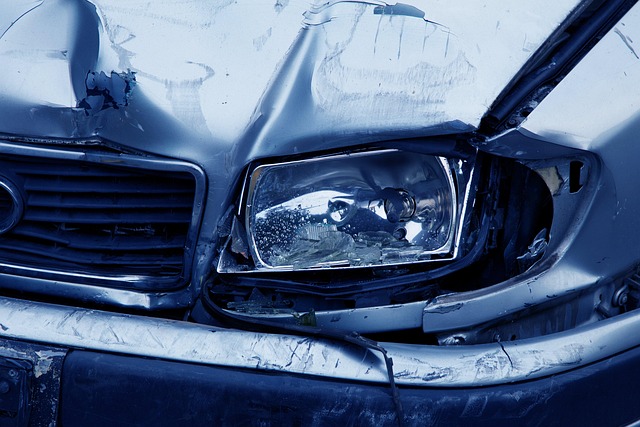
For areas affected by minor damage like chips or cracks—common in collision centers or auto body repair shops—it’s crucial to assess the extent of the damage. While some smaller issues might not require a full sealant reapplication, addressing them before sealing ensures a seamless finish. This step is particularly important for maintaining the structural integrity and aesthetic appeal of the glass, preventing further deterioration and ensuring a durable, long-lasting fix, even in the face of car scratch repair challenges.
Applying and Curing Sealants Correctly

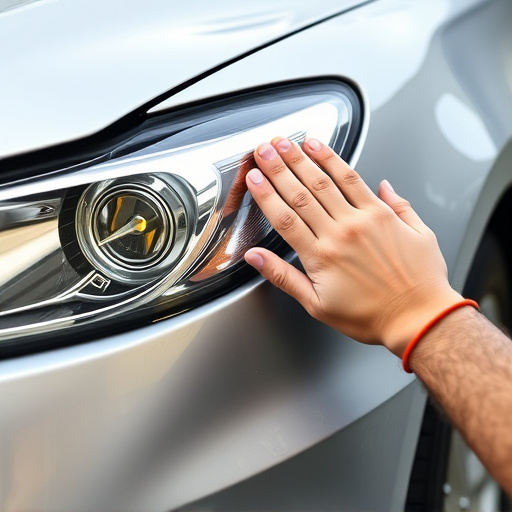
Applying and curing sealants correctly is a crucial step in any OEM glass replacement process for luxury vehicles or fleet operations. It ensures the longevity and effectiveness of the repair, preventing water intrusion and potential damage to the vehicle’s interior. The first step is to thoroughly clean and prepare the area where the sealant will be applied. This involves removing all dirt, grease, or debris that could hinder adhesion. Using a suitable cleaner and degreaser, ensure the surface is dry before proceeding.
Once the area is ready, apply the sealant using the recommended tools and techniques. Most sealants require a specific application method to achieve optimal results. Follow the manufacturer’s instructions regarding curing times and conditions. For fleet repair services or luxury vehicle repairs, proper curing is essential to maintain the vehicle’s aesthetic value and structural integrity. This might involve allowing the sealant to set for a certain period, sometimes accelerated by heat or specialized equipment, depending on the product used.
When properly applied, sealants are an essential component in ensuring the longevity and performance of OEM glass replacements. By understanding the specific requirements of OEM glass, preparing surfaces meticulously, and applying sealants with precision, you can achieve a durable and water-tight seal. Remember that correct curing times are critical to the sealant’s effectiveness, so always follow manufacturer guidelines. With these steps and proper care, your OEM glass install will provide superior protection against elements, enhancing both the aesthetics and functionality of the vehicle.