


Proper nail bed preparation includes cleansing, pushing back cuticles, filing, and shaping nails, followed by buffing for better base coat absorption. Choose the right base coat formula based on repair needs, ensuring rust protection or paint adhesion. Achieve seamless base coat application with controlled brushstrokes, consistent pressure, and regular cleaning to prevent overspray and streaking.
Mastering base coat application is an often overlooked step in nail art, but it’s a game-changer for long-lasting, chip-resistant manicures. This guide navigates you through essential tips to avoid common mistakes. From preparing your nail bed properly to choosing the right formula and ensuring even distribution, these strategies will transform your base coat application process. Dive into these expert tips for optimal results.
Prepare Your Nail Bed Properly
Before applying any base coat, it’s crucial to prepare your nail bed properly for an even and smooth finish. Start by ensuring your nails are clean and free from any oils or dirt. A quick dip in warm water can help soften the cuticles, making them easier to push back gently with a cuticle pusher. This step is essential as it creates a clean canvas for your base coat to adhere to, preventing any bumps or uneven application later on.
Next, file and shape your nails to your desired length and shape. Using a nail file, lightly buff the surface of each nail to create a slightly rough texture. This process aids in better base coat absorption, ensuring it coats every nook and cranny. Just be mindful not to overdo it; excessive filing can weaken the nail bed. With your nail bed now ready, you’re one step closer to achieving a flawless base coat application, setting the stage for the rest of your manicure routine—much like preparing a canvas before an artist begins their masterpiece.
Choose the Right Base Coat Formula

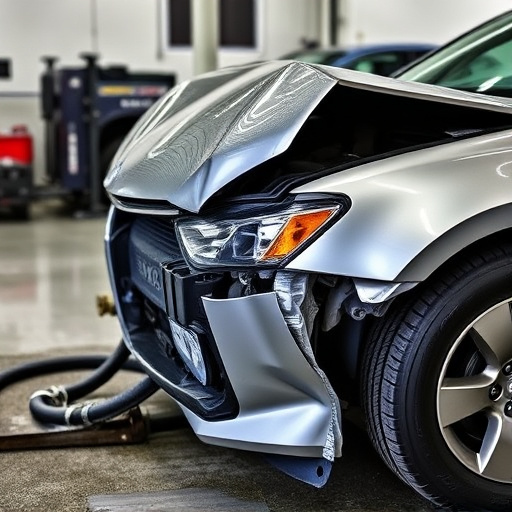
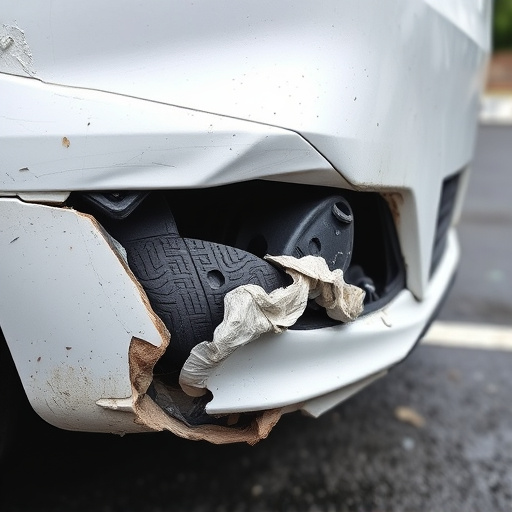
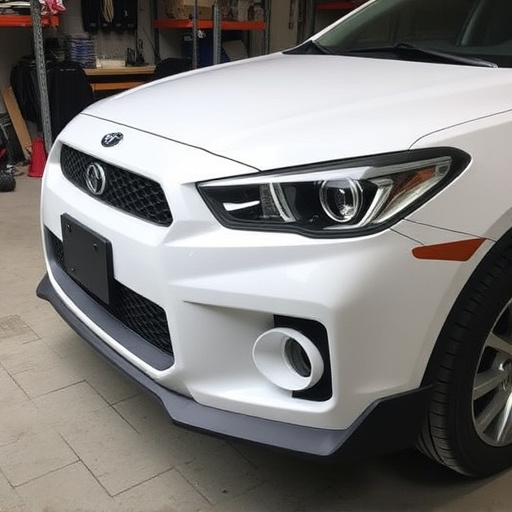
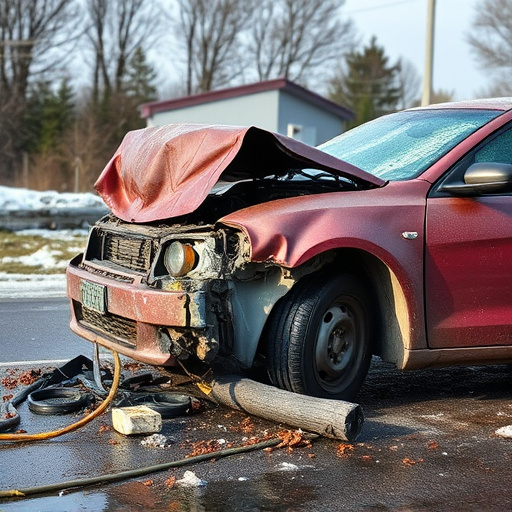
When considering base coat application, choosing the right formula is paramount. Different base coats are designed for specific purposes—whether it’s to protect against rust in an auto body shop or to provide a smooth surface for paint adhesion in vehicle repair services. For cars with significant car damage repair, opt for a base coat that offers excellent coverage and durability to conceal imperfections and ensure long-lasting results.
In the world of base coat application, understanding your needs is key. If you’re working on minor scratches or chips, a thinner formula might be sufficient. However, for extensive repairs, consider a thicker, more robust option. This choice directly impacts the final outcome, so select wisely to achieve the desired effect without compromising quality in your vehicle repair services.
Even Distribution is Key

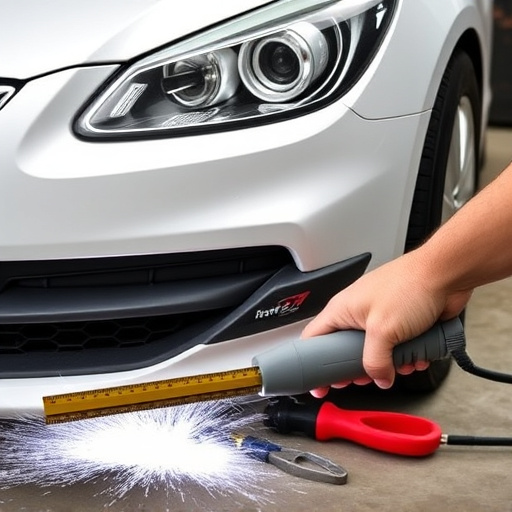
Achieving an even base coat application is fundamental to ensuring a professional finish in any vehicle repair services or autobody repairs. It’s easy to get carried away and apply more paint in some areas than others, leading to visible brush strokes or uneven coverage. To avoid this common mistake, take your time and practice good technique. Use smooth, controlled strokes, ensuring that the paint is applied consistently across the entire surface.
Consider using a small, high-quality paintbrush for better control, especially in tight spaces. Maintain a consistent distance from the surface to prevent overspray or uneven deposits of paint. Regularly clean your brush as you work to prevent buildup, which can result in streaking. The goal is to create an invisible bond between the base coat and the vehicle’s surface, setting the stage for flawless autobody repairs and a durable, glossy finish.
Mastering base coat application is an essential step in achieving long-lasting, chip-resistant manicures. By preparing your nail bed, selecting the right formula, and focusing on even distribution, you can avoid common mistakes that lead to streaky finishes or uneven coverage. Incorporate these tips into your routine for professional-looking results at home.