


Thoroughly clean and prepare car surfaces before applying seam sealer to ensure optimal adhesion and long-lasting repairs. Even, consistent coverage with uniform sealer, clean tools, and adequate drying times between coats achieve a professional, flawless finish for high-quality vehicles.
“Ensure a robust and long-lasting seal with proper surface preparation. Before applying seam sealer, evaluating and ensuring surface cleanliness is paramount. This involves assessing for debris, moisture, or existing sealants. Once ready, prepare surfaces by removing contaminants, using appropriate primers, and sanding for optimal adhesion. Even application ensures uniform sealing, preserving integrity and aesthetics. Follow these steps to achieve professional-grade seam sealer application, enhancing your project’s durability.”
- Evaluate Surface Condition and Cleanliness
- Prepare Surfaces for Optimal Adhesion
- Apply Seam Sealer Correctly and Evenly
Evaluate Surface Condition and Cleanliness
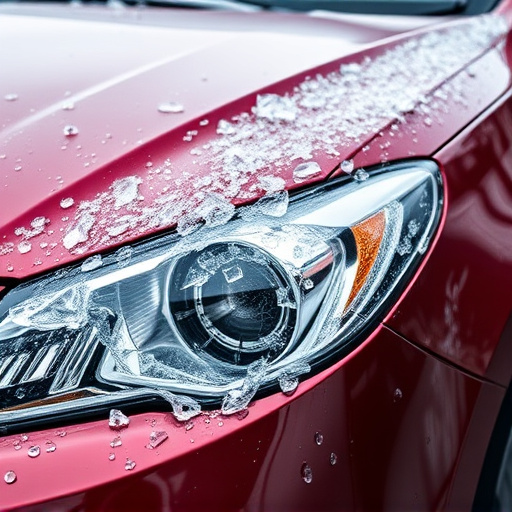
Before applying seam sealer, it’s crucial to evaluate the surface condition and cleanliness. The surface should be free from any dirt, grease, or debris that could impede the adhesion of the sealer. Even minor contaminants can lead to poor results in seam sealer application, causing the seal to peel or bubble over time.
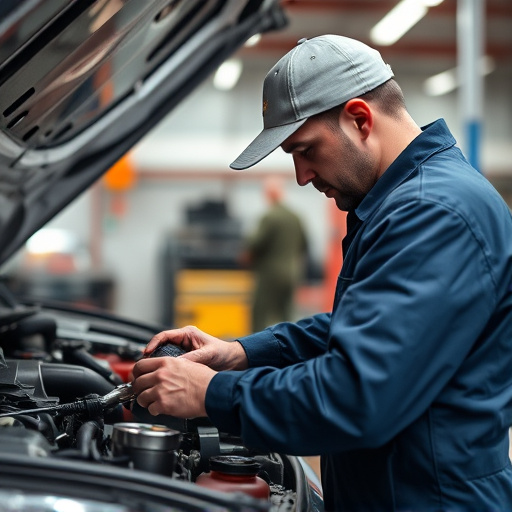
A thorough cleaning process is essential for achieving optimal outcomes in automotive repair services. This may involve using specialized solvents or cleaners designed to remove tough residues commonly found after a fender bender. Ensure that the surface is dry and free from any moisture before proceeding with the seam sealer application, as this can also affect the bond strength of the product. Finding an auto repair near me that prioritizes these steps ensures a solid foundation for any repair work, guaranteeing longer-lasting and more effective results.
Prepare Surfaces for Optimal Adhesion

Before applying seam sealer, it’s crucial to prepare surfaces for optimal adhesion. This involves a meticulous cleaning process to remove any dirt, grease, or debris that could hinder the bonding agent from effectively adhering to the car bodywork. A simple yet effective method is to wash the area thoroughly with a mild detergent and warm water, ensuring every trace of contaminant is eliminated. Dry the surface completely to avoid water spots, which can negatively impact the sealer’s performance.
For areas requiring paintless dent repair or vehicle repair, additional steps might be necessary. Sanding the surface lightly can help roughen it up slightly, creating a better texture for adhesion. Using fine-grit sandpaper and taking care not to damage the surrounding finish, this process prepares the car bodywork services for seamless integration of the seam sealer, ensuring long-lasting results in any repair work.
Apply Seam Sealer Correctly and Evenly

When applying seam sealer, it’s crucial to ensure even and consistent coverage across all surfaces. Begin by stirring the seam sealer thoroughly before use to achieve a uniform mixture, as settling can lead to uneven application. Use a clean, flat brush or roller suitable for seam sealer to apply the product. Maintain a steady pressure while applying, ensuring the sealer flows smoothly and fills any gaps or imperfections without overloading the surface. For best results in collision damage repair, especially on high-quality cars like Mercedes Benz models undergoing restoration, aiming for thin, even coats is key.
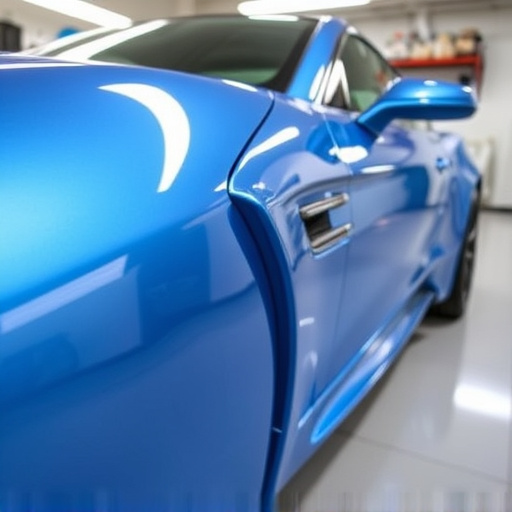
Avoid overlapping or skipping sections to prevent visible lines or thick patches that can mar the final finish. Consider the type of sealer and drying time to ensure subsequent coats do not disturb the previous layer. In car restoration projects, meticulous seam sealer application contributes significantly to achieving a flawless, professional outcome, enhancing the overall aesthetic appeal and value of the vehicle.
To ensure a durable and professional finish, preparing surfaces correctly before applying seam sealer is crucial. By evaluating surface condition and cleanliness, you lay the foundation for optimal adhesion. Follow best practices when preparing surfaces, and always refer to product instructions for the best results during seam sealer application. This comprehensive approach will guarantee that your work stands the test of time.