
Tesla door mounted camera repairs require careful diagnosis and specific tools. Simple issues may be resolved in-home, but complex problems need professional help from a specialized shop to preserve vehicle condition. Safety precautions include protective gear, anti-static mats, ventilation, and seeking expert assistance for interior panel removal, especially around surrounding components.
Tesla owners often face unique challenges when it comes to car maintenance, especially with the advanced technology incorporated in their vehicles. One such issue involves the door-mounted camera, a key component for driver assistance and security. If you’re facing trouble with your Tesla’s door camera, this guide will walk you through the repair process. We’ll cover common problems, safety measures, and a detailed step-by-step breakdown of removing the interior door panel to access and potentially fix the camera.
- Understanding Tesla Door Mounted Camera Issues
- Tools and Safety Precautions for Repair
- Step-by-Step Guide to Interior Door Panel Removal
Understanding Tesla Door Mounted Camera Issues
Tesla door mounted cameras are a popular feature designed to enhance safety and security for Tesla vehicle owners. However, like any other component, they can encounter issues over time, requiring expert attention for repair. Common problems include camera malfunction, pixelated or distorted images, and even complete camera failure. These issues might stem from various factors such as damage to the interior door panel, faulty wiring, or exposure to extreme weather conditions.
Properly diagnosing the problem is crucial before attempting any Tesla door mounted camera repair. In many cases, a simple reset or software update can resolve minor glitches. Yet, more complex repairs may involve replacing damaged parts, re-sealing the camera housing, or even recalibrating the sensor. It’s recommended to seek assistance from a reputable car repair shop specializing in Tesla models, ensuring the work is done efficiently and accurately, preserving the vehicle’s original condition and functionality, just like handling a delicate auto glass repair or bumper repair.
Tools and Safety Precautions for Repair
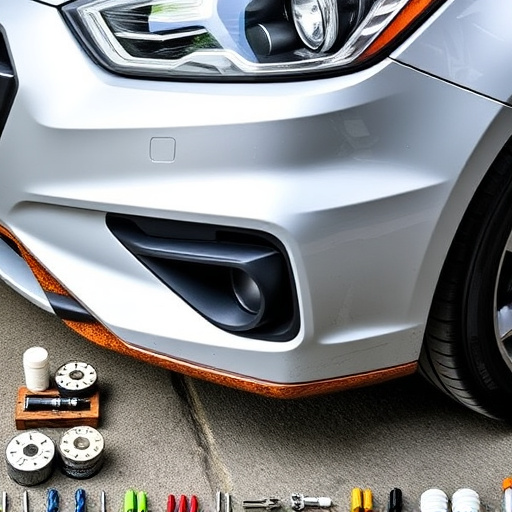
When undertaking Tesla door mounted camera repair, a range of specific tools will be required to ensure the job is done effectively and safely. These include specialized screwdrivers for removing the interior door panel, a flat-head screwdriver for accessing difficult-to-reach areas, and a set of pliers for gripping small components. Additionally, having a high-quality replacement camera on hand is crucial to match the original specifications exactly.
Safety should always be a top priority during any auto body repair process. For Tesla door mounted camera repair, this involves wearing protective eyewear to guard against flying debris, using anti-static mats to prevent damage to electronic components, and ensuring a clean, well-lit workspace. Proper ventilation is also essential, as the removal of interior panels may involve the release of unpleasant fumes. Remember that if you’re not comfortable or familiar with the process, it might be best to seek professional help for your Tesla door mounted camera repair to avoid damaging other critical systems within your vehicle.
Step-by-Step Guide to Interior Door Panel Removal
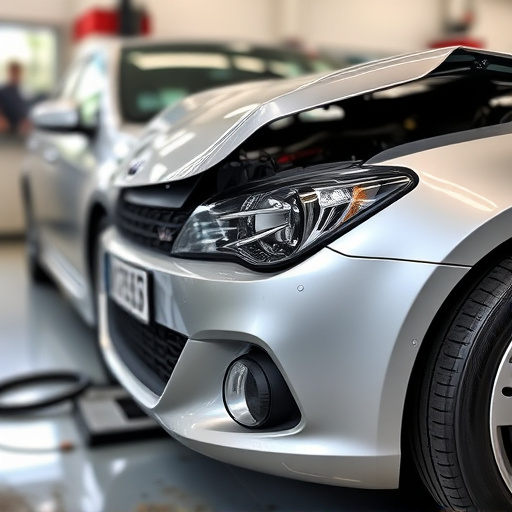
To tackle a Tesla door mounted camera repair that involves interior door panel removal, follow this step-by-step guide. Start by ensuring your vehicle is parked in a safe and level location with all necessary tools at hand, including a jack, jack stands, and a set of socket wrenches. Next, locate the door handle and unlatch the door, then carefully lower it using the jack and secure it with jack stands for safety.
With the door safely supported, remove the outer door handle cover to access the interior panel fasteners. Depending on your Tesla model, these may include screws or clips. Once these are removed, gently pry the interior door panel away from the vehicle body, taking care not to damage surrounding components. This step requires a good amount of force but should be manageable with the right tools and careful execution. After the panel is freed, set it aside in a designated work area, allowing access to the Tesla door mounted camera for repair or replacement as needed. Remember, proper safety precautions and a systematic approach are key during any automotive body work, including this car body shop task.
Repairing a Tesla door-mounted camera involves carefully navigating interior components, requiring a strategic approach. By understanding common issues and following a step-by-step guide for removing the interior door panel, you can successfully tackle this task. With the right tools and safety precautions, you’ll be able to diagnose and fix your Tesla door mounted camera repair efficiently, ensuring optimal vehicle functionality once again.