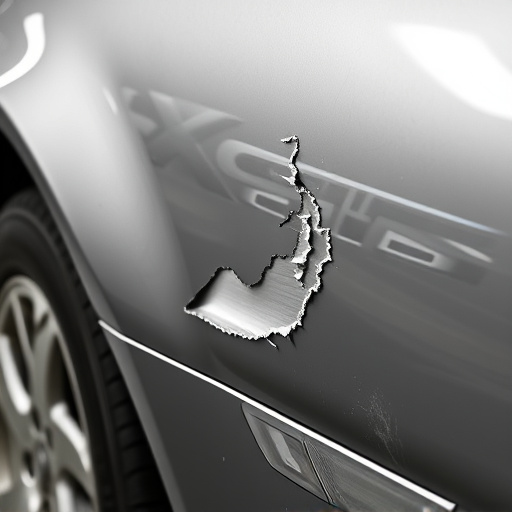


After a Tesla vehicle accident, evaluating and repairing the home charger is crucial for safe charging. Damage may require professional assessment to meet safety standards. Options include temporary portable chargers or permanent installations like Level 2 wall-mounted chargers. DIY repairs involve assessing damage, replacing components, mounting the charger, and electrical upgrades with electrician assistance. Proper guidance ensures a functional Tesla home charger post-accident.
After a car accident, especially if your Tesla is detached or relocated, understanding the specific charging needs of your vehicle is crucial. This guide explores the steps for installing a Tesla home charger post-accident, focusing on solutions tailored for your unique situation. We delve into the essential considerations and provide a step-by-step approach to ensure a seamless charging experience, even in challenging circumstances.
- Understanding Tesla Home Charger Requirements Post-Accident
- Detached or Relocated Units: Charging Solutions Explored
- Step-by-Step Guide: Installing a Tesla Home Charger After Damage
Understanding Tesla Home Charger Requirements Post-Accident

When a Tesla vehicle experiences an accident, understanding the specific requirements for its home charger becomes crucial. The charger’s integration with the car’s electrical system means any damage or disruption could impact its functionality. After an incident, homeowners may need to assess if their Tesla home charger requires replacement or repair, especially if the vehicle has been detached or relocated. This process involves a detailed examination of the charger’s components and wiring to ensure it complies with safety standards and continues to function optimally.
In the aftermath of an accident, consulting with a qualified collision repair shop or auto body shop is advisable. These professionals can provide expert advice on charger repairs or replacements, ensuring that Tesla owners’ home charging systems are safely restored. They will consider factors like the extent of vehicle damage, local regulations, and the latest technological advancements to guide homeowners in making informed decisions regarding their Tesla home chargers.
Detached or Relocated Units: Charging Solutions Explored

In the event of an accident, Tesla home chargers can be detached or relocated, creating a unique challenge for homeowners seeking charging solutions. Fortunately, several options are available to ensure uninterrupted electric vehicle (EV) charging even in such circumstances. For detached units, a portable charger can be a temporary solution, allowing owners to charge their Teslas elsewhere while waiting for repairs or relocation. These portable chargers come in various sizes and power outputs, catering to different Tesla models and usage needs.
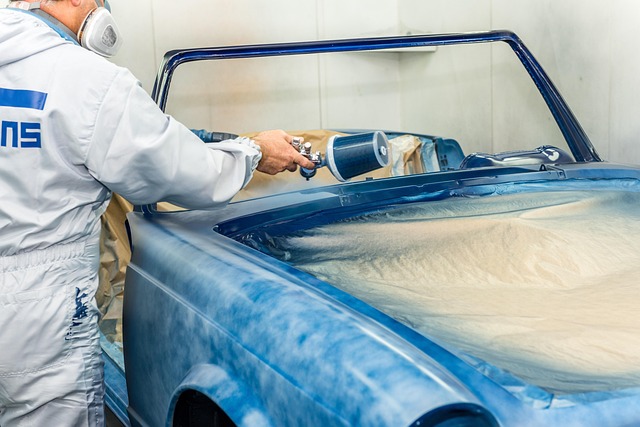
Relocated units require more permanent solutions. Homeowners might consider integrating a dedicated charging station into their new location. Professional installation of a Level 2 charger, often referred to as a wall-mounted charger, can provide the same convenience and speed as the original in-home setup. Moreover, luxury vehicle repair specialists and auto painting services can assist in maintaining and enhancing the aesthetic appeal of the Tesla home charger, ensuring it blends seamlessly with the new environment.
Step-by-Step Guide: Installing a Tesla Home Charger After Damage

Installing a Tesla home charger after an accident can seem daunting, but with a systematic approach, it’s a manageable task for both DIY enthusiasts and those seeking professional help. Here’s a step-by-step guide to ensure a smooth process:
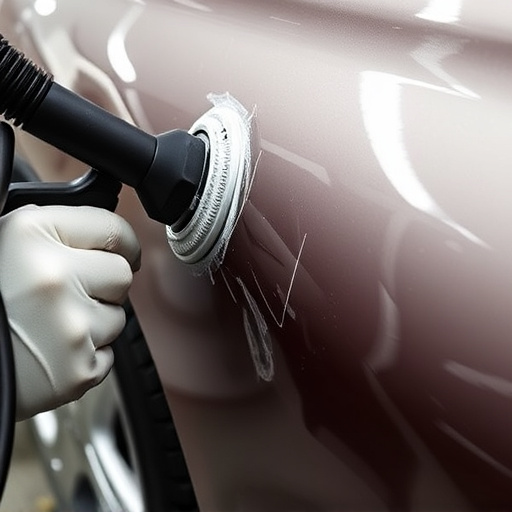
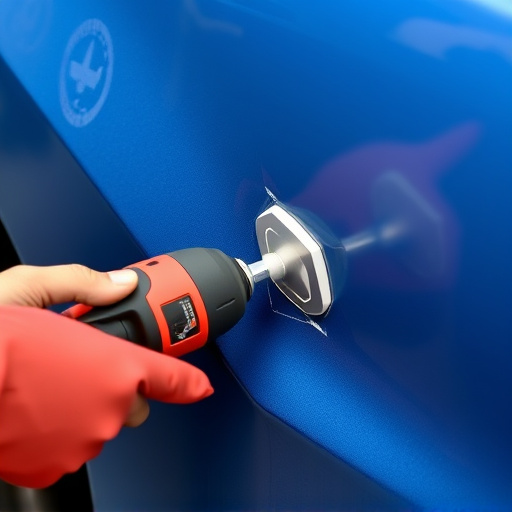
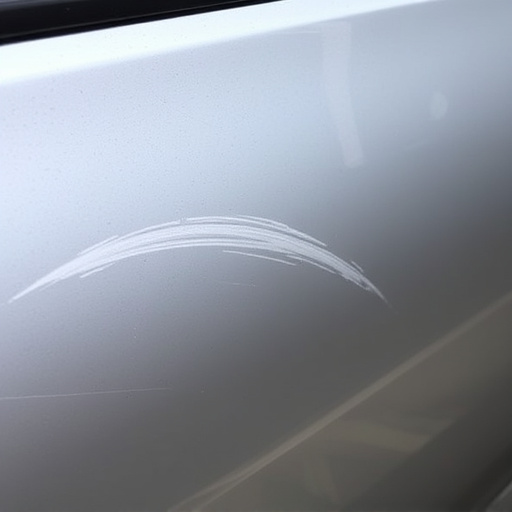
1. Assess Damage: Begin by inspecting the charging port on your Tesla and the home charger itself. If the damage is minimal, such as a few scratches or minor dents, you might be able to repair and reinstall it yourself. However, extensive damage may require the expertise of an auto body services provider or car repair shop, especially for relocated units where original mounting points may need adjustment.
2. Prepare Your Workspace: Ensure your garage or designated area is clean and clear. Remove any obstacles that might hinder installation. Safety should be a priority, so have fire extinguishers and other necessary tools readily available.
3. Replace or Repair Components: If damaged, the charging port and home charger components will need to be replaced or repaired. Tesla offers genuine parts for this purpose. For complex repairs or relocations, it’s advisable to consult with an auto collision center that specializes in electric vehicle (EV) restoration.
4. Mounting and Installation: Once all components are ready, proceed with mounting the home charger according to Tesla’s guidelines. Ensure proper alignment and secure attachment. Test the connections before finalizing installation.
5. Wiring and Power Supply: Check your electrical panel for capacity and consider upgrading if necessary. Run a dedicated circuit for the charger, following local electrical codes. Have a qualified electrician assist with this step if you’re unsure.
6. Final Testing: After completing the physical installation, perform a final check to ensure the home charger is functioning correctly. Verify connections, and if everything is in order, enjoy your fully operational Tesla charging station at home.
After an accident, understanding the specific requirements for installing a Tesla home charger becomes crucial. For detached or relocated units, exploring tailored charging solutions is essential for seamless integration and continued electric vehicle ownership. By following a structured step-by-step guide, homeowners can successfully install their Tesla home chargers, ensuring both safety and accessibility post-accident. Remember that, in the context of Tesla home charger after accident scenarios, proper installation and adherence to guidelines are key to a smooth and efficient restoration of your EV charging capabilities.