


Mercedes rear entertainment systems require prompt repair for cable damage, leading to visual/audio issues or system failure. Diagnosis involves visual inspection and multimeter testing to identify faulty cables. Repair or replacement decisions are based on cable condition and parts availability. Collision repair centers offer specialized services like paintless dent repair. Replacing Mercedes rear entertainment cables requires locating connections, disconnecting old cables, inserting new ones, cleaning, securing, and testing for functionality.
Unraveling issues with your Mercedes rear entertainment system? This comprehensive guide is tailored for owners seeking a DIY solution. We demystify the process, from understanding the intricate design of these systems to identifying cable problems that can disrupt your in-car theater experience. Armed with the right knowledge, you’ll master the step-by-step cable replacement process, ensuring your Mercedes’ entertainment remains top-notch. Embrace the repair journey and reclaim your rear seat entertainment.
- Understanding Mercedes Rear Entertainment Systems
- Diagnosing Cable Issues in These Systems
- Step-by-Step Guide to Replacing Cables
Understanding Mercedes Rear Entertainment Systems
Mercedes rear entertainment systems are a sophisticated feature designed to enhance the overall passenger experience during long journeys or for families with children. These systems typically include multiple screens, offering a range of entertainment options such as movies, games, and TV shows. Understanding how these systems work is crucial when it comes to identifying issues and performing repairs, especially in cases where cables need replacement.
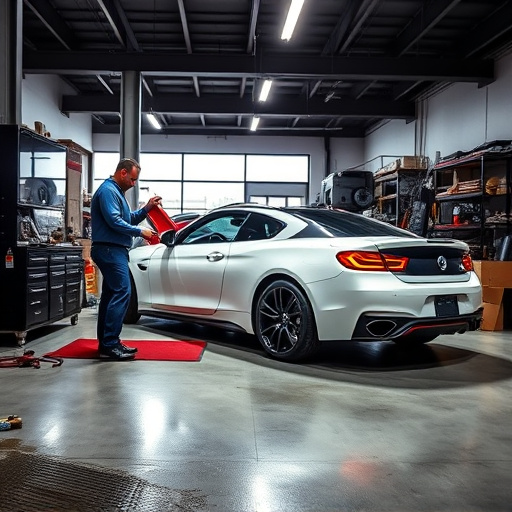
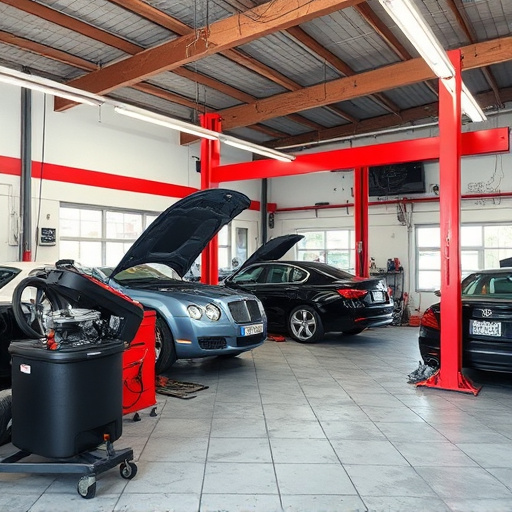
A Mercedes rear entertainment system consists of various components, including the main control unit, individual display screens, and a network of cables responsible for transmitting audio and video signals. Over time, these cables can become damaged due to wear and tear, exposure to heat or moisture, or accidental breakage. When issues arise with cable functionality, it may result in distorted pictures, sound problems, or even complete system failure. Recognizing the importance of prompt repair, many owners opt for professional body shop services that specialize in Mercedes rear entertainment repair, ensuring proper troubleshooting and effective solutions like paintless dent repair for any associated damages.
Diagnosing Cable Issues in These Systems
Diagnosing cable issues in Mercedes rear entertainment systems involves a systematic approach. Start by examining the cables visually for any signs of damage, such as exposed wiring or cracks. These visible indicators can point to problems that may be easily remedied with simple repairs. If the issue is more complex, use a multimeter to check for power flow and identify any broken connections. This process requires a basic understanding of electrical circuits but can be accomplished by anyone with access to the right tools.
For Mercedes rear entertainment repair, it’s crucial to pinpoint precisely which cable is faulty. This involves careful tracing of the cable paths within the vehicle, often requiring disassembly of certain components. Once the problematic cable is identified, a decision can be made whether to replace it or repair it, depending on its condition and the availability of replacement parts. Many collision repair centers offer specialized body shop services, including paintless dent repair, that can aid in restoring the system to its original functionality without extensive changes.
Step-by-Step Guide to Replacing Cables

Replacing cables in a Mercedes rear entertainment system is a task that requires precision and a systematic approach. Here’s a step-by-step guide to help you navigate this Mercedes rear entertainment repair process with ease.
Start by locating the cable connections within your car’s car bodywork services. Identify the specific cables responsible for the rear entertainment system using a detailed diagram or owner’s manual. Disconnect the old cables carefully, taking note of their original positions and any securing brackets. Clean the area to ensure no debris or corrosion interferes with new connections. Insert the new cables, ensuring they align correctly with the designated ports. Secure them in place using the appropriate brackets or clips and double-check that all connections are firm. Once complete, test the system to confirm proper functionality and enjoy an uninterrupted entertainment experience during your car repair services.
Replacing cables in a Mercedes rear entertainment system is a task that, while potentially challenging, can significantly extend the lifespan of your vehicle’s in-car entertainment. By understanding the intricacies of these systems and following a structured guide, you can effectively diagnose and resolve cable issues. With this knowledge in hand, you’re better equipped to handle minor repairs yourself or communicate more effectively with professional Mercedes rear entertainment repair services.