


Hood dent removal involves techniques like heat & pressure, tools like hammers or suction cups, and requires preparation with tools, safety gear, paint. Assess dent severity: simple dents can be fixed at home using pullers, wedges, and careful pulling for a seamless finish matching original body lines.
Learn how to perform hood dent removal at home with this comprehensive guide. Discover effective techniques, gather the necessary tools and materials, and follow a step-by-step process for successful repairs. From understanding different dent removal methods to mastering the art of smoothing out those unsightly bumps, you’ll find everything you need to know for a DIY hood dent removal project that saves time and money.
- Understanding Hood Dent Removal Techniques
- Gather Tools and Materials for Repair
- Step-by-Step Guide to Fixing Dents at Home
Understanding Hood Dent Removal Techniques
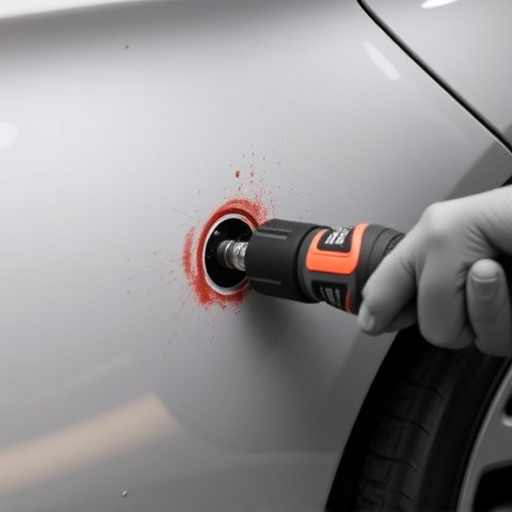
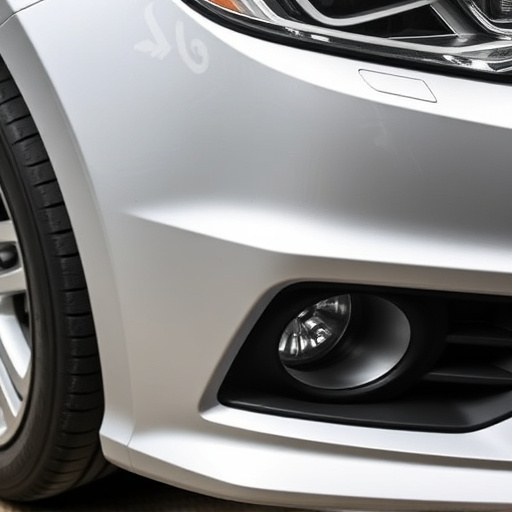
Hood dent removal is a process that involves various techniques to fix dents and dings on your vehicle’s hood, often caused by minor fender benders or collisions. Understanding these methods is the first step towards successful DIY car dent removal. One popular method is using a combination of heat and pressure. This technique involves applying heat to soften the dented area, then using a tool to gently press it back into place. It’s a precise process that requires patience and care to avoid further damage.
Another common approach is the use of dent removal tools like claw hammers, suction cups, or air-powered equipment. These tools work by leveraging force in different ways to pop the dent out. For instance, suction cups create a vacuum to lift the dent, while specialized hammers can gently tap around the edge of the dent to release it. While these DIY methods for hood dent removal can be effective, they might not always produce collision repair-quality results, especially for more severe dents.
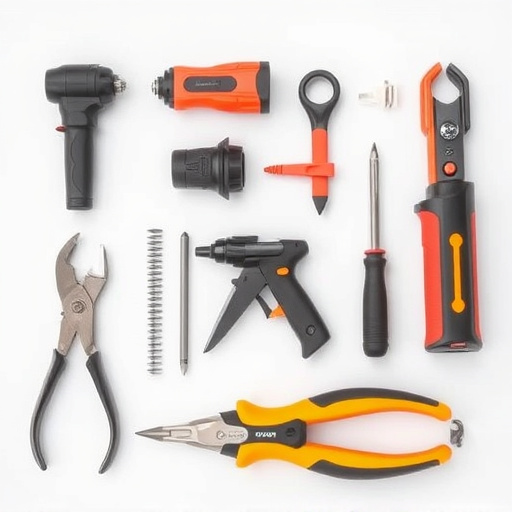
Gather Tools and Materials for Repair
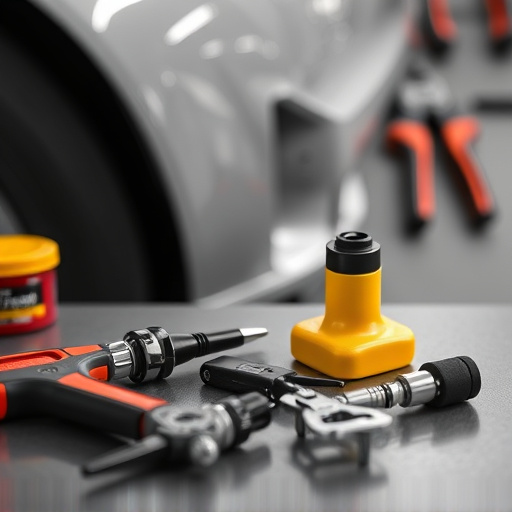
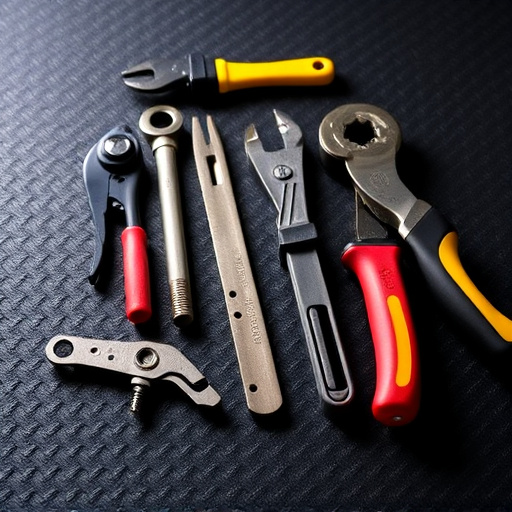
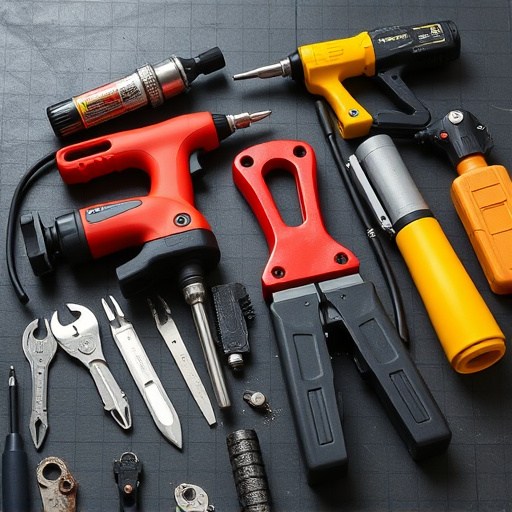
Before tackling any hood dent removal, ensure you have all the necessary tools and materials at hand to make the process efficient and effective. Start by gathering a variety of options for removing the dent, such as a dent puller or a hammer with a wooden handle. A dent puller is specifically designed to pop out dents without leaving scratches, making it ideal for hood dent removal. For added protection, include some high-quality automotive paint to match your car’s color once the dent is gone.
Don’t forget about safety gear, including gloves and safety glasses, to protect yourself from debris and potential injuries during the collision damage repair process. Additionally, prepare a clean, well-lit workspace to ensure precision while working on auto glass repair or fender bender repairs. Properly organized tools and materials will not only streamline the job but also help you achieve professional-looking results in your hood dent removal endeavor.
Step-by-Step Guide to Fixing Dents at Home
Performing hood dent removal at home can seem daunting, but with the right tools and a systematic approach, it’s achievable. Here’s a step-by-step guide to help you tackle those dents:
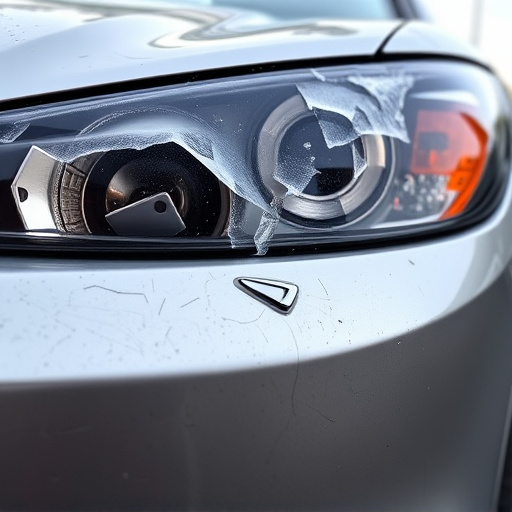
1. Assess the Damage: Begin by inspecting the dent closely. Ensure it’s not too deep or complex, as some dents might require professional attention from a car body shop or autobody repairs specialist. For simple, shallow dents often caused by hail damage repair, however, DIY methods can be effective.
2. Gather Your Tools: You’ll need a few specific tools for hood dent removal: a dent puller (also known as a pry bar), a mallet, and some plastic or rubber wedges. Make sure your workspace is well-lit and clear of debris to ensure precision during the process.
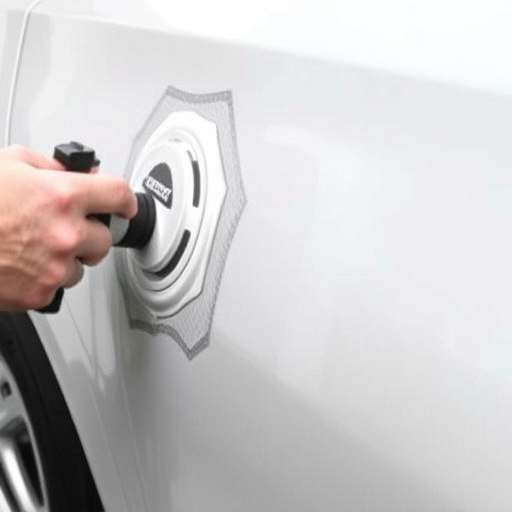
3. Secure the Dent Puller: Position the dent puller over the dented area, aligning it precisely with the peak of the dent. Apply gentle pressure to the puller handle while pushing down on the dent itself. This step might require some muscle, but be careful not to apply excessive force, as it could damage the hood or surrounding panel.
4. Use Wedges for Precision: Once the puller is in place, insert wedges around the edges to create a space between the puller and the car body. This step ensures control during the removal process, especially in areas with curves or intricate designs.
5. Gently Pull and Adjust: With the wedges in place, gently lift the dent puller, applying steady pressure until the dent starts to recede. Be patient and consistent; sudden movements might cause the dent to spread or leave unsightly marks. If needed, adjust the position of the puller or add more wedges for better control.
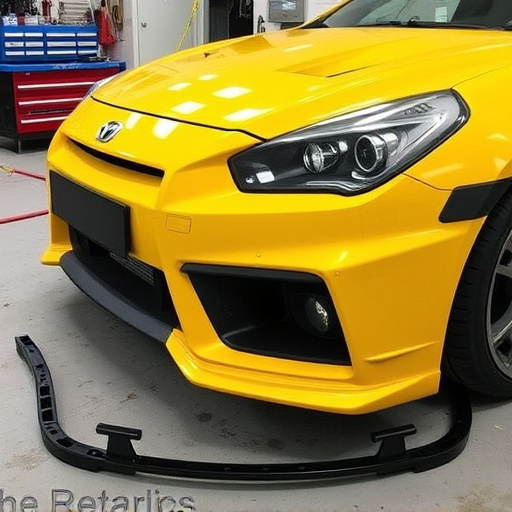
6. Final Touches: After successfully removing the dent, smoothen any remaining indentations with a mallet and a suitable tool, like a putty knife. This step ensures a seamless finish that matches the car’s original body lines, often requiring skill and practice to achieve.
Performing hood dent removal at home is a feasible and cost-effective solution for minor dents. By understanding the techniques, gathering the right tools, and following a step-by-step guide, you can effectively restore your vehicle’s exterior. Hood dent removal allows you to take control of your car’s aesthetics, saving time and money while ensuring a satisfying result. With practice, you’ll become proficient in handling different dent sizes, making it a valuable skill for any car owner interested in DIY repairs.