


Chrome bumpers require regular maintenance to prevent rust, dents, and scratches. For minor issues, DIY repair with sandpaper, buffer, and paint can be effective. Severe damage needs professional tools and techniques for safe, seamless restoration, ensuring car safety and aesthetic appeal through proper chrome bumper repair.
Looking to restore your car’s sleek look? Chrome bumper repair is an effective solution for fixing rust, dents, and scratches that degrade its aesthetic appeal. This comprehensive guide covers everything from understanding common chrome bumper damage to providing a step-by-step process for a successful restoration. By following these instructions, you’ll achieve a like-new finish, enhancing your vehicle’s overall value and visual appeal. Learn how to tackle these repairs with the right tools and materials, ensuring a durable and satisfying result.
- Understanding Chrome Bumper Damage: Rust, Dents, Scratches
- Tools and Materials Needed for Repair
- Step-by-Step Guide to Effective Chrome Bumper Restoration
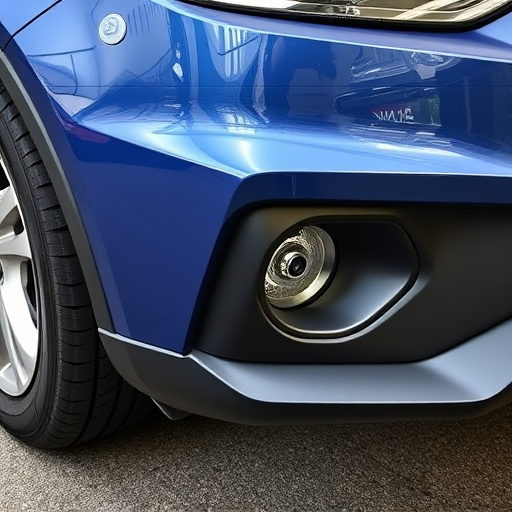
Understanding Chrome Bumper Damage: Rust, Dents, Scratches
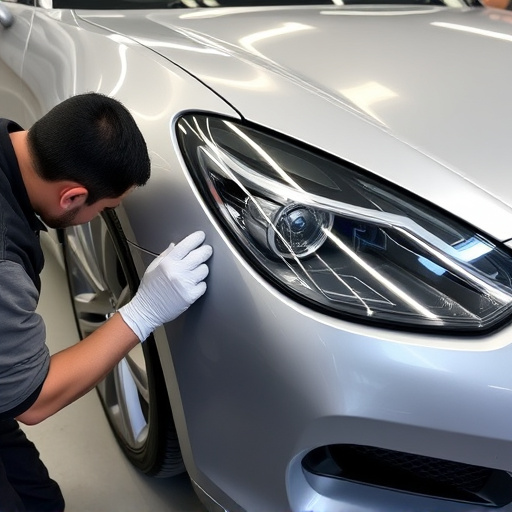
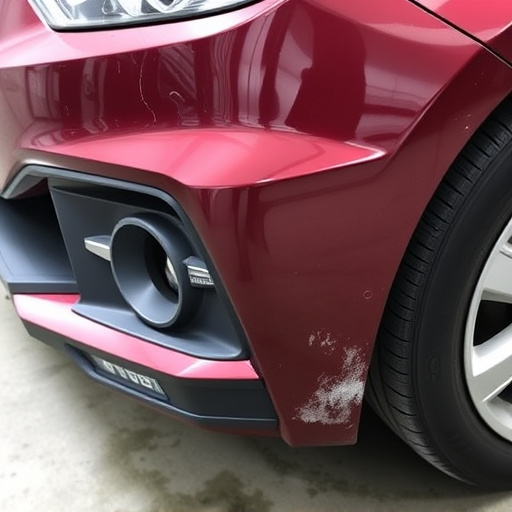
Chrome bumpers, known for their sleek and stylish appearance, are often susceptible to various forms of damage due to everyday wear and tear or unforeseen events like car collisions. Understanding what can cause these issues is crucial when considering chrome bumper repair. One of the most common problems is rust, which can develop over time, especially in regions with higher humidity levels. This not only affects the aesthetic appeal but also weakens the structural integrity of the bumper.
Additionally, dents and scratches are frequent visitors to bumpers, whether from minor fender benders or accidental bumps. These can leave unsightly marks and may even compromise the safety features designed into modern vehicles. A trip to a collision center for chrome bumper repair is often necessary to address these issues, restoring not just the visual appeal but also ensuring the continued effectiveness of your car’s protective components.
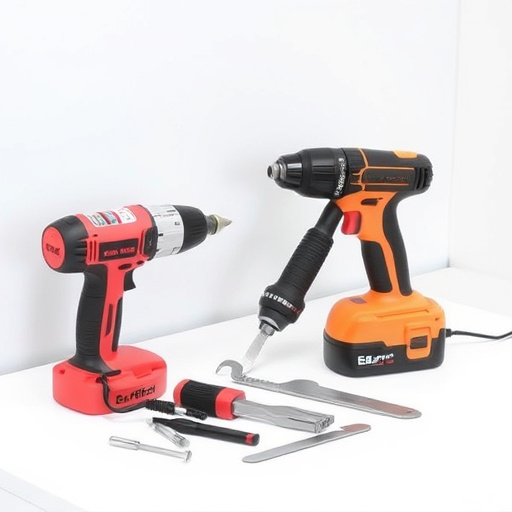
Tools and Materials Needed for Repair
For a successful chrome bumper repair, you’ll need a few essential tools and materials. Start with basic hand tools like ratchet sets, screwdrivers, and pliers for removing any loose parts or bolts. A set of fine-grit sandpaper and a buffer are crucial for smoothing out dents and scratches, while a high-quality chrome restoration kit will help you achieve a gleaming finish. Don’t forget protective gear, such as gloves and safety glasses, to keep yourself safe from debris and chemicals.
Additional car bodywork services like putty, primer, and paint will be necessary if the bumper has significant dents or damage. A scratch repair kit can also come in handy for minor scuffs and scratches. Before beginning any repairs, ensure proper ventilation in your work area, as some products may emit strong fumes. With the right tools and materials, chrome bumper repair is a feasible DIY project that can restore your vehicle’s aesthetic appeal.
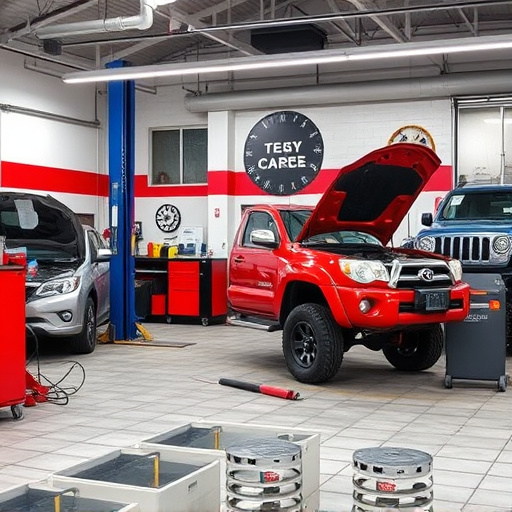
Step-by-Step Guide to Effective Chrome Bumper Restoration

Restoring a chrome bumper to its former glory involves a meticulous process that can be completed at home or with the help of an experienced auto repair service. Here’s a step-by-step guide to effective chrome bumper restoration:
1. Preparation: Begin by thoroughly cleaning and inspecting the damaged bumper. Remove any loose debris, dirt, or old paint using a degreaser and fine-grit sandpaper. Ensure all surfaces are free from contaminants to achieve the best adhesion during the repair process.
2. Fixing Dents and Scratches: For minor dents and scratches, use a dent puller or a heat gun to gently straighten the metal. Apply a thin layer of body filler to fill any depressions, allowing it to dry completely. Once hardened, sand the area until smooth, matching the surrounding surface. For deeper damage, professional auto repair services might employ more advanced techniques like metal fabrication or precision tools to achieve a seamless finish.
3. Surface Preparation: After repairing the dents and scratches, re-sand the bumper to create a clean, rough surface for paint adhesion. Use a slightly coarser grit paper than previously, wiping down thoroughly between passes.
4. Priming: Apply an appropriate primer designed for chrome or metallic finishes. This step is crucial as it prepares the bumper’s surface for painting, ensuring better coverage and lasting results. Let the primer dry completely according to the manufacturer’s instructions.
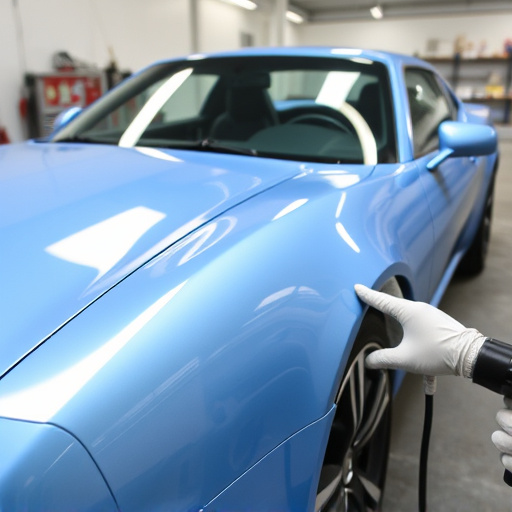
5. Painting: Use high-quality chrome or metallic paint specifically formulated for automotive applications. Apply thin, even coats, allowing each layer to dry before adding another. Typically, two or three coats are needed for a glossy finish that matches the bumper’s original appearance.
Chrome bumper repair is a cost-effective solution for restoring your vehicle’s aesthetic appeal. By addressing issues like rust, dents, and scratches early on, you can prevent further damage and maintain the value of your car. With the right tools and a simple, step-by-step guide, anyone can achieve professional results at home, ensuring a smooth and shiny bumper that complements their vehicle’s overall look.