


Tesla chrome delete repair involves removing/altering chrome accents for a minimalist look. This DIY guide provides essential tools, step-by-step instructions, and tips for beginners. It covers common areas like door handles, mirrors, and window trim, ensuring a professional finish through proper surface preparation and paint job reinstatement or repainting. Safety precautions, workspace preparation, protective gear, and high-quality materials are key to achieving a modern Tesla appearance.
Thinking of giving your Tesla a fresh look with a chrome delete? This beginner-friendly guide is your go-to resource. We’ll walk you through the process, from understanding the chrome delete technique to gathering the right tools and materials. By following our step-by-step instructions, you’ll achieve a seamless, professional finish that enhances your vehicle’s aesthetics. Get ready to transform your Tesla with confidence!
- Understanding Tesla Chrome Delete Process
- Tools and Materials Required for Repair
- Step-by-Step Guide to Successful Chrome Delete
Understanding Tesla Chrome Delete Process
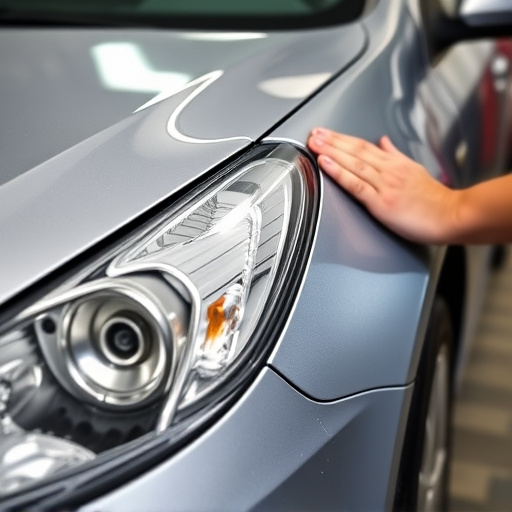
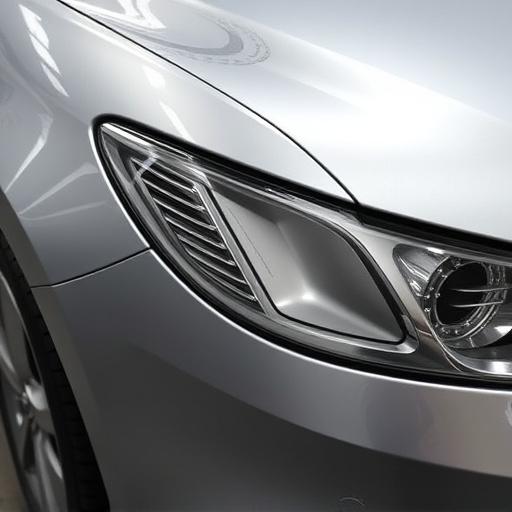
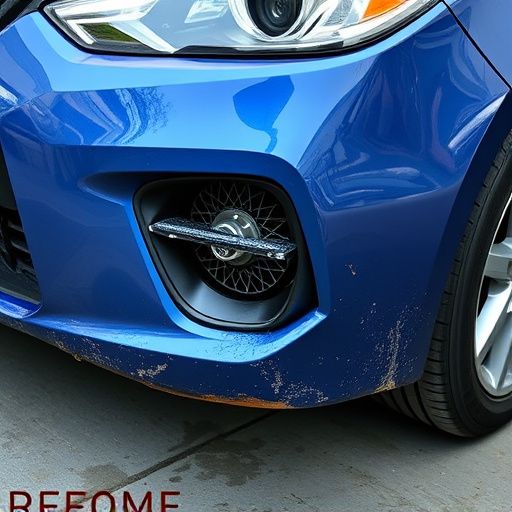
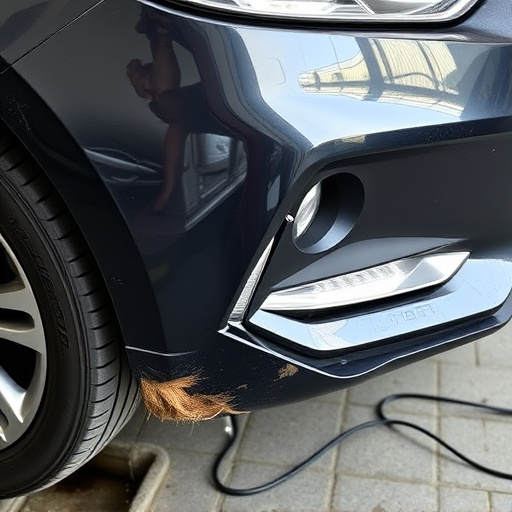
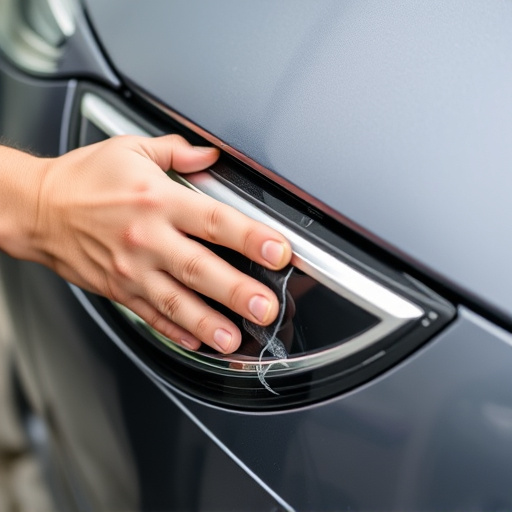
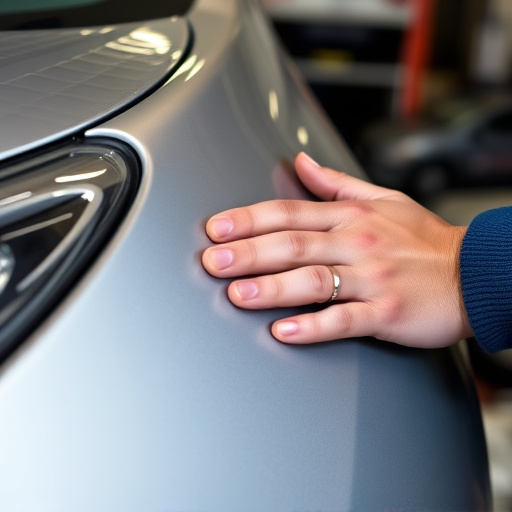
The Tesla Chrome Delete process involves removing or altering the chrome accents on various car parts, offering a unique customization option for owners who desire a more minimalist look. This DIY guide aims to simplify the repair process for beginners, focusing on the most common areas for such modifications, like door handles, mirrors, and window trim. Understanding the fundamentals of Tesla chrome delete is key; it entails carefully removing the existing chrome pieces while ensuring the surface underneath remains intact and free from damage.
For those considering a Tesla chrome delete as an alternative to traditional mercedes benz repair or seeking expert body shop services, this guide provides valuable insights. It covers essential tools, step-by-step instructions, and tips for achieving a professional finish. Whether you’re enhancing your vehicle’s aesthetics or repairing minor damages, mastering the art of car paint repair is within reach, allowing you to personalize your Tesla with confidence.
Tools and Materials Required for Repair
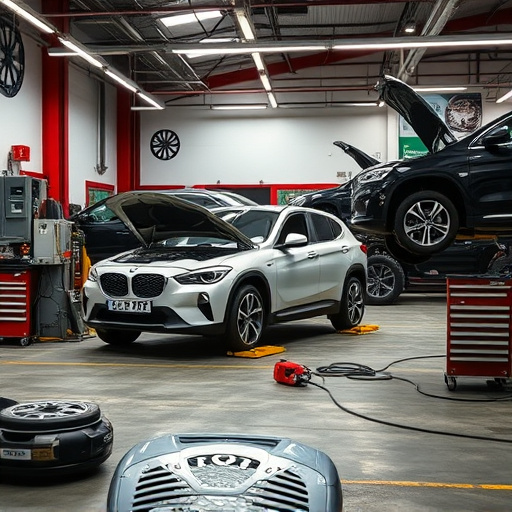
Before starting a Tesla chrome delete repair, ensure you have all the necessary tools and materials to achieve a professional outcome. For this DIY project, you’ll require specific items tailored to the intricate nature of automotive chrome removal and replacement. Basic tools like a set of screwdrivers (both flathead and Phillips), pliers, and a utility knife are essential for disassembling and handling small parts.
Additionally, gather specialty tools such as a chrome remover or degreaser, sandpaper (grits 400-1200), a plastic polish, and a high-quality paint job kit including primer, color, and clear coat. These materials will enable you to safely remove the old chrome, prepare the surface, and expertly reinstall or repaint the deleted element, ensuring your Tesla retains its sleek and modern aesthetic while enhancing your auto repair skills.
Step-by-Step Guide to Successful Chrome Delete
Performing a Tesla chrome delete can be a straightforward process for beginners with the right tools and guidance. Here’s a step-by-step guide to ensure your success:
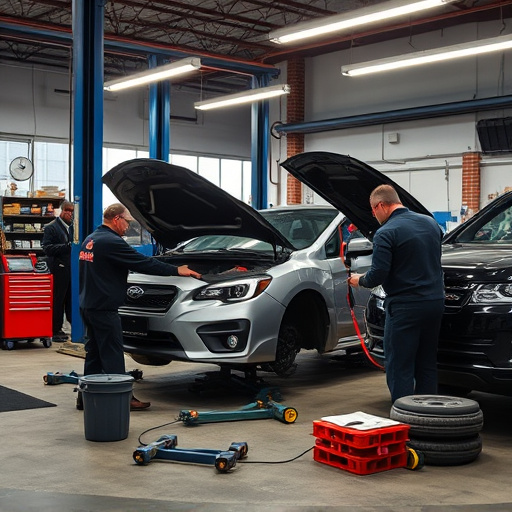
1. Safety First: Before beginning any repair, prepare your workspace and gather all necessary materials, including specific chrome removal tools, sandpaper (grit 220), primer, and paint. Put on safety gear, such as gloves and eye protection, to prevent injury from debris or chemicals.
2. Prepare the Surface: Thoroughly clean the area you plan to work on with a dedicated car wash and decontaminant to ensure no residue or contaminants remain. Once dry, inspect the chrome for any damage or imperfections that need addressing using the sandpaper. This step ensures a smooth base for your repair.
3. Chrome Removal: Utilize specialized tools designed for chrome removal to carefully take off the damaged or unwanted chrome pieces. Be patient and precise to avoid damaging the underlying surface of your luxury vehicle repair.
4. Primer Application: After removing all chrome, apply an even coat of automotive primer, allowing it to dry completely. Primer prepares the car body repair area for painting, ensuring better adhesion.
5. Painting: Choose a color matching your Tesla’s original finish and apply it using high-quality paint and a professional spray gun. Follow the manufacturer’s instructions regarding drying times between coats.
6. Final Touches: Once the paint is dry, inspect your work for any imperfections or touch-ups needed. A final coat of clear coat can enhance the finish and protect your car body repair.
For those new to the world of Tesla chrome delete repairs, this guide offers a comprehensive overview to help you navigate the process with confidence. By understanding the steps involved and equipping yourself with the right tools, you can successfully achieve a clean, professional look for your Tesla vehicle. Remember, a successful chrome delete is not just about aesthetics; it’s also about learning a valuable skill that can enhance your car’s overall appearance. So, whether you’re aiming to personalize your ride or fix a damaged chrome detail, this Tesla chrome delete repair guide serves as your reliable companion.