


Tesla vehicles can develop panel gaps due to manufacturing defects, damage, or wear. Proper restoration ensures aesthetic appeal and structural integrity. DIY restoration using specific tools, materials, and a step-by-step guide is feasible for car enthusiasts. This process saves costs, enhances vehicle maintenance, and improves appearance comparable to professional services.
Tesla vehicles are renowned for their sleek design, but one common issue that owners often face is the development of panel gaps. This article guides you through the process of restoring your Tesla’s panel gap without a body shop visit. We’ll explore common causes and effects, outline the necessary tools and materials, and provide a step-by-step approach to ensure your vehicle looks as good as new. Take control of your car’s aesthetics with this DIY solution for Tesla panel gap restoration.
- Understanding Tesla Panel Gaps: Common Causes and Effects
- Tools and Materials Required for Restoration
- Step-by-Step Guide to Restoring Your Tesla's Panel Gap
Understanding Tesla Panel Gaps: Common Causes and Effects

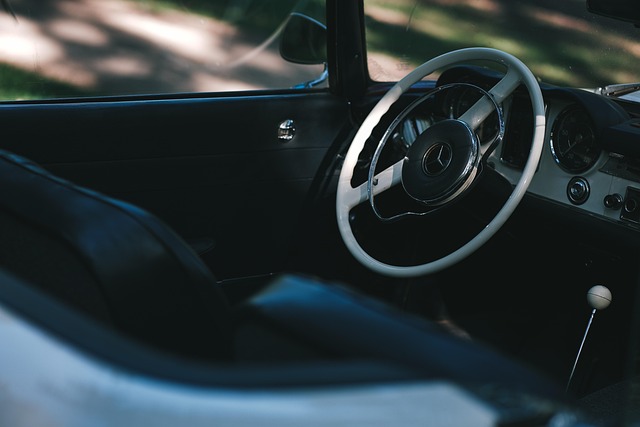
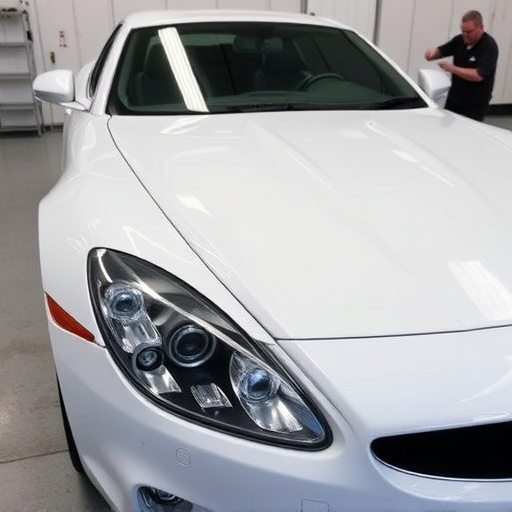
Tesla vehicles are known for their sleek and modern design, but like any car, they can experience panel gaps over time. These gaps, which are the spaces between body panels, can be caused by various factors, including manufacturing defects, accidental damages from fender benders or small collisions, and normal wear and tear. The effects of these gaps range from aesthetic issues to more serious structural problems if left unaddressed.
Common causes include misalignment during production, impact from minor bumps or dents, and the natural expansion and contraction of metal due to temperature changes. In a fleet repair context, maintaining consistent panel gap standards is crucial for vehicle safety and uniformity. Car paint services often play a vital role in Tesla panel gap restoration, ensuring not just an aesthetic fix but also reinforcing structural integrity.
Tools and Materials Required for Restoration
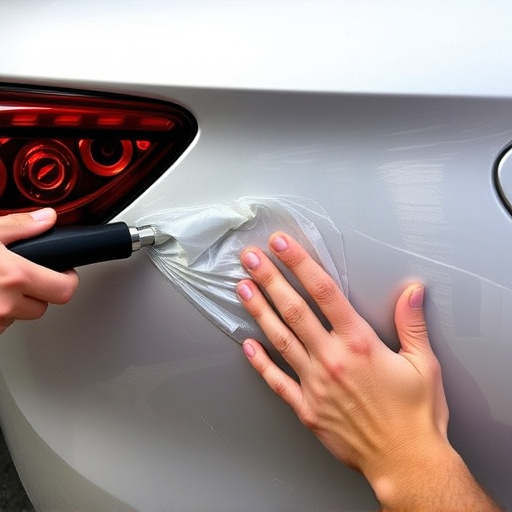
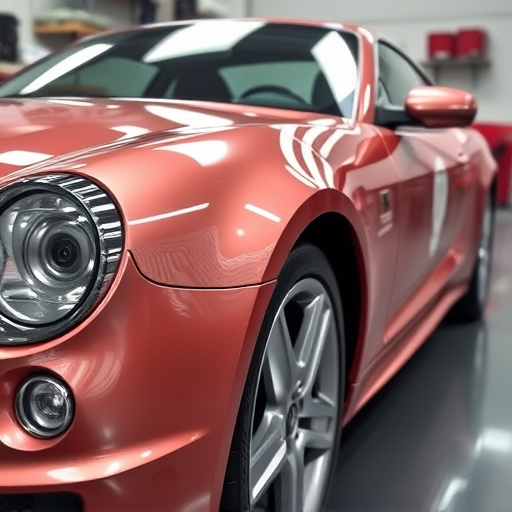
Restoring a Tesla’s panel gap without visiting an auto body shop requires the right tools and materials. For this job, you’ll need a set of precision screwdrivers, including flathead and Phillips varieties, as well as a putty knife for applying and shaping the filler. A high-quality rubber mallet is essential for gently tapping panels back into place without causing further damage. Additionally, a can of automotive-grade gap filler or putty will help to fill and smooth any imperfections.
Remember, safety gear such as gloves and safety glasses should always be worn during the restoration process. For Tesla panel gap restoration, consider using products designed specifically for electric vehicle repairs to ensure compatibility with their advanced materials. While this DIY approach may seem daunting compared to Mercedes Benz repair services, many car enthusiasts find that with practice, they can achieve professional-looking results in the comfort of their own garage.
Step-by-Step Guide to Restoring Your Tesla's Panel Gap
Restoring your Tesla’s panel gap can be a straightforward process that allows you to avoid frequent visits to the body shop. Here’s a step-by-step guide designed for car owners looking to tackle this task themselves. Begin by gathering all necessary tools, including a putty knife, auto-body filler, sandpaper, and a clear coat or sealer. Ensure your work area is clean and well-lit before starting. First, carefully inspect the damaged panel, identifying the extent of the gap and any surrounding dents or imperfections. Using the putty knife, gently apply the body filler to fill in the gap, ensuring it’s level with the surrounding surface. Allow the filler to set according to the manufacturer’s instructions. Once cured, sand down the area until smooth, removing any excess filler. After achieving a seamless finish, clean the panel thoroughly to prepare for painting. Apply a thin coat of clear coat or sealer, matching your Tesla’s original color as closely as possible. This final step not only protects the repair but also ensures your car looks as good as new, eliminating the need for costly body shop services and enhancing your auto maintenance routine.
Tesla panel gap restoration is no longer a daunting task, thanks to DIY enthusiasts who have mastered the art of repairing their vehicles’ gaps without body shop visits. By understanding common causes like panel misalignment or manufacturing defects and gathering the right tools and materials, you can effectively restore your Tesla’s aesthetic appeal. Following a detailed step-by-step guide ensures precision and professionalism, allowing you to achieve factory-like results at home. Embracing this DIY approach not only saves costs but also fosters a deeper connection with your vehicle.