
Surface preparation is key to a flawless auto body paint service. This involves cleaning, sanding, and priming to remove contaminants, ensure bond strength, and achieve long-lasting durability. Essential tools include sandpaper, degreasers, primers, paint knives, brushes, safety gear, and a pressure washer for thorough surface readiness. Meticulous steps like cleansing, deburring, priming, and final sanding create a smooth canvas, enhancing the quality of professional auto body painting.
Before diving into an auto body paint service, proper surface preparation is crucial. This step ensures a durable, high-quality finish that stands the test of time. Understanding the importance of surface prep and using the right tools can transform your project from mediocre to magnificent. In this guide, we’ll walk you through essential steps and materials needed to effectively prepare your car’s surface for painting, guaranteeing optimal results when it comes to auto body paint services.
- Understanding the Importance of Surface Preparation
- Essential Tools and Materials for the Job
- Step-by-Step Guide to Effective Surface Prep
Understanding the Importance of Surface Preparation
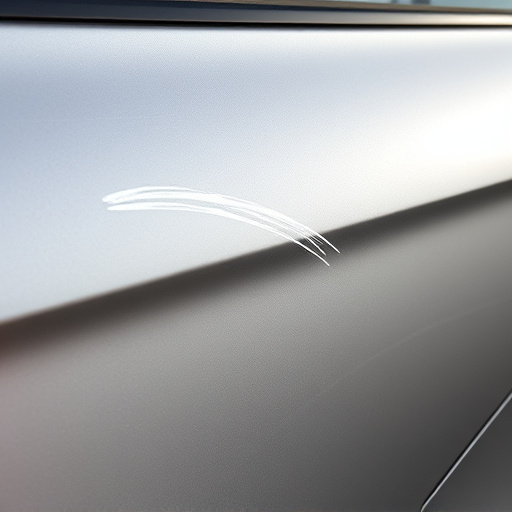
Surface preparation is a critical step in any auto body paint service. It involves a meticulous process of cleaning, sanding, and priming the vehicle’s surface to ensure a smooth and durable finish. This stage is not just about aesthetics; proper preparation guarantees that the new paint adheres well, preventing future peeling or chipping. A thorough understanding of material science and painting techniques is essential here, as it determines the longevity and quality of the final product in car restoration or vehicle bodywork projects.
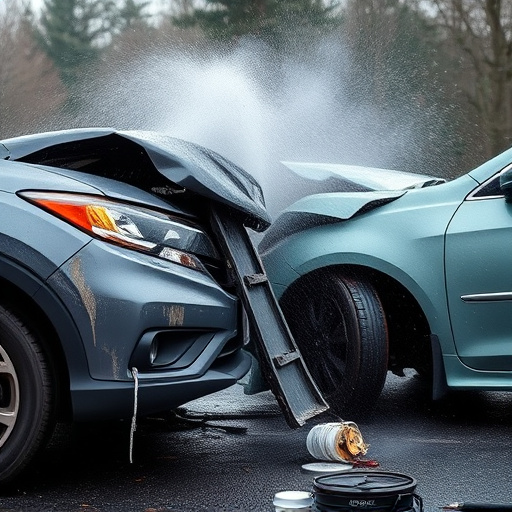
When considering auto body paint service or vehicle restoration, the preparation phase sets the stage for a flawless transformation. It involves removing any existing contaminants, such as dirt, grease, and old paint, which can compromise the paint’s bond with the metal surface. By achieving a clean, roughened surface through sanding, the paint has more points of contact to lock into, enhancing the overall strength and longevity of the new coating in vehicle restoration projects.
Essential Tools and Materials for the Job
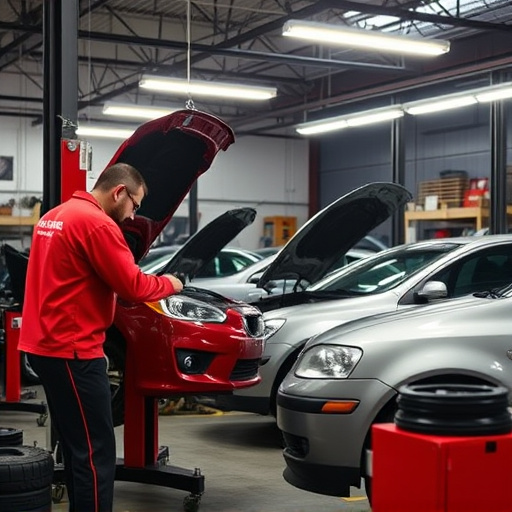
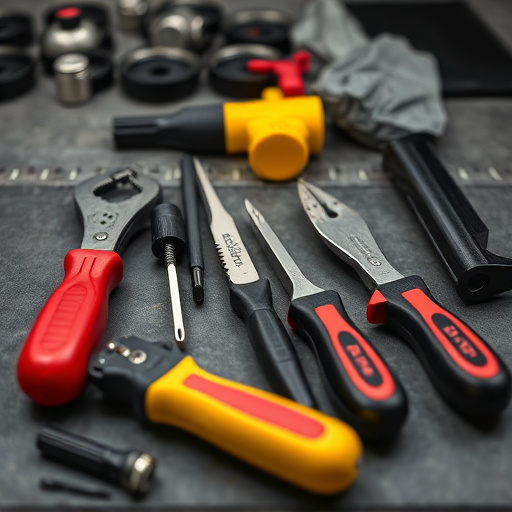
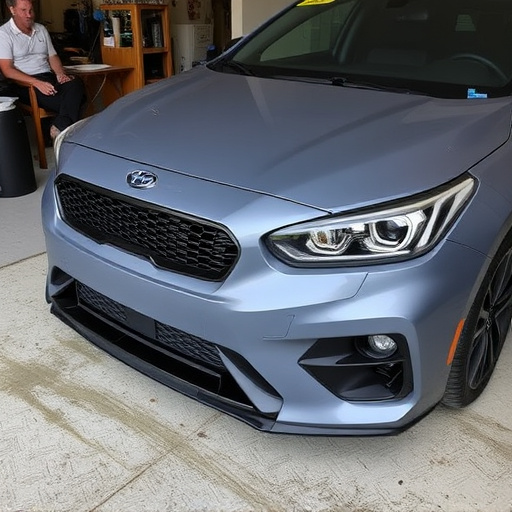
When preparing a vehicle for an auto body paint service, the right tools and materials are essential to ensure a smooth process and high-quality results. For this task, a well-equipped workshop is key. Basic essentials include a range of sandpaper in various grits, from coarse to fine, for smoothing and refining the car’s surface. Degreasers and primers are vital to cleanse and protect the metal, while paint and putty knives facilitate application during repairs.
Additionally, a pressure washer can help strip away dirt and debris, especially after a fender bender or vehicle body repair. Safety gear, such as gloves, goggles, and masks, protects workers from hazardous materials like paints and solvents. For efficient blending and finishing, a palette knife and various brushes come in handy. Having these tools readily available ensures a professional approach to the auto body paint service, making the process more effective and the final finish impeccable.
Step-by-Step Guide to Effective Surface Prep
Preparing a car’s surface for an auto body paint service is a meticulous process that requires attention to detail. It involves several crucial steps to ensure the new paint adheres properly and lasts for years to come. Here, we present a step-by-step guide to effective surface preparation, designed to enhance the quality of any auto body paint job:
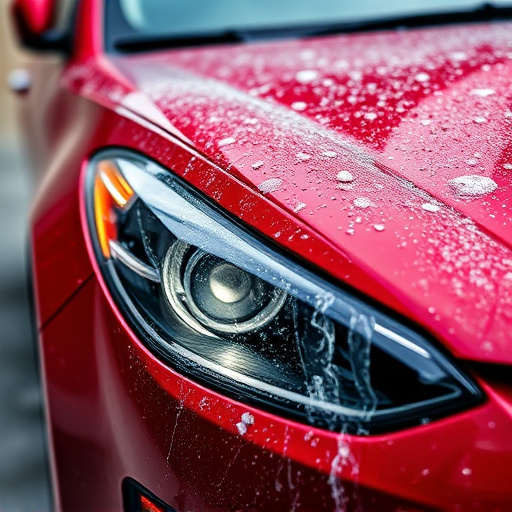
1. Cleansing: Begin by thoroughly washing the vehicle to remove dirt, dust, and contaminants. Use dedicated automotive cleaning products and pay close attention to hard-to-reach areas. This initial step is vital as it creates a clean canvas for the subsequent processes.
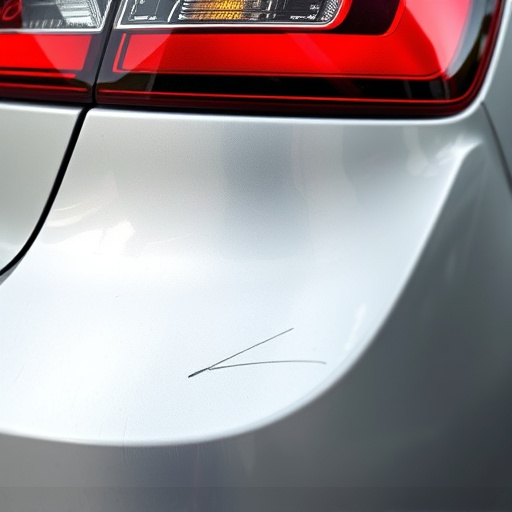
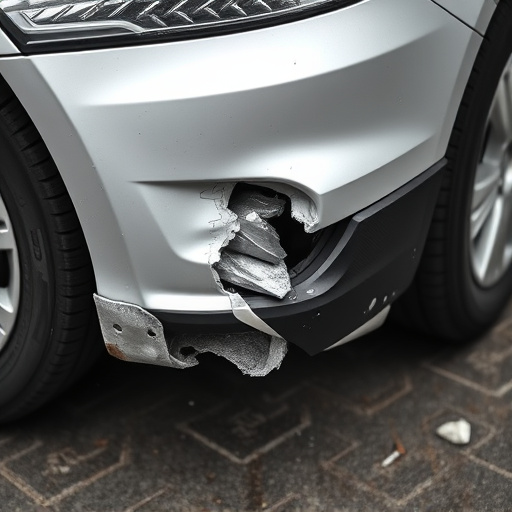
2. Deburring & Sanding: Next, inspect the surface for any jagged edges, burrs, or rough patches from previous repairs (auto body repairs). Use appropriate tools to gently deburr and sand these areas, ensuring a smooth finish. This step is key in achieving a professional-looking auto body paint job, as it provides an even base for painting.
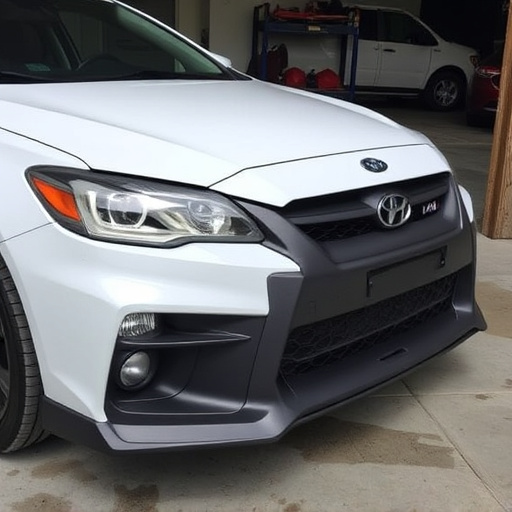
3. Priming: Apply a high-quality primer designed specifically for automotive bodywork. Primers act as a bridge between the surface and the final paint, improving adhesion and sealing the metal. Follow the manufacturer’s instructions regarding application and drying time.
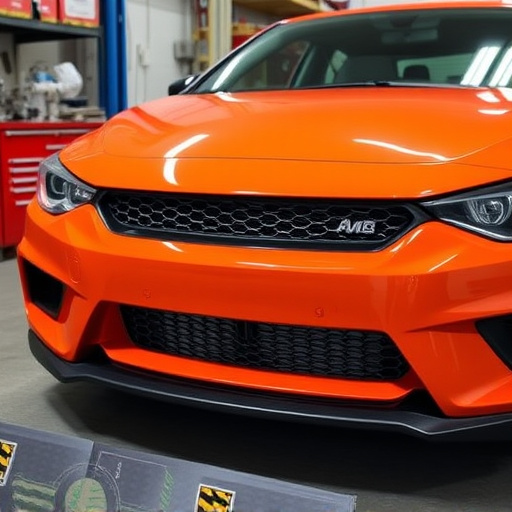
4. Sanding (Final Touch): Once the primer is dry, give the surface a fine sand to create a smooth texture. This final sanding step ensures any imperfections from previous stages are minimized, resulting in a flawless base for the auto body paint service.
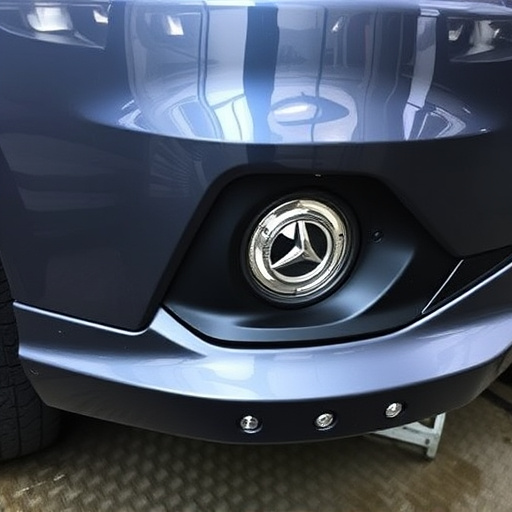
Proper surface preparation is a fundamental step in ensuring top-quality results from any auto body paint service. By investing time and effort into cleaning, sanding, and priming the car’s surface, you create a smooth foundation for the new paint job, enhancing durability and aesthetics. This process not only improves the final finish but also extends the lifespan of the paint, making it a crucial pre-paint treatment that every automotive professional should prioritize.