
Proper emblem replacement after a collision involves cleaning with degreaser, sanding for better adhesion, using pH-neutral cleaners, and applying protective coatings to prevent fading, damage from UV rays and chemicals, extending the life of the new emblem, especially crucial for businesses' brand promotion.
When replacing car emblems after a collision, proper cleaning and protection are crucial for longevity. This guide outlines best practices for ensuring your new emblem looks as good as new. Start by preparing the surface thoroughly; use appropriate cleaning solutions and techniques to remove dirt and debris. Then, apply protective coatings to safeguard against future damage. These steps will not only enhance the aesthetic appeal but also ensure the longevity of your newly installed emblems.
- Prepare Surface Properly Before Replacement
- Use Appropriate Cleaning Solutions and Techniques
- Apply Protective Coatings for Longevity
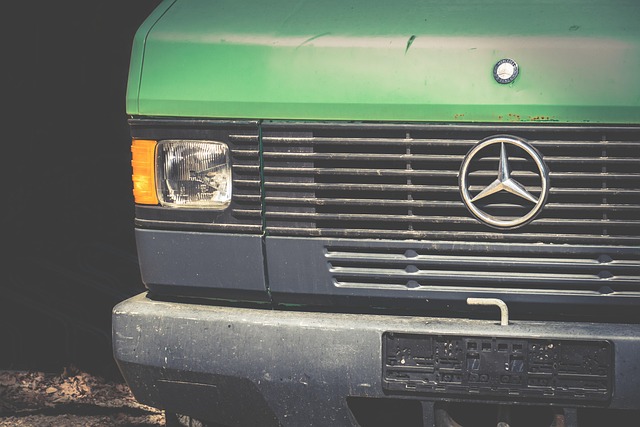
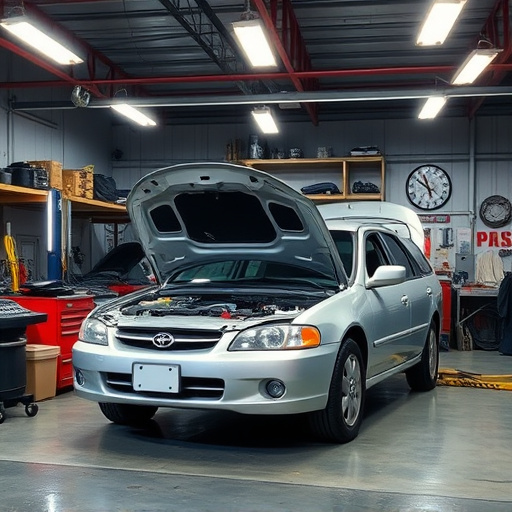
Prepare Surface Properly Before Replacement
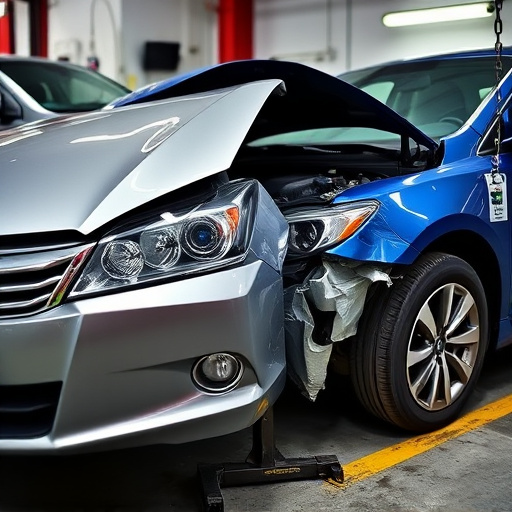
Before replacing any emblems, whether due to damage from a collision or simple wear and tear, preparing the surface properly is paramount. This involves thoroughly cleaning the area around the emblem to remove any dirt, grime, or debris that could interfere with adhesion during installation. A gentle but effective degreaser can be used for tough stains, followed by a rinse and dry process to ensure no residue remains.
For car body restoration projects involving emblem replacement, it’s essential to sand the surface slightly to create a rough texture. This aids in creating a strong bond between the new emblem and the vehicle’s paintwork. An auto repair shop will often use fine-grit sandpaper for this step, taking care not to damage surrounding surfaces. This preparation is crucial, especially in the case of collision repairs, where an unkempt surface could lead to premature peeling or fading of the newly installed emblem, requiring additional auto painting work down the line.
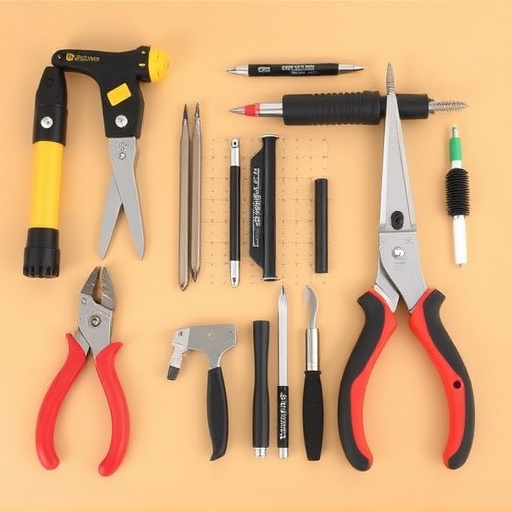
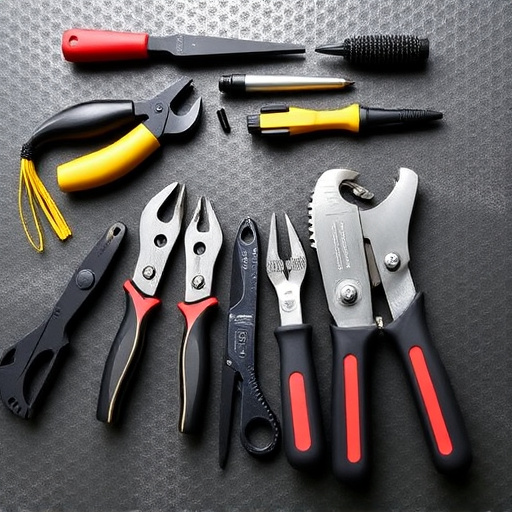
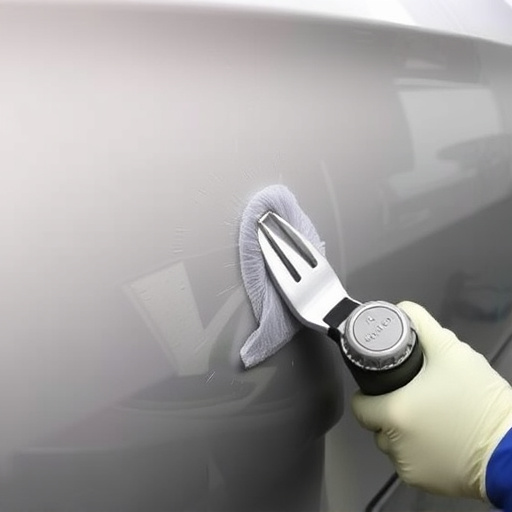
Use Appropriate Cleaning Solutions and Techniques

When it comes to cleaning replaced emblems, choosing the right solutions and techniques is paramount. Opt for mild, pH-neutral cleaners designed specifically for automotive use to avoid damaging the surface or fading the colors. Avoid harsh chemicals, abrasive pads, or rough cloths that can leave scratches or remove essential protective coatings. Instead, opt for microfibre cloths and gentle cleaners recommended by auto body repair experts.
Proper cleaning involves removing any visible dirt, grime, or debris without causing further damage. For emblems with deep grooves or intricate designs, a soft-bristled brush can help dislodge stubborn particles. Always test a small, inconspicuous area first to ensure the cleaner is suitable for the material and finish of the emblem. Following these best practices ensures that your replaced emblems not only look their best but also endure the wear and tear associated with emblem replacement collisions, backed by quality auto body repairs or dent repair services.
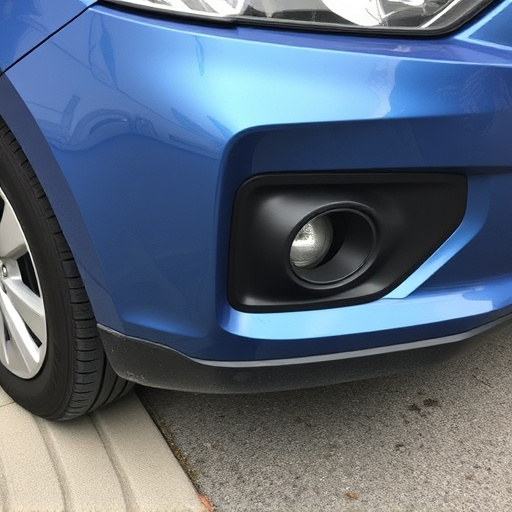
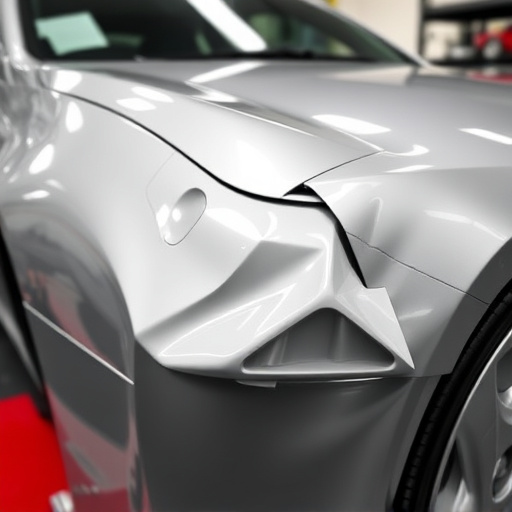
Apply Protective Coatings for Longevity
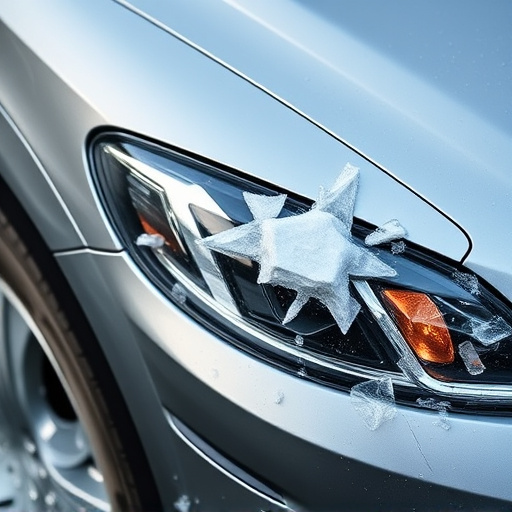
After successfully replacing a damaged or faded emblem, one crucial step often overlooked is applying protective coatings to ensure longevity. These coatings create a barrier between the fresh replacement and potential environmental stressors, such as UV rays from the sun and harsh chemicals present in car washes. By using high-quality protective sealants specifically designed for automotive applications, you can safeguard the vibrant colors and crisp details of the new emblem. This extra layer of defense significantly extends the life of the replacement, making it withstand the challenges of daily driving, including exposure to wind, rain, and various road conditions—all common issues in the event of an emblem replacement collision.
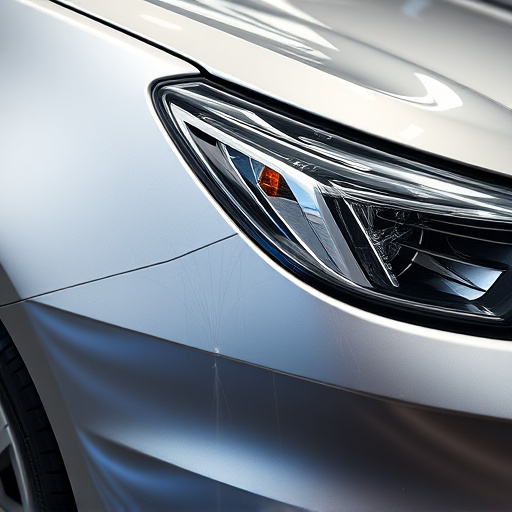
Consider this step as part of your comprehensive fleet repair services or auto glass replacement process. Professional detailers or car collision repair specialists can apply these protective coatings, ensuring a flawless finish and long-lasting protection. This simple yet effective method is a game-changer in preserving the look of vehicle markings, especially for businesses relying on their fleet’s visual appeal to promote their brand.
When replacing vehicle emblems, proper cleaning and protection practices ensure a long-lasting, high-quality finish. Always prepare the surface thoroughly, choosing suitable cleaning solutions and techniques to remove dirt and debris. Following up with protective coatings seals the surface, safeguarding against future damage from collision or wear and tear, thus preserving the new emblem’s appearance for years to come.