


Tesla touchscreen replacements involve addressing software glitches and hardware failures through regular care, understanding potential causes, gathering specific tools and parts, and following a step-by-step guide for DIY installation or seeking professional help for complex repairs. Keywords: Tesla touchscreen replacement.
Looking to replace your Tesla’s touchscreen? This comprehensive guide is tailored for Tesla owners navigating the process. We’ll walk you through understanding common touchscreen failures, gathering the right tools and parts, and step-by-step instructions for a successful replacement. From identifying issues to ensuring compatibility, this owner’s guide has you covered. Get ready to breathe new life into your Tesla’s infotainment system with confidence.
- Understanding Tesla Touchscreen Failure
- Gathering Necessary Tools and Parts
- Step-by-Step Replacement Guide
Understanding Tesla Touchscreen Failure

Tesla Touchscreens are renowned for their intuitive interface and sleek design, but like any electronic component, they can fail over time. This failure could manifest in various ways—from a frozen screen to touch responsiveness issues or even complete non-functionality. Understanding what might cause these failures is key when considering a Tesla touchscreen replacement.
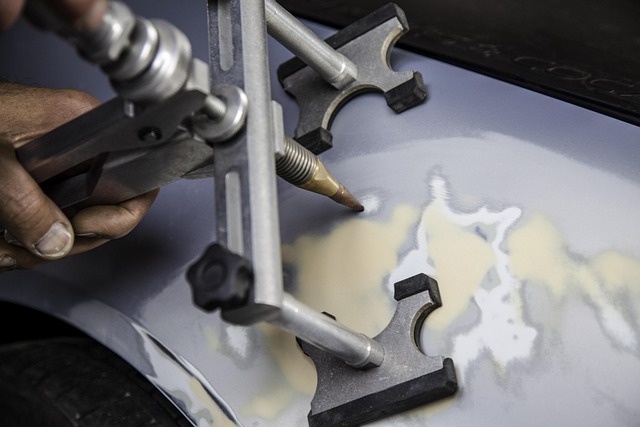
While some issues may be due to software glitches that can often be resolved with a simple reset, others point towards hardware problems. These could range from faulty connections and damaged cables to more severe cases like hail damage or bumper repair, which might require professional Mercedes Benz collision repair services. Regular maintenance, keeping the screen clean, and avoiding extreme temperature changes can help extend its lifespan.
Gathering Necessary Tools and Parts

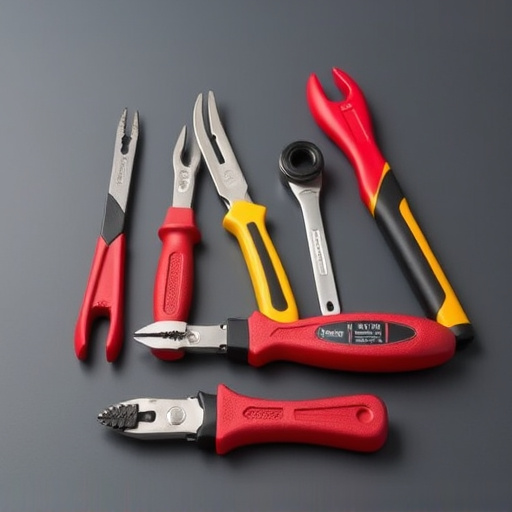
Before diving into your Tesla touchscreen replacement, ensure you have all the necessary tools and parts. A successful Tesla touchscreen replacement requires specific hardware such as a new touchscreen assembly, screws, and adhesive. Additionally, gather safety items like gloves to protect your hands and a dust mask for any debris. For an efficient repair, consider using a screwdriver set compatible with your Tesla model, a heat gun (for warming up the adhesive), and a suction cup tool to lift the old screen.
Remember that this process involves precise work, so having the right tools is crucial. While it’s tempting to skimp on supplies, especially if you’re addressing minor issues like a cracked or non-responsive touchscreen after a fender bender, investing in quality auto body repairs tools will save time and ensure a clean, secure installation. After all, a smooth car dent removal process paves the way for a successful Tesla touchscreen replacement.
Step-by-Step Replacement Guide

Tesla Touchscreen Replacement Guide
Performing a Tesla touchscreen replacement is a relatively straightforward process that can be accomplished by many owners with basic DIY skills. The first step involves gathering the necessary tools and preparing your workspace. You’ll need a new touchscreen, a screwdriver set compatible with your vehicle (often Torx screwdrivers), and possibly an anti-static mat to protect your car’s electronics. Ensure proper ventilation as some components may emit chemicals.
Next, power off your Tesla completely and unplug all necessary cables connected to the old touchscreen. Carefully remove the dashboard panel housing the screen, taking note of how it’s secured. This might involve detaching several screws and clips. Once exposed, carefully disconnect the old touchscreen from its connectors. Install the new unit by securing it in place with the appropriate screws and connecting the power and data cables. Double-check all connections before remounting the dashboard panel. For those not comfortable performing auto body repairs themselves, fleet repair services or car repair services can offer professional assistance for this task.
Replacing your Tesla’s touchscreen is a feasible task for proactive owners, as outlined in this comprehensive guide. By understanding common failure points, gathering the right tools and parts, and following detailed steps, you can efficiently navigate the process. With this guide at hand, you’ll be well-equipped to tackle any touchscreen replacement needs for your electric vehicle, ensuring a seamless and modern driving experience. Remember, when it comes to Tesla touchscreen replacement, knowledge is power.