


Tesla ultrasonic sensor repair is vital for ADAS safety features. Malfunctions cause warning lights and error codes like P0470, requiring prompt action from professionals. The repair process involves meticulous reconnections and calibration of sensors near bumpers to the ECU, ensuring optimal performance in automatic emergency braking and lane departure warning systems.
Tesla vehicles rely on advanced ultrasonic sensors for various safety and performance functions. When these sensors malfunction, it’s crucial to understand the issues and know how to repair them. This guide dives into the world of Tesla ultrasonic sensor repair, detailing common problems, diagnosis techniques, and a step-by-step process to reconnecting the sensor to the Electric Control Unit (ECU). By following this comprehensive tutorial, you’ll be equipped to address and resolve sensor-related challenges in your Tesla.
- Understanding Tesla Ultrasonic Sensors: Function and Location
- Diagnosing Sensor Malfunction: Common Issues and Fault Codes
- Step-by-Step Repair Guide: Reconnecting to the ECU System
Understanding Tesla Ultrasonic Sensors: Function and Location
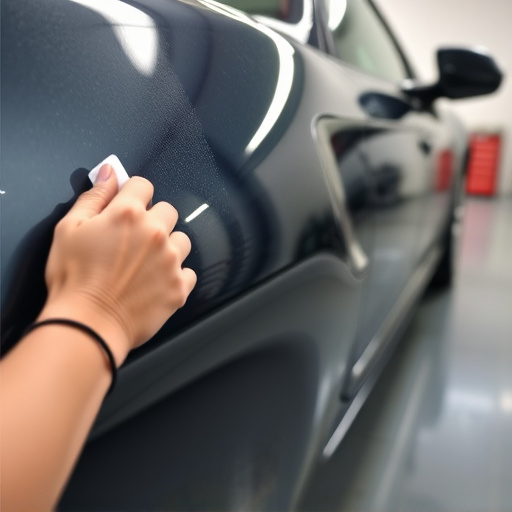
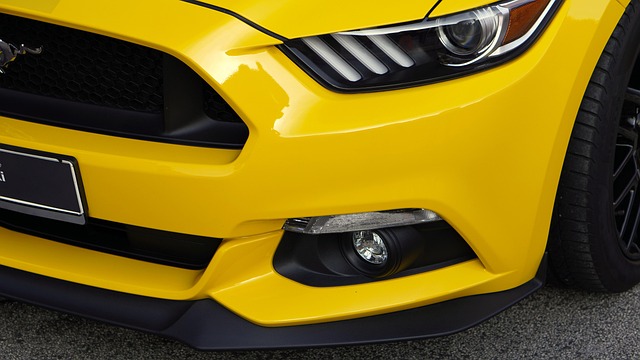
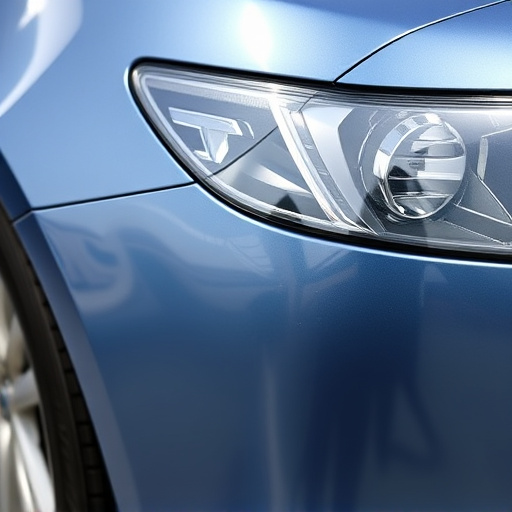
Tesla’s ultrasonic sensors are integral components of its advanced driver-assistance systems (ADAS). These sensors use high-frequency sound waves to detect objects and measure distances, enabling features like autonomous parking, adaptive cruise control, and collision avoidance. Located strategically around the vehicle, typically near corners and edges, they provide crucial data for the Tesla Electric Control Unit (ECU) to make real-time decisions.
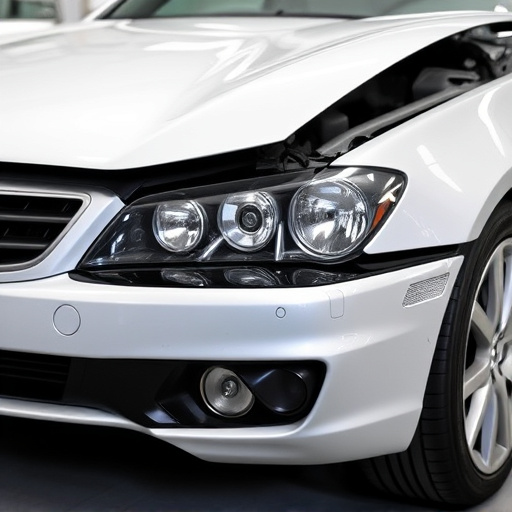
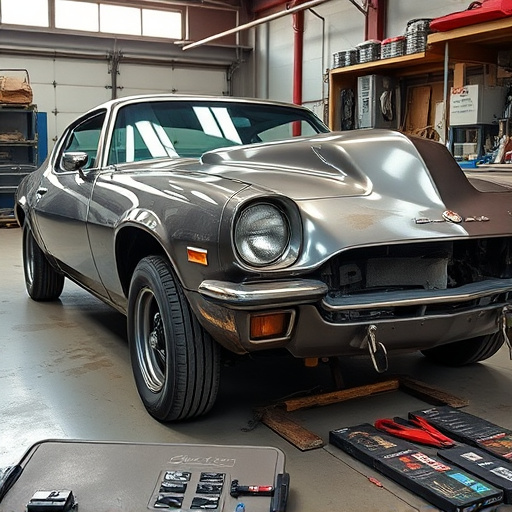
Proper functioning of these sensors is vital for the safety and efficiency of Tesla’s semi-autonomous driving capabilities. In cases where a sensor malfunctions or needs repair, it’s often due to damage from road debris, parking obstacles, or collision repair processes involving auto painting or body work. An auto repair shop specializing in Tesla ultrasonic sensor repair can reconnect and recalibrate these sensors to the ECU system, ensuring seamless integration and optimal performance.
Diagnosing Sensor Malfunction: Common Issues and Fault Codes

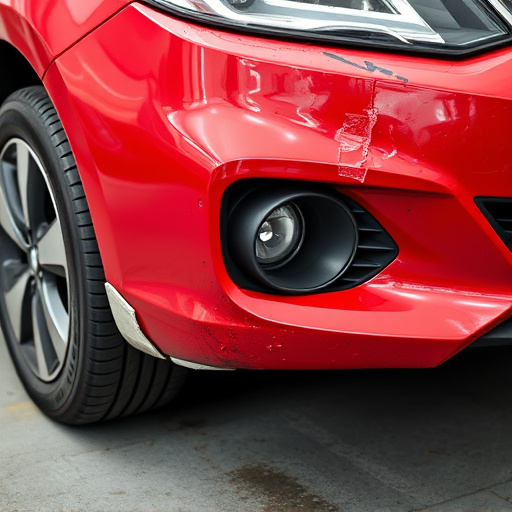
Diagnosing sensor malfunction in a Tesla vehicle is a critical step before attempting any repair, especially when dealing with ultrasonic sensors. Common issues often present as warning lights on the dashboard or error codes stored in the ECU (Electronic Control Unit). One of the primary indicators of an ultrasonic sensor problem is a “Sensor Malfunction” or “Check Engine” light. These warnings signal that the ECU has detected an anomaly in communication or performance from one or more sensors.
Fault codes related to Tesla’s ultrasonic sensors can vary, but common issues include sensor range errors, signal interference, or physical damage. For instance, code P0470 might indicate a problem with the tire pressure monitoring system (TPMS) sensor, while code P0352 could point to an issue with the ultrasonic parking sensors. Given that these sensors are integral for safety features like autonomous driving and collision avoidance, it’s crucial to address any malfunction promptly. An experienced automotive body shop or professional mechanic can use specialized tools to diagnose and interpret these codes effectively, guiding the repair process, whether it involves replacing faulty parts or calibrating systems, including auto glass replacement or tire services, as needed.
Step-by-Step Repair Guide: Reconnecting to the ECU System
Step-by-Step Repair Guide: Reconnecting to the ECU System
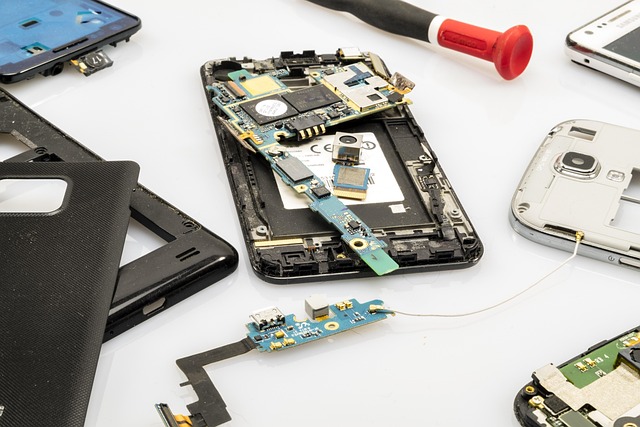
Begin by locating the Tesla ultrasonic sensor, typically found near the front or rear bumpers. Once identified, carefully disconnect the sensor from its existing wiring harness using a fine tool or tweezers. Next, access the Electric Control Unit (ECU) and prepare the connection points by cleaning any debris or corrosion. Ensure proper alignment of the sensor’s connectors with the ECU before securely reattaching them.
After re-connecting, use a diagnostic tool to verify communication between the sensor and the ECU. This step is crucial for identifying any issues that may persist after repair. If all parameters are showing as normal, your Tesla ultrasonic sensor should now be successfully reconnected to the system, enhancing safety features like automatic emergency braking and lane departure warning. Remember, professional tools and a steady hand are essential for this process, especially when dealing with intricate vehicle electronics.
Repairing a Tesla ultrasonic sensor involves understanding its crucial role in the vehicle’s safety systems, diagnosing potential issues through common fault codes, and following a meticulous step-by-step guide for reconnection to the ECU. With proper care and knowledge, owners can efficiently address and prevent future ultrasonic sensor malfunctions, ensuring their Tesla remains a reliable and safe mode of transportation. For any Tesla ultrasonic sensor repair, having a detailed guide and adhering to best practices is key.