


Bumper scuff repair addresses minor to severe scratches and dents caused by everyday collisions. DIY methods are suitable for light scuffs, offering cost savings but limited expertise. Professional repairs provide high-quality finishes that match the vehicle's original appearance, ideal for complex areas. A home repair guide includes washing, sanding, filling, smoothing, priming, and painting, ensuring effective bumper scuff resolution.
Bumper scuff damage is a common issue, often caused by parking lot mishaps or stone chips. While minor scrapes might seem cosmetic, they can impact your vehicle’s appearance and value. This article guides you through understanding different types of bumper scuff damage, the pros and cons of DIY vs professional repair, and offers a comprehensive step-by-step guide for fixing those pesky scuffs at home. Learn how to effectively address low-speed impact damage and restore your bumper to its original condition.
- Understanding Bumper Scuff Damage: Common Causes & Types
- The Benefits of DIY vs Professional Repair for Minor Scuffs
- Step-by-Step Guide: Effective Bumper Scuff Repair Techniques at Home
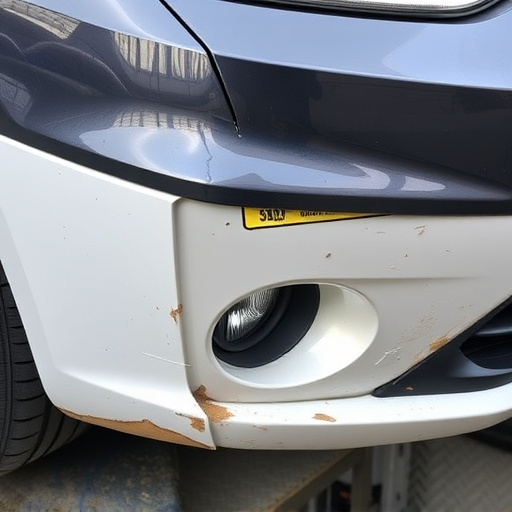
Understanding Bumper Scuff Damage: Common Causes & Types

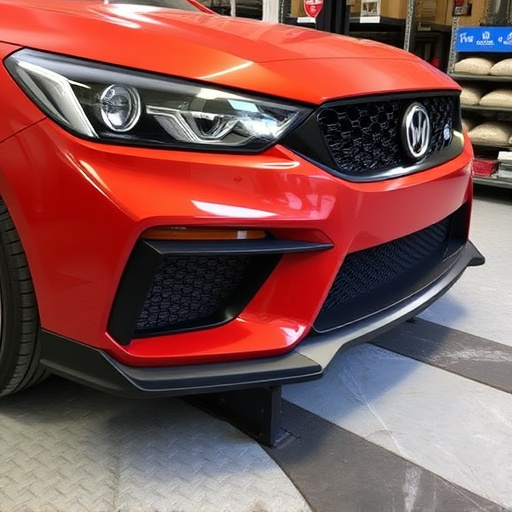
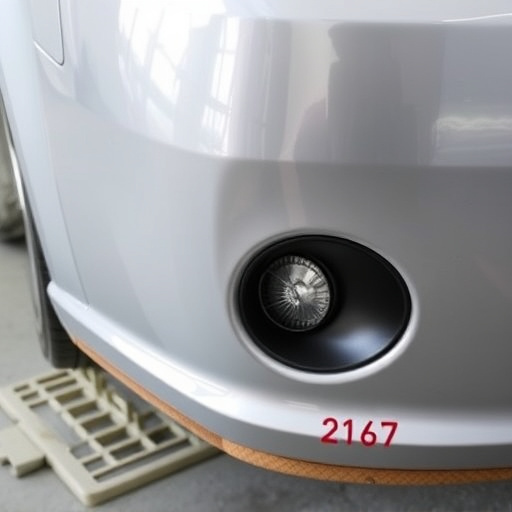
Bumper scuff damage is a common issue that can mar the appearance of your vehicle. Understanding the causes and types of such damage is crucial when considering bumper scuff repair. Common causes include minor collisions, parking lot mishaps, and obstacles like curbs or shopping carts. These incidents often result in shallow scratches, nicks, or dents along the bumper, which can be unsightly but may not always require professional attention.
There are several types of scuff damage, from light surface scratches to more severe deformities. Light scuffs typically appear as thin lines or small indentations that can usually be buffed out with specialized polishes. More significant damage might involve deeper gouges or chips in the bumper’s surface, which may necessitate a trip to a collision repair center for effective scratch repair. Vehicle collision repair specialists have the tools and expertise to restore your bumper to its original condition, ensuring it not only looks good but also maintains the vehicle’s structural integrity.
The Benefits of DIY vs Professional Repair for Minor Scuffs

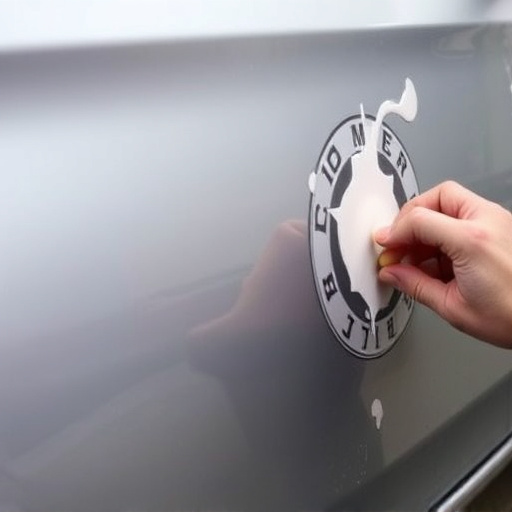
Choosing between DIY and professional bumper scuff repair depends on several factors. For minor scuffs and scratches, many car owners opt for a DIY approach, which offers several advantages. First, it’s cost-effective, as you avoid the labor fees charged by automotive collision repair centers. Second, it provides flexibility in terms of scheduling and allows you to complete the repair at your convenience. Moreover, simple scratch repairs can often be done with readily available tools and materials, making the process relatively straightforward.
However, while DIY methods can effectively address low-speed impact damage, professional automotive repair offers superior quality and longevity. Professionals have access to high-quality materials and specialized tools tailored for precise bumper scuff repair. They also possess the skill and experience to handle more complex or deep scratches, ensuring a seamless finish that matches your vehicle’s original appearance. This level of expertise can be particularly valuable if you want your car to look its best or if the scuffs are in hard-to-reach areas.
Step-by-Step Guide: Effective Bumper Scuff Repair Techniques at Home

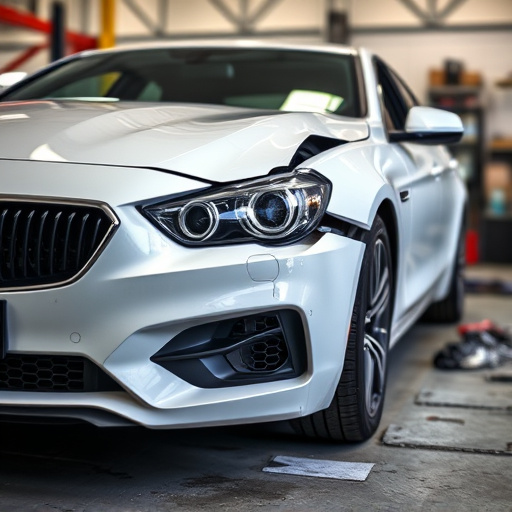
Reparing a bumper scuff at home can be a straightforward process, allowing you to save time and money on minor auto body damage. Here’s a step-by-step guide for effective bumper scuff repair:
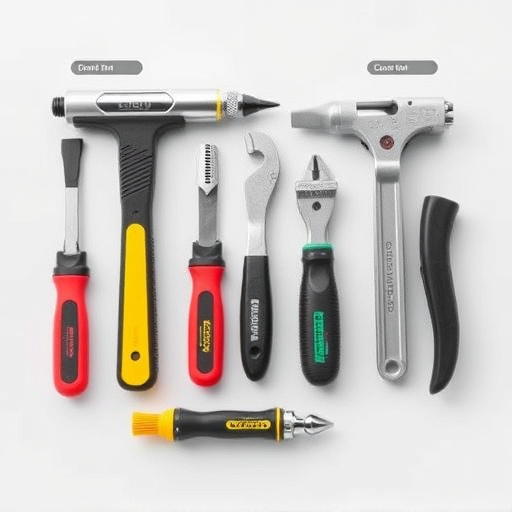
1. Prepare the Area: Start by washing your vehicle thoroughly to ensure no dirt or debris obscures the damaged area. Once dry, assess the extent of the scuff and gather your tools: a sanding block or paper (fine grit), auto body filler (or putty), a putty knife, primer, paint that matches your bumper’s color, and a cloth for polishing.
2. Sanding: Lightly sand the scuffed area using your chosen sanding material. This step helps to roughen the surface, allowing better adhesion for the filler. Be careful not to over-sand; you want to remove just enough to create a textured surface. Remove any dust with a clean cloth before proceeding.
3. Apply Body Filler: Using the putty knife, carefully apply a thin layer of body filler to the damaged area. Work it in gently, ensuring complete coverage. Allow the filler to dry according to the manufacturer’s instructions.
4. Sand Again (if necessary): Once the filler is dry, lightly sand the area again to smooth out any imperfections and create a seamless surface.
5. Prime and Paint: Apply a coat of primer designed for autobody repairs, allowing it to dry completely. Then, use the matching paint to carefully repaint the bumper, ensuring even coverage. Allow the paint to cure fully before testing its durability.
Bumper scuff repairs are a simple and cost-effective solution for low-speed impact damage. By understanding the causes and types of scuffing, and choosing between DIY or professional repair, you can effectively restore your vehicle’s appearance. Following the step-by-step guide ensures precise and successful bumper scuff repair, bringing your car back to its original condition without breaking the bank.