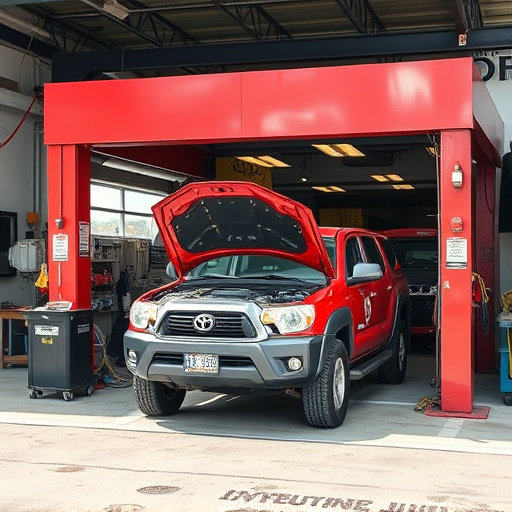


Proper bumper cover removal requires detaching securing hardware and releasing adhesives. Gather essential tools and safety gear, park on a level surface, and consult vehicle manuals. Loosen and remove fasteners, detach the old cover while preserving component locations for seamless replacement. Prioritize expert autobody work for collision or fleet repairs.
When undertaking a bumper cover replacement, understanding the process of removing old hardware is crucial. This step-by-step guide walks you through the essential tools and safety precautions needed for successful bumper cover removal. From identifying the right components to efficiently disassembling, we’ll equip you with the knowledge to tackle this task with confidence. Learn how to navigate this process seamlessly as you prepare for your new bumper cover installation.
- Understanding the Bumper Cover Removal Process
- Gather Necessary Tools and Safety Precautions
- Step-by-Step Guide to Efficient Hardware Removal
Understanding the Bumper Cover Removal Process
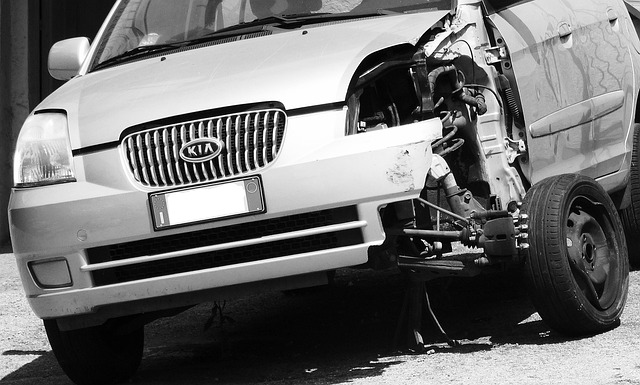
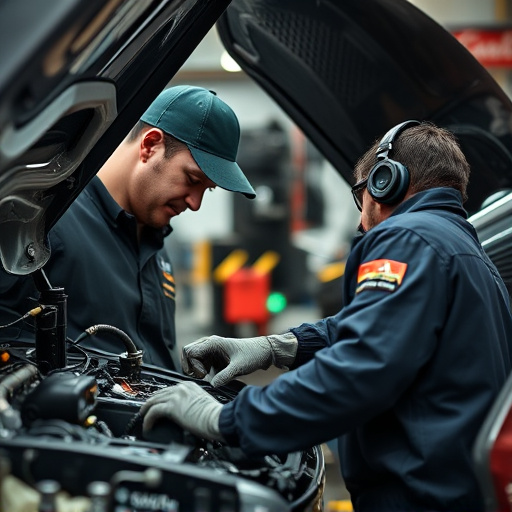
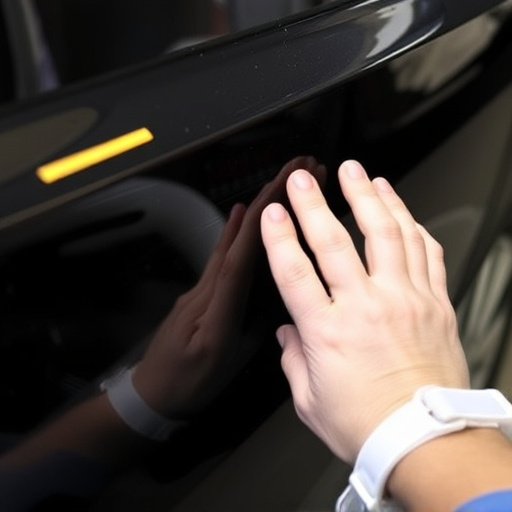
Understanding the bumper cover removal process is key when undertaking a bumper cover replacement. This involves carefully detaching the old bumper cover from your vehicle’s frame, which requires specific tools and knowledge. The process starts by locating all the hardware securing the bumper, including bolts, brackets, and clips. These must be carefully removed without damaging other components or the car body.
Once the old hardware is taken care of, the next step involves releasing any adhesives or sealants holding the bumper in place. This might require a heat gun to soften and remove the adhesive. With the bumper cover now loose, it can be carefully lifted off the vehicle, allowing access to the underlying components for replacement or repair, part of broader autobody repairs or collision repair services.
Gather Necessary Tools and Safety Precautions
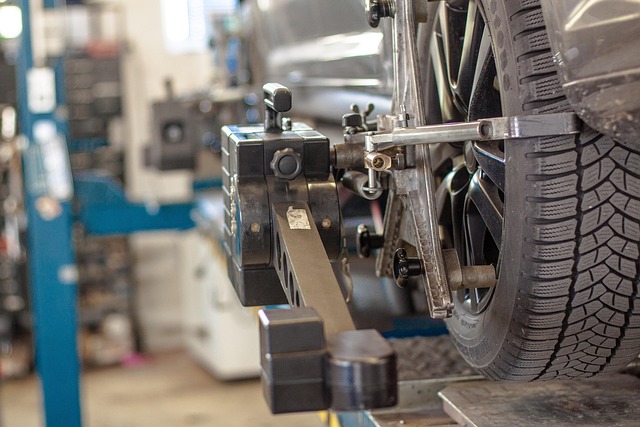
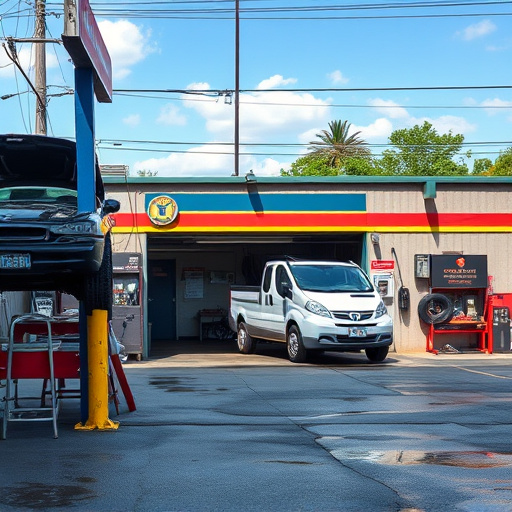
Before starting a bumper cover replacement, ensure you have all the necessary tools on hand, such as jack stands, socket sets, and screwdrivers. Safety should always be your top priority; wear protective eyewear and gloves to avoid any injuries. A stable workspace is also crucial, so park your vehicle on a level surface and engage the parking brake.
Additionally, familiarize yourself with the specific steps for your car model, as bumper cover replacements can vary. For instance, if you’re opting for tire services or collision damage repair, understanding these procedures will ensure a smoother process. Remember to consult your vehicle’s manual or seek guidance from automotive experts for any intricate details related to your bumper cover replacement.
Step-by-Step Guide to Efficient Hardware Removal
Removing old hardware is a crucial step in any successful bumper cover replacement. Here’s a step-by-step guide to ensure this process goes smoothly. First, gather all necessary tools, including socket sets, screwdrivers, and pliers, tailored to your vehicle’s make and model. Next, engage the parking brake and chock wheels for safety during disassembly. Begin by loosening and removing any visible bolts or screws securing the old bumper cover in place. Use a screwdriver or appropriate tool to gently pry and free the hardware from its connections, taking note of where each piece belongs. For stubborn fasteners, apply penetrating oil to expedite their removal without causing damage. Once all hardware is loose, carefully separate the old bumper cover from the vehicle’s structure, being mindful of surrounding components. This meticulous approach ensures a seamless transition to the new bumper cover installation and highlights the importance of proper automotive body work in collision repair centers or fleet repair services.
When replacing a bumper cover, removing the old hardware is a crucial step in the bumper cover replacement process. By following our detailed guide, which includes understanding the removal process, gathering the right tools, and taking necessary safety precautions, you’ll be able to efficiently navigate this aspect of the bumper cover replacement. Now that you’re equipped with knowledge, it’s time to embark on this DIY project and enhance your vehicle’s appearance with a fresh, new bumper cover.