


Tesla charge connectors are essential for EV charging but prone to issues like loose connections, faulty cables, or damage. Regular maintenance, including cleaning and lubrication, prevents these problems. Simple repairs can be done at home, but complex cases may require professional Tesla charge connector repair. Prolonging connector lifespan involves regular inspections, service, protection from extreme temperatures, and avoiding debris buildup.
Tesla vehicles are renowned for their cutting-edge technology, but even these innovative cars aren’t immune to issues. One common problem owners face is a faulty Tesla charge connector, leading to slow or failed charging. This can be frustrating, especially when relying on electric vehicle (EV) range. This article provides an in-depth guide to diagnosing and repairing your Tesla’s charge connector problems. We’ll walk you through the step-by-step process and offer maintenance tips to prevent future connectivity challenges, ensuring a seamless charging experience for your Tesla.
- Understanding Tesla Charge Connector Issues
- The Repair Process: Step-by-Step Guide
- Maintenance Tips to Prevent Future Problems
Understanding Tesla Charge Connector Issues

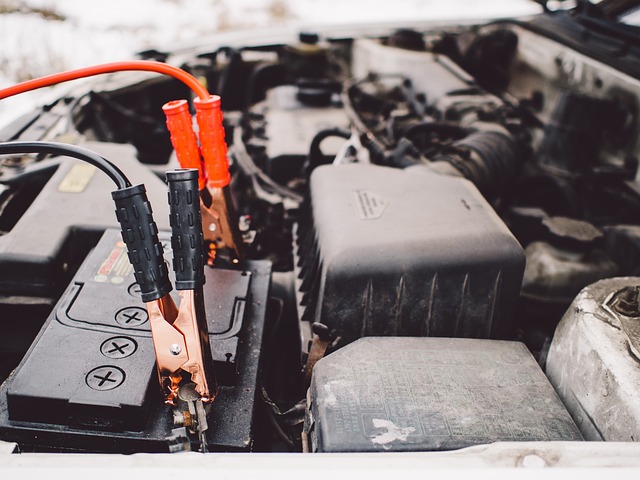
Tesla charge connectors are integral to the electric vehicle (EV) charging process, ensuring a seamless experience for Tesla owners. However, various factors can lead to issues with these connectors, resulting in slow or failed charging. Understanding these common problems is the first step towards efficient Tesla charge connector repair. One of the primary causes is loose connections due to worn-out rubber seals or damaged ports, especially after prolonged use or exposure to harsh weather conditions.
Another frequent issue is faulty cables or adapters, which can interrupt the power flow and hinder charging efficiency. Moreover, incorrect installation or poor maintenance practices in a vehicle body shop can also contribute to these problems. Regular auto maintenance plays a crucial role in preventing such issues, ensuring that connectors remain clean, well-lubricated, and free from debris, thus promoting optimal charging performance for your Tesla vehicle.
The Repair Process: Step-by-Step Guide
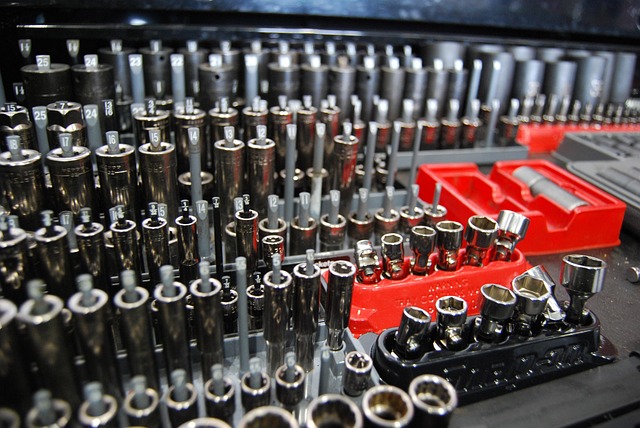
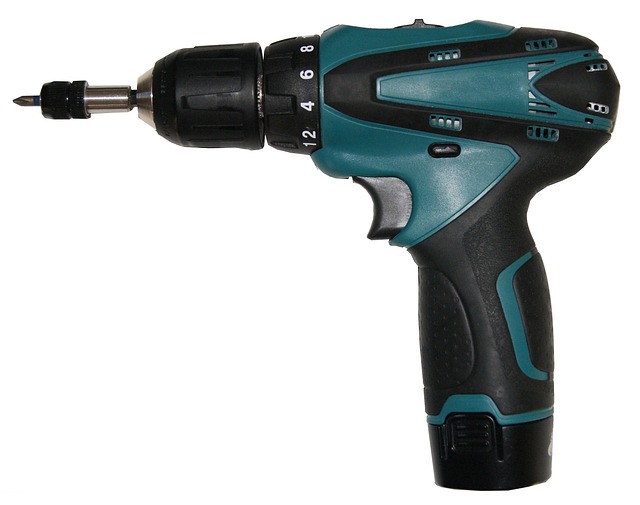
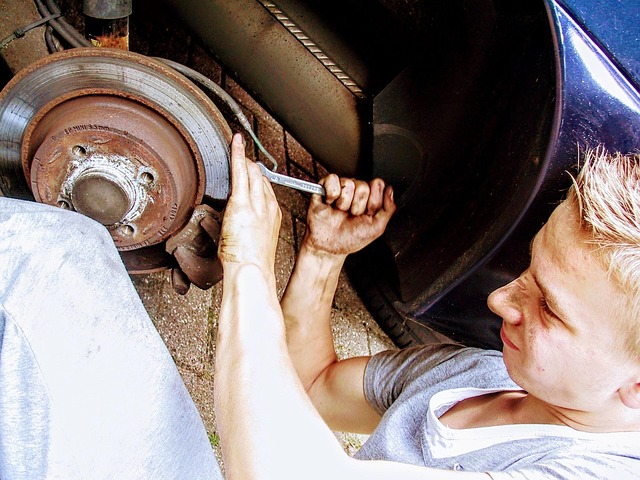
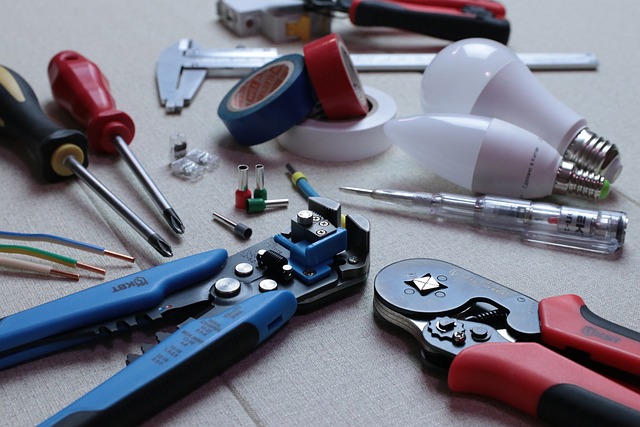
The Tesla charge connector repair process involves several meticulous steps to ensure your electric vehicle’s charging functionality is restored. First, inspect the connector for any visible damage, such as cracked or missing parts. If the damage is minor, you can attempt a simple fix like tightening loose connections or replacing damaged cables. However, more extensive issues may require professional intervention.
For complex repairs, disassemble the damaged connector carefully, taking note of its components and orientation. Replace faulty parts with genuine Tesla spare parts for optimal performance. Reassemble the connector, ensuring all connections are secure. Test the repair by initiating a charging session to confirm proper functionality. This step-by-step guide can help owners tackle minor issues, but for more intricate auto body restoration cases, seeking assistance from specialized service centers is recommended, especially when dealing with sensitive electrical systems and components like fender repairs or car body repairs.
Maintenance Tips to Prevent Future Problems

Regular maintenance can significantly extend the lifespan of your Tesla’s charge connector and prevent future issues. One key step is to keep the connector clean and free from debris. Over time, dust, dirt, or even tree sap can accumulate, hindering a proper connection and causing charging problems. Use a soft brush or cloth to gently clean the connector after each use, removing any visible grime. Additionally, ensure that you regularly inspect the connector for signs of damage, such as cracks or loose parts, which might require professional Tesla charge connector repair.
Another preventive measure is to avoid extreme temperature changes. Extreme heat can cause the connector to deteriorate faster, while cold weather can lead to decreased performance. Try to park your Tesla in a garage or shaded area during hot summers and protect it from freezing temperatures with appropriate insulation. As with any vehicle, regular servicing by an auto body shop specializing in electric vehicles can help identify potential issues early on, ensuring quick repairs before they become more costly, complex problems—much like preventing a car scratch repair or even a minor vehicle dent repair.
Facing slow or failed charging with your Tesla? Don’t panic—understanding and repairing your charge connector is simpler than you think. By following our step-by-step guide and preventive maintenance tips, you can ensure smooth and efficient charging for years to come. With the right knowledge, you’re well-equipped to tackle common Tesla charge connector issues head-on.