
Regular quarter panel inspections and timely replacements prevent costly auto body work. This guide outlines a safe, step-by-step process for replacement, emphasizing preparation, precise installation, and using high-quality components to ensure vehicle integrity and aesthetics. Proper techniques avoid future issues like poor adhesion or misaligned panels, especially important for luxury vehicles or fleets.
“Looking to avoid common repair mistakes when replacing your vehicle’s quarter panel? This comprehensive guide is tailored for DIY enthusiasts and seasoned mechanics alike. We’ll walk you through understanding quarter panel damage, causes, and efficient replacement steps. Additionally, we highlight critical mistakes to steer clear of during installation. By following our expert tips, you’ll ensure a seamless process, enhancing your vehicle’s aesthetics and structural integrity.”
- Understanding Quarter Panel Damage and Causes
- Step-by-Step Guide to Efficient Replacement
- Common Mistakes to Avoid During Installation
Understanding Quarter Panel Damage and Causes
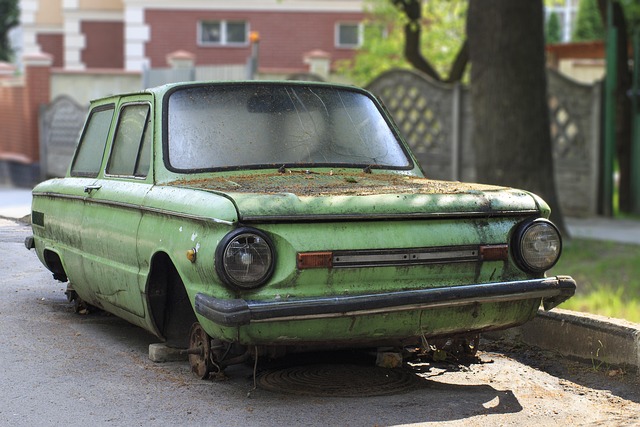
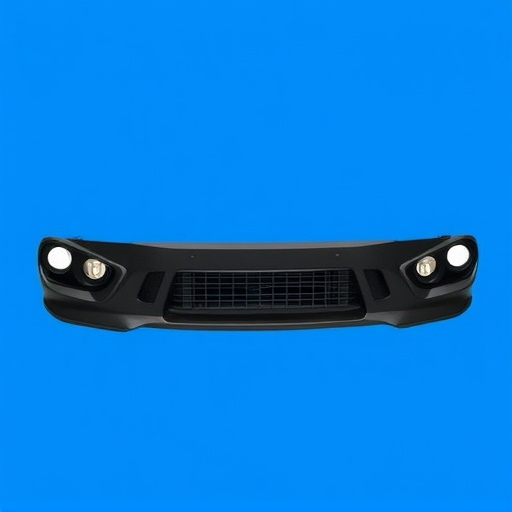
Quarter panel damage is a common issue that can arise from various factors, often leading vehicle owners to consider a quarter panel replacement as a necessary repair. These panels, located at the sides of a vehicle below the doors, bear the brunt of daily driving, especially in areas with frequent car parks or narrow spaces. Dents, scratches, and even more significant deformities can occur due to impacts with other vehicles, curbs, or debris on the road. Understanding these causes is the first step towards preventing and mitigating such damage.
Regular inspections at a vehicle body shop can help identify potential issues early on, making repairs less costly. Auto repair near me services often emphasize the importance of quarter panel integrity for maintaining a vehicle’s overall aesthetic and structural soundness. By addressing damage promptly, owners can avoid more complex and expensive auto body repair processes in the future.
Step-by-Step Guide to Efficient Replacement
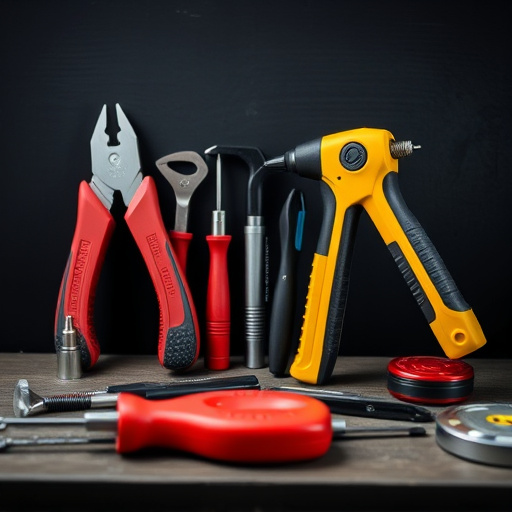
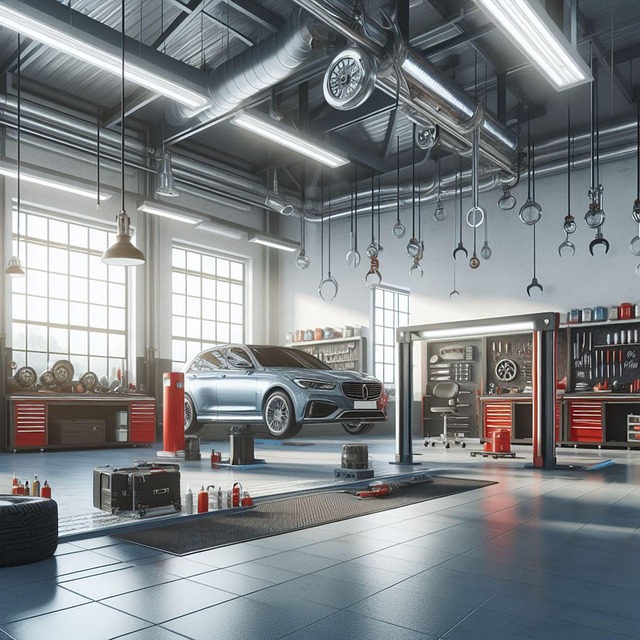
Replacing a quarter panel is a common repair task for many car owners. To ensure efficiency and avoid mistakes, follow this step-by-step guide. First, prepare your workspace by ensuring ample room to work around the vehicle. Next, gather all necessary tools, including jack stands, a floor jack, new quarter panel parts, and any required hardware. Safety is paramount; wear protective gear such as gloves and safety glasses.
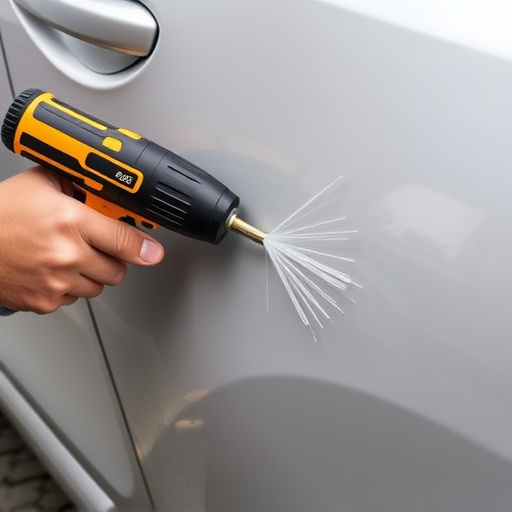
Begin by lifting the car securely with the jack stands and floor jack, following manufacturer guidelines for safe lifting points. Remove the damaged quarter panel, taking note of its positioning and any connected components. Clean the area thoroughly to ensure proper adhesion for the new panel. Fit the new quarter panel, aligning it precisely and securing it in place with temporary fasteners. Double-check your work, ensuring all components are correctly positioned before permanently fastening the panel. Finally, test the car’s functionality and appearance, checking for any leaks or cosmetic imperfections. Regular auto maintenance includes such repairs, keeping your vehicle looking its best and ensuring reliable performance from collision center services.
Common Mistakes to Avoid During Installation

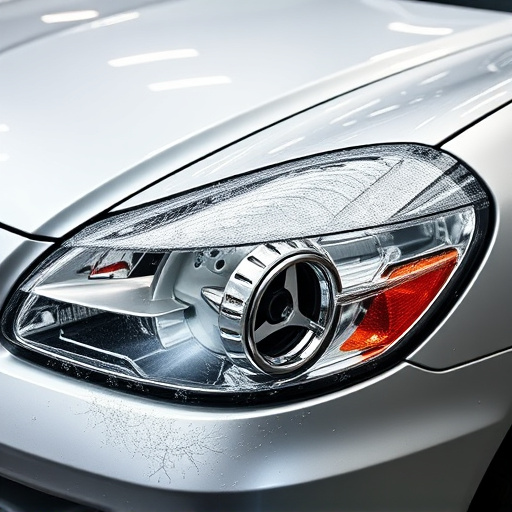
When undertaking a quarter panel replacement, whether for cosmetic reasons or after an accident, it’s crucial to avoid common mistakes that can compromise the integrity and appearance of your vehicle. One frequent error is not properly preparing the surface before applying new panels. This includes failing to remove all debris, rust, and old paint, which can lead to poor adhesion and future peeling. Using incompatible materials or not following manufacturer guidelines for bonding agents and sealers is another mistake, as it may result in weak joints and exposed underbody components.
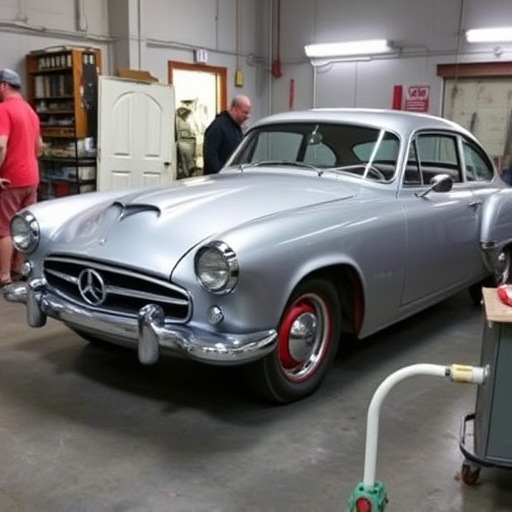
Moreover, skipping important steps like proper alignment and fitting of the new panel can cause misaligned body panels, affecting the overall aesthetics of your vehicle. For those considering a quarter panel replacement on a luxury vehicle or fleet of cars, seeking professional auto repair services or fleet repair services is advisable. Skilled technicians have the expertise to ensure precise installations, using high-quality components designed specifically for such vehicles, thereby preserving the vehicle’s value and performance in the case of a luxury vehicle repair.
When undertaking a quarter panel replacement, it’s crucial to be aware of common mistakes to ensure a durable and precise repair. By understanding the causes of quarter panel damage and following a meticulous step-by-step guide, you can avoid messy installations. Remember to prioritize safety, use high-quality parts, and double-check your work. With these tips in mind, you’ll successfully navigate the process, achieving a seamless and long-lasting quarter panel replacement.