


Meticulous preparation is key for successful anti-flutter foam replacement in vehicle bodywork. This involves assessing and repairing damage, cleaning surfaces with sandblasting, applying primer, and ensuring proper bonding for long-lasting repairs, critical for auto collision centers and classic car restorers.
Preparing surfaces properly is crucial for successful anti-flutter foam replacement, ensuring durability and optimal performance. This comprehensive guide delves into the essential steps of understanding anti-flutter foam and its critical role in various applications. We explore surface preparation techniques, from key initial assessments to final quality assurance checks. Learn effective strategies that extend the lifespan of your anti-flutter foam replacement, enhancing overall effectiveness and value.
- Understanding Anti-Flutter Foam and Its Role
- Preparing Surfaces: Key Steps Before Replacement
- Effective Techniques for Longevity and Quality Assurance
Understanding Anti-Flutter Foam and Its Role
Anti-flutter foam plays a critical role in vehicle bodywork, particularly in ensuring the integrity and safety of auto glass replacement. This specialized foam is designed to prevent the unwanted vibrations known as flutter, which can occur when certain conditions affect the glass or its surrounding surfaces. By understanding how anti-flutter foam functions, car repair services can effectively prepare surfaces for successful anti-flutter foam replacement, enhancing both the quality and longevity of subsequent repairs.
The presence of flutter can lead to not only a noisy ride but also potential safety hazards. Proper preparation involves assessing the current state of the foam, addressing any damage or degradation, and ensuring the surface is clean and ready for the new foam application. This meticulous process includes careful removal of any contaminated or loose materials, often requiring specialized tools and techniques to maintain precision and avoid further damage to the vehicle’s bodywork.
Preparing Surfaces: Key Steps Before Replacement
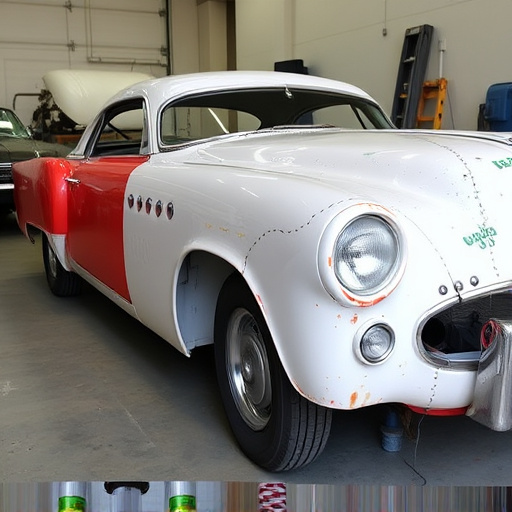
Preparing surfaces is a crucial step in ensuring effective anti-flutter foam replacement for car bodywork. Before proceeding with the replacement process, several key steps must be taken to guarantee a seamless and durable finish. Begin by thoroughly inspecting the existing surface to identify any damage or imperfections that could affect the new foam’s adhesion. This includes checking for dents, rust, or loose paint, which should be removed or repaired using professional collision repair services.
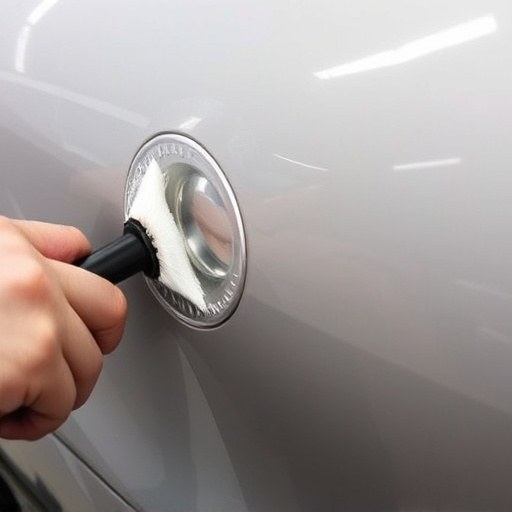
Next, the area surrounding the damaged section must be cleaned to eliminate any grease, dirt, or debris. This can be achieved through a combination of sandblasting and degreasing agents, ensuring that the surface is free from contaminants. Proper surface preparation also involves applying a suitable primer to enhance adhesion and create a smooth base for the new anti-flutter foam. By following these steps, you’ll ensure that the replacement foam adheres securely, providing long-lasting protection against future damage.
Effective Techniques for Longevity and Quality Assurance
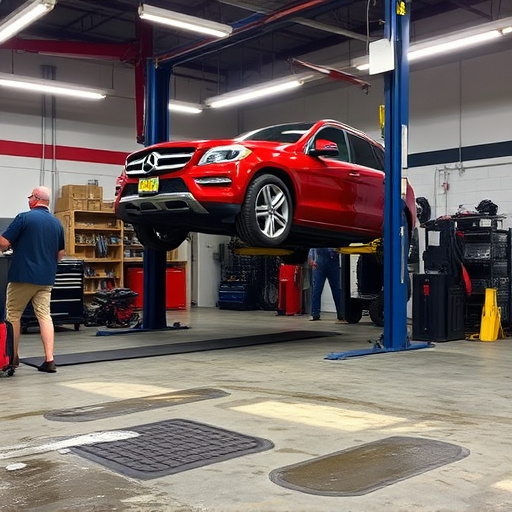
Ensuring the longevity and quality of anti-flutter foam replacement is paramount for maintaining a sleek and safe vehicle surface, especially in auto collision centers or classic car restoration projects. The initial preparation of the surface plays a pivotal role in the final outcome. Skilled technicians employ meticulous techniques to thoroughly clean and decontaminate the area, eliminating any debris or contaminants that could hinder adhesion. This involves using specialized cleaners and sandblasting for robust cleaning.
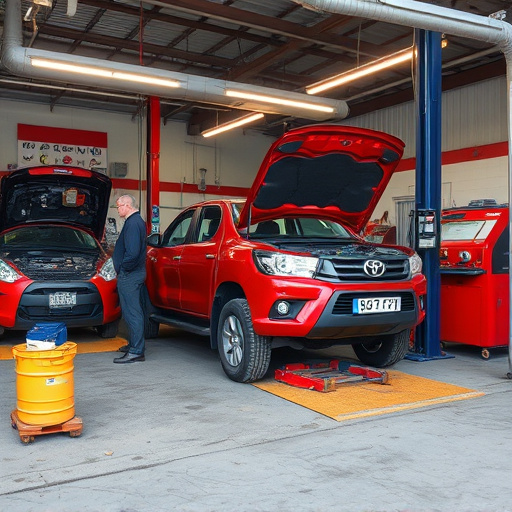
Additionally, proper surface profiling is critical to achieve optimal bonding strength. Techniques like sanding and priming create a rough texture that allows the new anti-flutter foam to bond securely. Quality assurance measures include regular inspections at each stage of preparation to identify any imperfections or inconsistencies. By implementing these effective techniques, auto collision centers can guarantee that replaced foams last longer, enhancing the overall aesthetics and structural integrity of the vehicle bodywork.
In preparing surfaces for effective anti-flutter foam replacement, understanding the critical role of this material in various applications is paramount. By thoroughly following key preparation steps and employing best practices for longevity, you can ensure superior results. These techniques not only enhance the durability of the new foam but also guarantee a seamless integration into existing structures, optimizing performance and minimizing potential issues associated with improper installations. For successful anti-flutter foam replacement, adhering to these guidelines is essential.