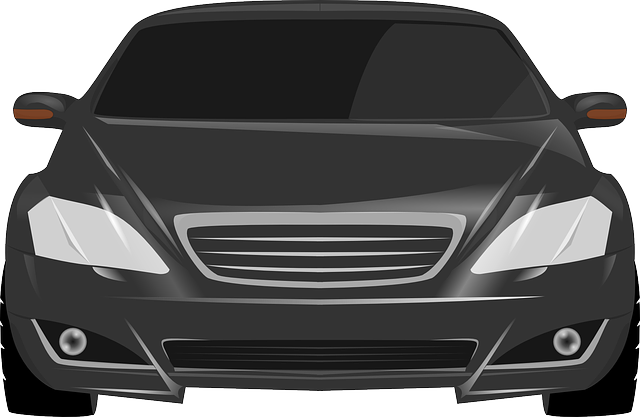


Proper Tesla ultrasonic sensor cover replacement is vital for vehicle safety and performance. Damaged covers can impair parking assist and autonomous driving. The process involves acquiring genuine Tesla parts, assessing damage (from minor repairs to collision repair), selecting automotive-grade adhesives compatible with the material, meticulous surface preparation, and precise alignment. This guide ensures a durable fix, suitable for DIYers or professionals, maintaining sensor functionality and warranty validity.
Looking to replace your Tesla ultrasonic sensor cover? You’re in the right place. This guide dives into the process, offering expert tips on choosing the ideal adhesive and performing a seamless installation. Understanding the intricacies of the Tesla ultrasonic sensor cover replacement ensures optimal performance and aesthetic appeal. Discover the best practices for a smooth, long-lasting fix.
- Understanding Tesla Ultrasonic Sensor Cover Replacement
- Choosing the Right Adhesive for Your Project
- Step-by-Step Guide to Seamless Installation
Understanding Tesla Ultrasonic Sensor Cover Replacement
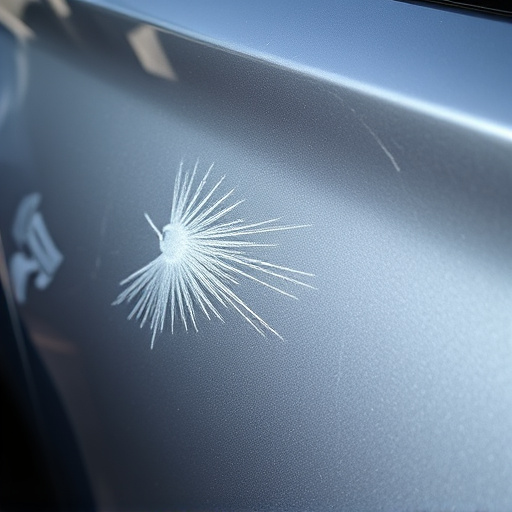
When it comes to Tesla ultrasonic sensor cover replacement, understanding the process is key. The ultrasonic sensors, integral to Tesla vehicles for parking assist and autonomous driving features, require protective covers to withstand environmental elements and potential damage from debris. Over time, these covers can become scratched, cracked, or detached, impacting vehicle performance and safety.
Replacing the ultrasonic sensor cover involves a precise procedure. It’s crucial to acquire genuine Tesla replacement parts to ensure compatibility and maintain the vehicle’s integrity. Before initiating the repair, assessing the extent of damage is essential—a simple dent repair might suffice for minor issues, but more severe cases may necessitate professional automotive collision repair expertise. Remember, proper adhesive selection is paramount; using the incorrect adhesive can compromise sensor functionality or even void warranties.
Choosing the Right Adhesive for Your Project
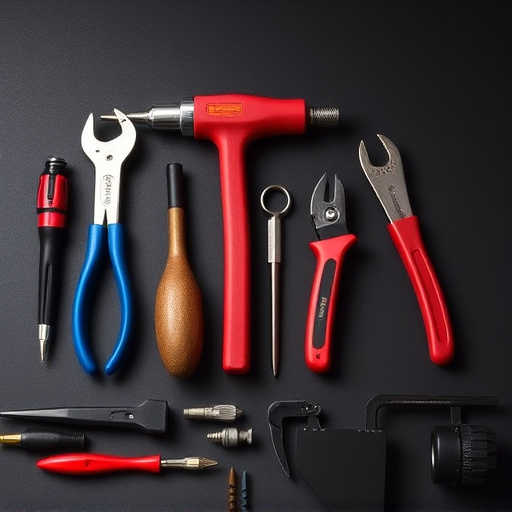
When undertaking a Tesla ultrasonic sensor cover replacement, selecting the appropriate adhesive is key to ensuring a secure and durable fix. The right adhesive will bond strongly with both the sensor cover and the car body, resisting vibrations and environmental conditions that could cause it to loosen or fail over time. For this specific application, consider using a high-quality automotive-grade adhesive designed for scratch repair and automotive body work. This type of adhesive offers excellent flexibility and resistance to extreme temperatures, ensuring long-lasting performance.
When choosing an adhesive, read the product specifications carefully. Look for adhesives formulated for bonding plastic materials, which are commonly used in car body shop applications. Additionally, ensure that the adhesive is compatible with the sensor cover material and will not cause any adverse reactions or discoloration over time. Proper surface preparation is also crucial; clean and decontaminate the areas where the adhesive will be applied to achieve optimal bonding strength.
Step-by-Step Guide to Seamless Installation
To ensure a seamless Tesla ultrasonic sensor cover replacement, follow this step-by-step guide. Begin by preparing the surface around the sensor, clearing it of any debris or contaminants using compressed air or a soft brush. This meticulous initial step is key to achieving a robust bond later. Next, carefully remove the old cover, taking note of its alignment and position for reference. With the area now accessible, apply a thin layer of high-quality adhesive suitable for automotive applications, ensuring it covers the entire mounting surface. Allow the adhesive to set slightly, following the manufacturer’s instructions for optimal curing time.
Gently align and press the new cover into place, making sure it fits perfectly over the ultrasonic sensor. Use a smooth, even motion to avoid air bubbles or misalignments. Once satisfied with the positioning, securely fasten the cover using the provided hardware or clamps if available, giving it a firm hold during the curing process. After the adhesive has fully cured, test the functionality of the replaced cover, confirming the ultrasonic sensor’s range and performance before concluding the job. This meticulous approach guarantees a durable fix, indistinguishable from the original equipment—a testament to your DIY skills or the work of a proficient car body shop.
When undertaking a Tesla ultrasonic sensor cover replacement, selecting the correct adhesive is key to ensuring longevity and functionality. By following our step-by-step guide and choosing a durable adhesive suited for automotive applications, you can achieve a seamless installation that protects your Tesla’s sensors from the elements. Remember, a well-fitted cover significantly contributes to the overall safety and performance of your vehicle’s advanced driver-assistance systems (ADAS).