


Experiencing USB port issues with your Tesla dashcam? Check physical connections and consider professional repair for faulty hardware. Troubleshoot firmware glitches using vehicle manual or Tesla support guides. Optimize dashcam performance through mobile app settings, including resolution, frame rate, loop recording, and incident alerts. Ensure stable power supply, maintain high-resolution footage, clean lenses, manage storage, and address issues promptly for optimal Tesla dashcam configuration and enhanced safety.
Experiencing malfunction with your Tesla’s USB port can disrupt the seamless recording of your journeys. This article guides you through the process of configuring your Tesla dashcam effectively after such an issue. We’ll walk you through diagnosing and fixing the USB port problem, accessing and customizing dashcam settings, and optimizing performance to ensure uninterrupted recordings. Get ready to enhance your Tesla’s surveillance capabilities!
- Diagnosing USB Port Malfunction in Tesla Dashcam
- Accessing and Configuring Dashcam Settings Post-Malfunction
- Optimizing Dashcam Performance After Repair or Replacement
Diagnosing USB Port Malfunction in Tesla Dashcam
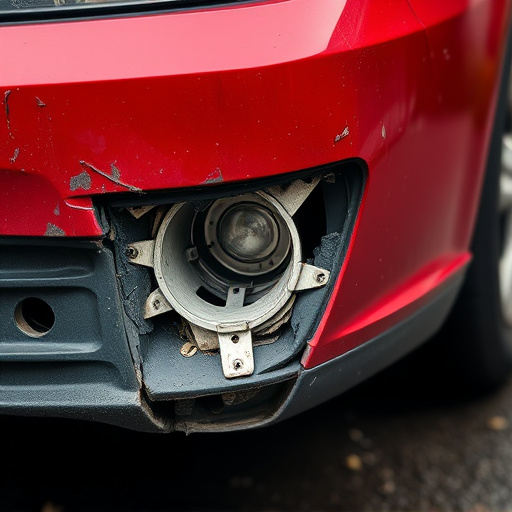
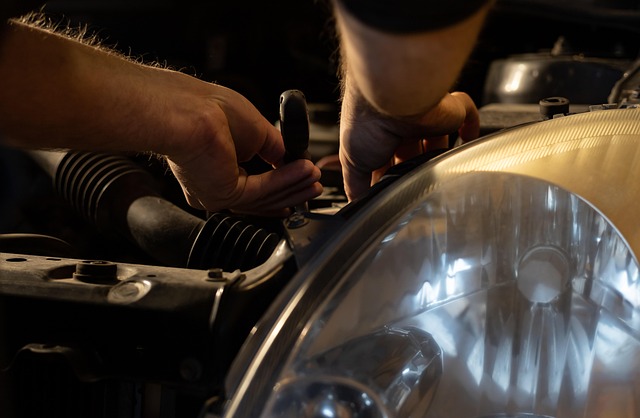
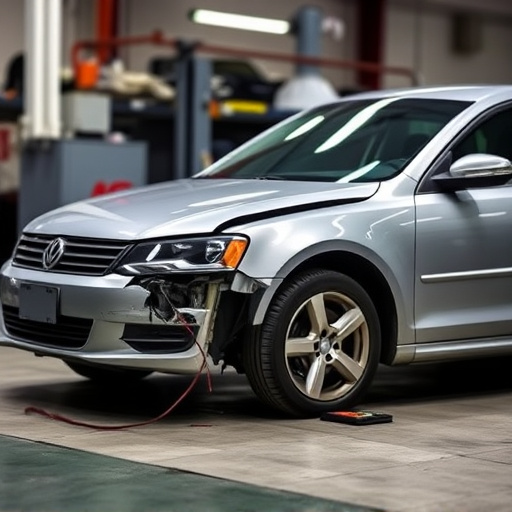
If your Tesla dashcam is experiencing issues, one common problem that owners often encounter is a malfunctioning USB port. Diagnosing this issue requires a systematic approach. Start by examining the physical connections; ensure that the USB cable is securely inserted into both the dashcam and the vehicle’s port. Sometimes, a simple wiggle or reinserting the cable can resolve loose connections. If the problem persists, it might be due to a faulty cable or a damaged port. Many car repair shops offer specialized services for Tesla vehicles, including dashboard and bumper repairs, so don’t hesitate to seek professional assistance if DIY solutions fail.
When dealing with USB port malfunctions, it’s essential not to overlook potential underlying issues within the dashcam itself. Refer to your vehicle’s manual or consult Tesla support for troubleshooting guides. They might provide specific steps to reset or update the dashcam firmware, which could fix any glitches affecting data transfer. Remember, proper Tesla dashcam configuration is key to ensuring optimal performance and capturing essential driving data.
Accessing and Configuring Dashcam Settings Post-Malfunction

After identifying and resolving the USB port malfunction, the next step is to access and configure the Tesla dashcam settings for optimal performance. Start by opening the Tesla mobile app on your smartphone, ensuring it’s connected to your vehicle via Bluetooth. Navigate to the ‘Vehicle’ or ‘Settings’ section, where you’ll find options related to the dashcam. Here, you can adjust various settings to tailor the camera’s behavior to your preferences.
Customize the recording parameters, such as resolution, frame rate, and motion detection sensitivity. Enable or disable specific features like loop recording, which automatically overwrites old footage with new, ensuring continuous monitoring. Additionally, consider configuring alerts and notifications to be notified of any incidents captured by the dashcam, facilitating quick review and potential hail damage repair or paintless dent repair processes. These settings will ensure your Tesla’s dashcam is prepared to capture high-quality footage, enhancing the effectiveness of any required automotive repair services.
Optimizing Dashcam Performance After Repair or Replacement
After successfully configuring your Tesla dashcam following a USB port malfunction or after repairing/replacing it, optimizing its performance is crucial for enhanced safety and peace of mind. Start by ensuring the camera has a stable power supply; this can be achieved through direct connection to the vehicle’s electrical system, bypassing potential issues with the USB port. Verify that the camera captures high-resolution footage consistently, crucial for detailed evidence in case of an accident or other incidents.
Regular maintenance, akin to auto glass replacement or vehicle dent repair for your car, is beneficial. This includes cleaning the lens to prevent smudges and obstructions, ensuring optimal visibility. Keep an eye on storage capacity; regularly delete or backup footage to avoid overflow, which might lead to data loss. Like addressing a car scratch repair, prompt action on issues ensures maximum functionality of your Tesla dashcam configuration, providing comprehensive protection while driving.
After successfully diagnosing and resolving a USB port malfunction in your Tesla dashcam, it’s crucial to optimize its configuration for optimal performance. Accessing and adjusting settings post-repair ensures your dashcam captures high-quality footage consistently. Remember that a well-configured Tesla dashcam not only enhances driving safety but also serves as invaluable evidence in case of any incidents. By following the steps outlined in this guide, you can ensure your dashcam is set up efficiently, providing peace of mind on the road.