


Mercedes hood star alignment is vital for vehicle safety and aesthetics. Incorrect alignment can lead to structural issues and compromise the car's integrity. Precise torque specs, based on model and year, must be followed. The process involves four steps: preparation, lifting/securing, alignment with specialized tools, and final tightening. Always consult a reputable shop or use a service manual for guidance.
Looking to install a Mercedes hood star but unsure where to start? This guide breaks down everything you need to know about Mercedes hood star alignment and torque specs. We’ll walk you through the process step-by-step, ensuring a secure and precise fit. Understanding the proper torque specifications is crucial for maintaining your vehicle’s safety and performance. Get ready to elevate your knowledge of Mercedes hood star alignment today!
- Understanding Mercedes Hood Star Alignment
- Torque Specs: What You Need to Know
- Installation Process: Step-by-Step Guide
Understanding Mercedes Hood Star Alignment

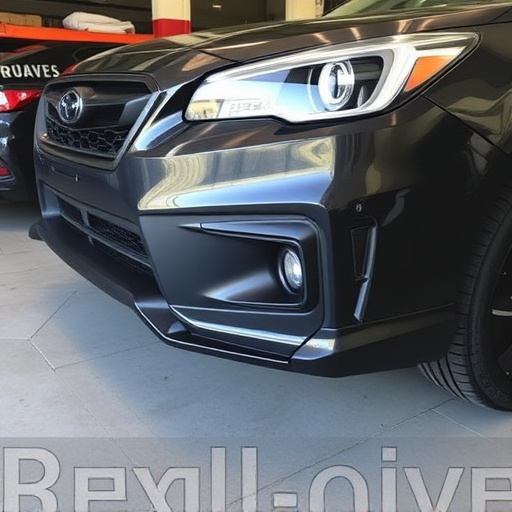
Mercedes hood star alignment is a critical aspect of vehicle maintenance that often goes unnoticed until issues arise. It refers to the precise positioning and alignment of the hood’s latch mechanism, ensuring a secure closure and optimal performance. In the case of Mercedes vehicles, this alignment is crucial for several reasons. Firstly, it guarantees the structural integrity of the hood, preventing unexpected openings during driving, which can be hazardous. Secondly, proper alignment enhances the overall aesthetics of the vehicle, maintaining its sleek and sophisticated look.
For auto repair services and body shop services dealing with Mercedes cars, understanding these torque specs is essential. Incorrectly installed or aligned hood stars can lead to misalignment issues, affecting both the car’s safety and appearance. Professional mechanics use specialized tools to measure and adjust these specs, ensuring a secure and seamless fit. This process is particularly vital for luxury vehicles like Mercedes, where precision and quality are hallmarks of their craftsmanship.
Torque Specs: What You Need to Know

When it comes to Mercedes hood star alignment, understanding torque specs is crucial for achieving precise and safe results. Torque refers to the force applied during the installation process, measured in pound-feet (lb-ft). These specs vary depending on the specific model and year of the Mercedes vehicle. Following the manufacturer’s guidelines ensures that components like the hood star (or bumper) are securely fastened without causing damage.
Ignoring torque specifications can lead to serious issues, including loose parts during driving, potential vehicle instability, and even safety hazards in case of a collision. Therefore, it’s essential to consult the vehicle’s service manual or seek expert advice from a reputable car repair shop offering collision repair services. This ensures that any hood star installation or alignment is done correctly, maintaining the integrity and overall quality of your Mercedes.
Installation Process: Step-by-Step Guide

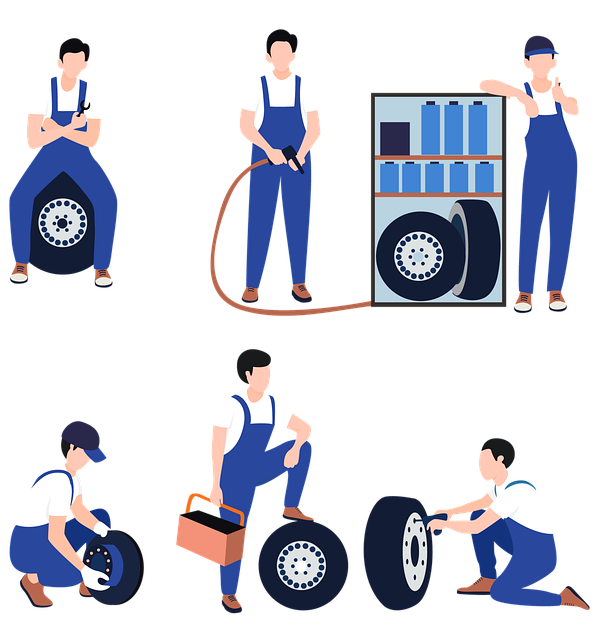
The installation process for a Mercedes hood star alignment is a meticulous task that requires precision and the right tools. It’s recommended to have prior experience with car body repair or seek guidance from professional car repair services. Here’s a step-by-step guide:
1. Preparation: Begin by ensuring your work area is clean and well-lit. Gather all necessary tools, including jack stands, wheel chocks, and alignment equipment. Deflate the tire to be aligned and engage the parking brake for safety.
2. Lift and Secure: Use a reliable jack to lift the car safely, ensuring it’s securely supported on jack stands. Chock the wheels that won’t be aligned to prevent any movement during the process. This step is crucial in achieving accurate results, especially when dealing with intricate fender repair or car body repair tasks.
3. Alignment: Using your alignment equipment, carefully adjust the hood star according to the manufacturer’s torque specs. This involves precise adjustments to the front and rear components, ensuring perfect alignment. The goal is to achieve a straight and level hood line, aligning it with the car’s overall aesthetic and structural integrity.
4. Tighten and Verify: Once the alignment is set, tighten the fastened components to the specified torque values. Lower the vehicle from the jack stands, release the parking brake, and test drive the car at low speeds to verify the alignment. If adjustments are needed, repeat steps 3 and 4 until the hood star alignment is perfect, ensuring a smooth driving experience and maintaining the car’s structural integrity.
Mercedes hood star alignment is a critical component of vehicle maintenance, ensuring optimal performance and safety. By understanding the torque specs and following a meticulous installation process, car enthusiasts can achieve precise alignment, enhancing their driving experience. This guide provides essential insights into these specifications, enabling owners to confidently tackle this task and maintain their Mercedes’ stellar condition.