


Before replacing a bumper cover, research your vehicle's make and model for precise fitting, gather specific automotive tools and paint repair supplies, and consult a local body shop for guidance. After successfully replacing the bumper, conduct comprehensive post-replacement checks and establish regular maintenance routines, including inspections, cleaning, and monthly assessments, to ensure optimal performance and protection.
Are you preparing for a seamless bumper cover replacement? This guide is your perfect companion. First, understand your vehicle’s unique bumper structure and the types of covers available. Then, equip yourself with the essential tools, including a jack, socket set, and plastic polish. Our step-by-step process ensures a flawless fit without a scratch. Post-replacement, perform checks and regular maintenance to keep your bumper looking new. Master these steps for a successful DIY bumper cover replacement.
- Understanding Your Bumper Cover and Tools Needed
- Step-by-Step Guide to a Flawless Replacement
- Post-Replacement Checks and Maintenance Tips
Understanding Your Bumper Cover and Tools Needed
Before diving into the replacement process, it’s crucial to understand your bumper cover and equip yourself with the right tools for a flawless bumper cover replacement. Familiarize yourself with the make and model of your vehicle, as bumper designs vary widely across different brands and years. This knowledge will help you acquire the exact fit needed for a seamless installation.
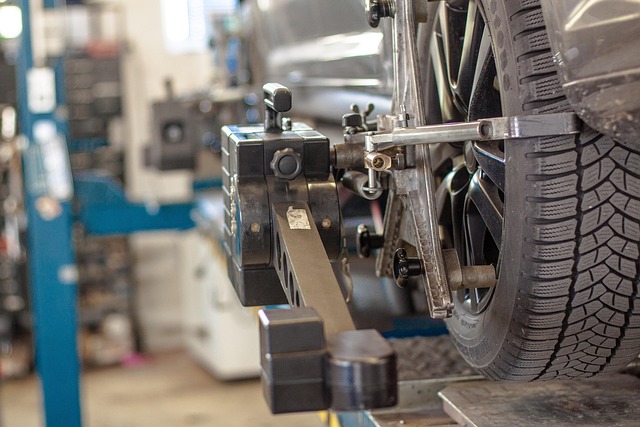
Gathering the necessary tools is another critical step. For a typical bumper cover replacement, you’ll need basic automotive tools such as socket sets, wrenches, screwdrivers, and possibly a putty knife for removing adhesives or damaged parts. Additionally, having access to vehicle paint repair supplies like touch-up pencils, primer, and paint that matches your vehicle’s color will ensure the final finish is professional and seamless. Consider visiting a local vehicle body shop for expert advice on tools and materials before beginning the project.
Step-by-Step Guide to a Flawless Replacement
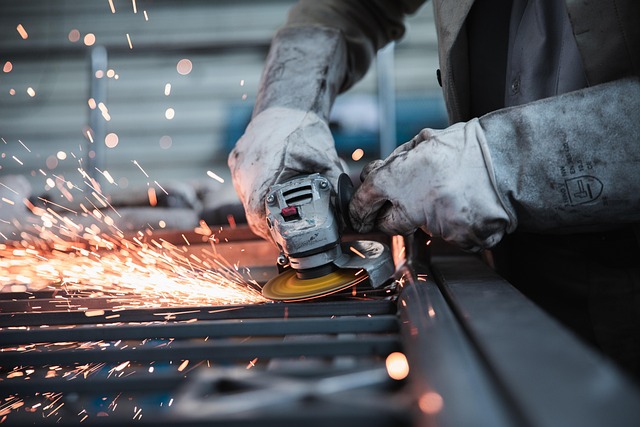
Replacing a bumper cover is a relatively straightforward process when approached with the right preparation and a systematic approach. First, gather all necessary tools and materials, including the new bumper cover, matching hardware, and any required adhesive or primer. Ensure your work area is clean and well-lit to facilitate precise cuts and installations. Begin by removing any debris or old adhesive from the existing bumper using a degreaser and a wire brush.
Next, carefully disconnect the electrical connectors for any sensors or lights integrated into the bumper cover to avoid short circuits during removal. With proper protection on your hands, carefully unbolt and lift off the old bumper cover. Take note of how it was attached and aligned with the car’s body for reference when installing the new one. Position the new bumper cover, ensuring it fits securely in place before tightening the bolts manually, then using a torque wrench to ensure proper tension as specified by the vehicle manufacturer. Verify all connections are secure, and clean up any debris or residue left over from the process. This meticulous approach guarantees a flawless bumper cover replacement, enhancing both your vehicle’s aesthetics and safety features for optimal auto maintenance.
Post-Replacement Checks and Maintenance Tips

After a successful bumper cover replacement, it’s crucial to conduct thorough post-replacement checks and implement regular maintenance practices for optimal results. Start by inspecting the new bumper cover for any signs of damage or misalignment. Ensure it is securely attached and all bolts are tightly fastened. Look out for any gaps or uneven surfaces that might indicate loose components. Additionally, verify that all lights, sensors, and other related features function correctly.
Regular maintenance involves keeping the bumper cover clean and free from dirt, debris, and salt buildup, which can compromise its integrity. Use mild soap and warm water to clean the surface regularly. Check for any signs of wear or damage at least once a month, addressing issues promptly. Remember, proper care ensures not just a flawless appearance but also extends the lifespan of your car’s important protective component—a crucial aspect of efficient car body repair and overall vehicle health.
Proper preparation is key when undertaking a bumper cover replacement. By understanding your vehicle’s specific bumper and gathering the right tools, you’re well on your way to a seamless installation. Following our step-by-step guide ensures a flawless process, while post-replacement checks and regular maintenance will keep your bumper in top condition. Remember, a well-prepared job means a more durable and aesthetically pleasing finish – achieving that perfect, factory-like look for your vehicle.