


Taillights are critical for vehicle safety, signaling essential information to other drivers. Issues like burnt-out bulbs, damaged wiring, or faulty control modules can cause flickering lights and intermittent signaling. Auto repair technicians use diagnostic tools and advanced technology for accurate identification and repairs, emphasizing safety through proper maintenance and replacement procedures. This guide provides a step-by-step approach for replacing faulty taillights, ensuring roadworthiness while prioritizing user safety.
In the realm of vehicle maintenance, efficient taillight functionality is paramount for safety on the road. This article guides you through the process of diagnosing and replacing taillights, a crucial task for any car enthusiast or mechanic. We’ll explore common taillight issues, from flickering to complete failure, and the diagnostic tools used to identify them. Learn the step-by-step approach to safe replacement, empowering you with the knowledge to tackle this essential taillight repair.
- Understanding Taillight Functionality and Common Issues
- Diagnostic Tools and Techniques for Tail Light Troubleshooting
- Step-by-Step Guide to Replacing Faulty Taillights Safely
Understanding Taillight Functionality and Common Issues

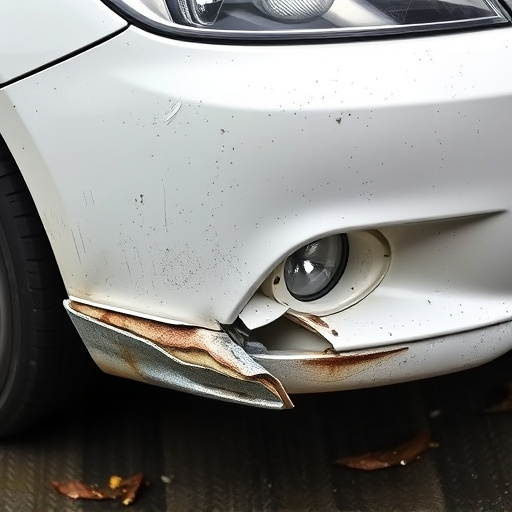
Taillights play a crucial role in vehicle safety, signaling turns and stops to other drivers. Understanding their functionality is essential for technicians performing taillight repair replacement. Each taillight consists of a housing, lens, and light source—typically LEDs or halogen bulbs. When a problem arises, it could be due to various factors like burnt-out bulbs, damaged wiring, corroded connectors, or faulty control modules. Common issues include flickering lights, non-functional taillights after a vehicle collision repair in an auto repair shop, intermittent signaling, and uneven brightness.
Technicians employ diagnostic tools to identify these problems, tracing electrical connections for short circuits or loose wires. In some cases, replacing the entire taillight assembly might be necessary. The process involves carefully removing the old taillight, inspecting the car body shop’s parts for defects, and installing a new one, ensuring proper alignment and secure connections. Regular maintenance and prompt attention to any taillight issues can prevent accidents and keep vehicles roadworthy.
Diagnostic Tools and Techniques for Tail Light Troubleshooting
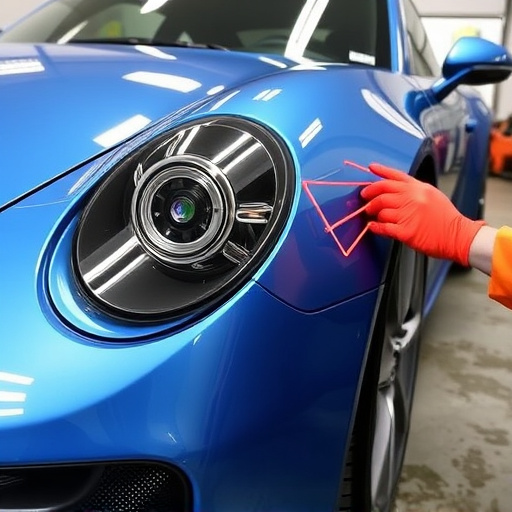
Technicians employ a multitude of diagnostic tools and techniques to identify and troubleshoot taillight problems before recommending replacement. This process often starts with a visual inspection using specialized lighting and magnifying equipment to uncover cracks, breaks, or discoloration in the taillight housing, lens, or filament. They may also utilize multimeter devices to measure electrical continuity and voltage across various components, helping to pinpoint faulty connections or bulbs.
Advanced diagnostic tools like OBD-II scanners are integrated into modern vehicles for identifying system errors. These scanners can detect malfunctions within the taillight circuit, illuminating codes that guide technicians in their troubleshooting. In some cases, computer-aided design (CAD) software and 3D imaging techniques are employed during car restoration projects to precisely measure and visualize components, ensuring accurate replacements for seamless auto frame repair and taillight repair replacement processes.
Step-by-Step Guide to Replacing Faulty Taillights Safely

Step-by-Step Guide to Replacing Faulty Taillights Safely
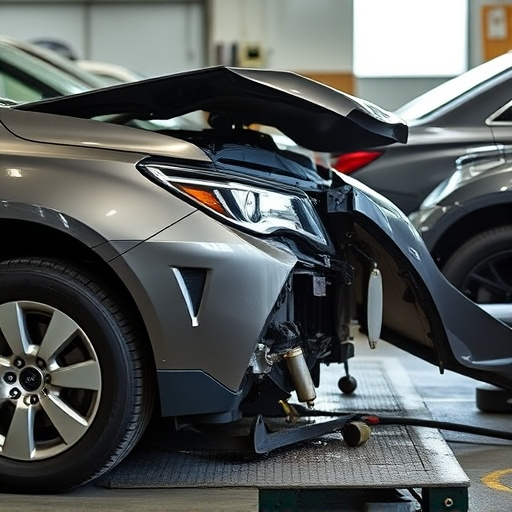
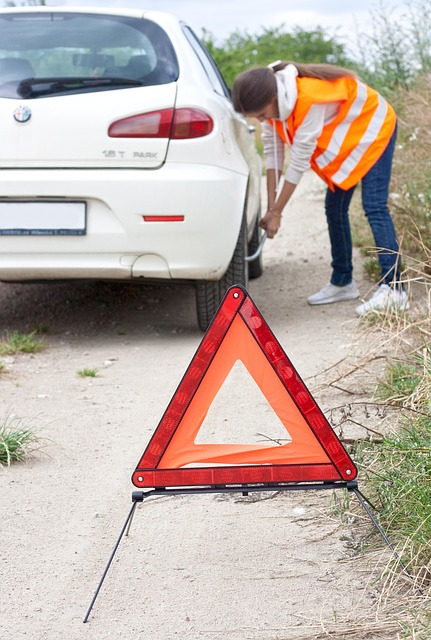
1. Safety First: Before beginning any taillight repair or replacement, ensure your vehicle is parked in a safe location with properly functioning brakes and parking lights. Put on reflective gear if working during low-light conditions. Safety should always be your top priority when engaging in collision repair services or auto body painting tasks.
2. Identify the Problem: Check for common taillight issues such as burned-out bulbs, cracks or chips in the lens, or loose connections. If the problem is a burnt-out bulb, confirm it’s the correct wattage and type for your vehicle. For more complex issues like cracked lenses or faulty wiring, consult your vehicle’s service manual or seek help from experienced mechanics to avoid causing further damage during your taillight repair replacement.
Diagnosing and replacing taillights is a crucial aspect of vehicle maintenance, ensuring safety on the road. By understanding common issues, familiarizing yourself with diagnostic tools, and following a structured guide, technicians can efficiently address taillight problems. This process not only enhances visibility but also contributes to a smoother driving experience for all. Remember, prompt action on faulty taillights is key to preventing accidents and keeping your vehicle in top condition.