


Mercedes glass sensor calibration is crucial for maintaining advanced driver-assistance systems (ADAS) safety features. Sensor drift due to road conditions or accidents can reduce precision. DIY calibration with specific tools like screwdrivers, multimeter, and a level allows car enthusiasts to maintain their vehicles, ensuring reliable safety systems by adjusting sensor position and inputting calibrated settings.
Are you a car enthusiast looking to save some costs? Discover how you can DIY Mercedes glass sensor calibration at home. This comprehensive guide breaks down the process step-by-step, ensuring your vehicle’s advanced driver-assistance systems (ADAS) function optimally. Understanding Mercedes glass sensor calibration and the tools needed will empower you to fine-tune your car’s safety features. Get ready to enhance your knowledge and potentially save money on professional services.
- Understanding Mercedes Glass Sensor Calibration
- Tools and Requirements for DIY Calibration
- Step-by-Step Guide to Calibrating at Home
Understanding Mercedes Glass Sensor Calibration

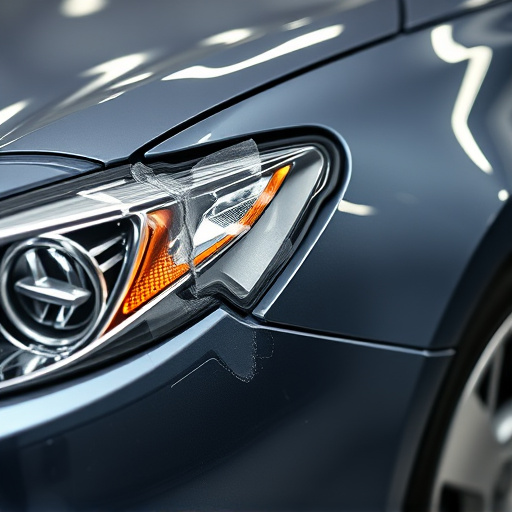
Mercedes glass sensor calibration is a process that ensures your vehicle’s advanced driver-assistance systems (ADAS) function optimally. These sensors play a crucial role in features like lane-keeping assist, adaptive cruise control, and collision avoidance, enhancing safety and driving experience. Over time, these sensors can drift out of calibration due to various factors such as road conditions, age, or minor accidents, leading to less precise sensor readings.
Understanding the calibration process is essential for vehicle owners, especially those interested in DIY repairs. While professional collision repair services often handle such tasks, many advanced car owners prefer to maintain their vehicles independently. With the right tools and knowledge, it’s possible to calibrate your Mercedes’ glass sensors at home, potentially saving costs and ensuring your vehicle’s safety systems remain reliable.
Tools and Requirements for DIY Calibration

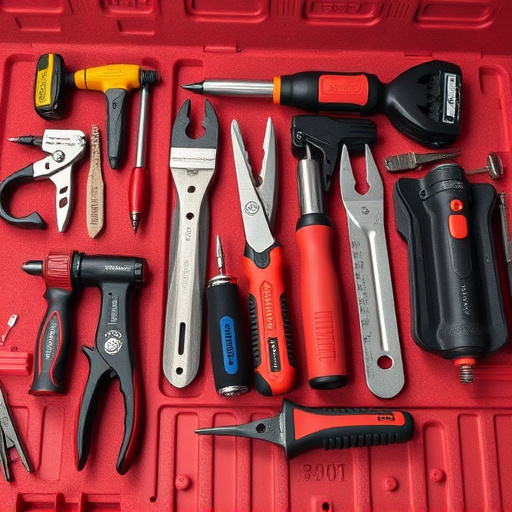
To successfully DIY Mercedes glass sensor calibration at home, there are specific tools and requirements you’ll need to have on hand. Start with a set of precision screwdrivers, including both flathead and Phillips varieties, as well as a new or replacement glass sensor unit, which can be purchased online or from a trusted auto parts dealer. Having a multimeter is crucial for measuring electrical signals and ensuring accurate readings; this tool allows you to test the sensor’s functionality and make any necessary adjustments.
Don’t forget protective gear like safety glasses and gloves to shield yourself during the process. For clarity and accuracy, use a level and a clean, flat surface to work on. Additionally, access to an automotive diagnostic scanner can aid in identifying and troubleshooting any issues with your Mercedes’ computer system, making the calibration process more effective for your luxury vehicle repair needs—whether it’s a dent repair or a more complex automotive repair task.
Step-by-Step Guide to Calibrating at Home

Calibrating your Mercedes’ glass sensors at home can be a feasible DIY project for many car enthusiasts. Here’s a simplified step-by-step guide to help you through the process, ensuring your vehicle’s safety and performance. Begin by locating the sensor(s) responsible for your car’s glass operation, often found near the door or window frames. Next, gather the necessary tools, including a multimeter (for checking voltage levels), a set of screwdrivers, and possibly a new calibration tool if the original is missing or damaged.
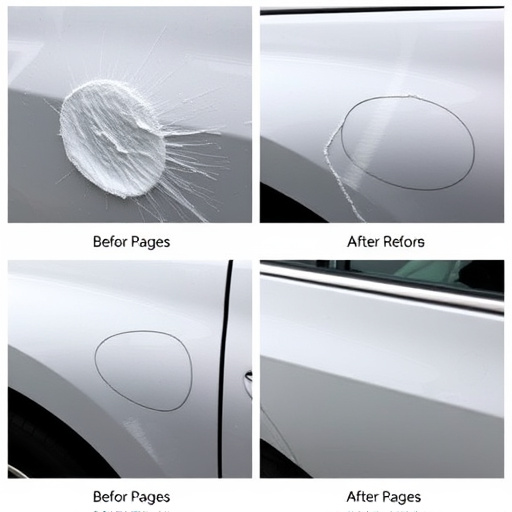
Power down your vehicle, ensure it’s in park, and remove any loose debris from the sensor area. With careful precision, adjust the sensor’s position slightly to mimic various glass positions—fully closed, partially open, fully open—while monitoring voltage changes on your multimeter. Take notes on these readings as they’ll serve as your calibration points. If adjustments are made to the vehicle’s bodywork (e.g., during a previous repair at a car body shop), ensure these changes don’t interfere with sensor alignment or functionality. Lastly, input your calibrated settings into the vehicle’s system, following your Mercedes’ specific instructions for a successful and safe glass sensor calibration.
While it’s tempting to think you can DIY every car repair, Mercedes glass sensor calibration is best left to professionals. While some basic troubleshooting steps can be attempted at home, precise calibration requires specialized equipment and knowledge of your vehicle’s complex sensors. For accurate and safe results, trust a certified mechanic for Mercedes glass sensor calibration services.