


Color sanding and buffing are essential techniques for achieving a flawless finish in DIY projects like auto repairs and dent repair. Coarse sandpaper removes significant defects, followed by finer grains for smoother surfaces. Buffers further smoothen, reduce marks, add gloss, and provide a professional finish. Right sandpaper and buffing compound selection (higher grits for coarser projects, lower for fine surfaces) ensures optimal results, enhancing visual appeal and surface texture without altering original material hues, commonly used in vehicle repairs, woodworking, and furniture restoration.
“Unleash your creativity with the art of color sanding and buffing—essential techniques for DIY enthusiasts aiming for professional-level finishes. This guide navigates the intricacies of achieving smooth, polished surfaces on various projects. From understanding the fundamentals of color sanding to selecting the perfect sandpaper, you’ll master techniques to transform coarse materials into sleek, vibrant surfaces. By the end, you’ll be equipped with the knowledge to buff and polish like a pro.”
- Understanding Color Sanding: Techniques and Tools
- Choosing the Right Sandpaper for Your Project
- Buffing to Achieve a Smooth, Polished Finish
Understanding Color Sanding: Techniques and Tools

Color sanding and buffing are essential techniques for achieving a flawless finish in any DIY project, especially those involving auto body repairs and vehicle dent repair. This process involves using specialized tools to gently remove imperfections from the surface while enhancing its color and texture.
For color sanding, you’ll need a range of grits of sandpaper, typically starting with coarse grains to address significant defects and finishing with finer grains for smoother surfaces. Tools like hand sands or orbital sanders are used, allowing for precise control over pressure and application. Following sanding, a buffer is employed to smoothen the surface further, reducing any remaining marks. Buffing also adds a protective coat, enhancing the color and giving it a glossy finish, making your DIY project look like professional auto body services from a reputable car repair shop.
Choosing the Right Sandpaper for Your Project

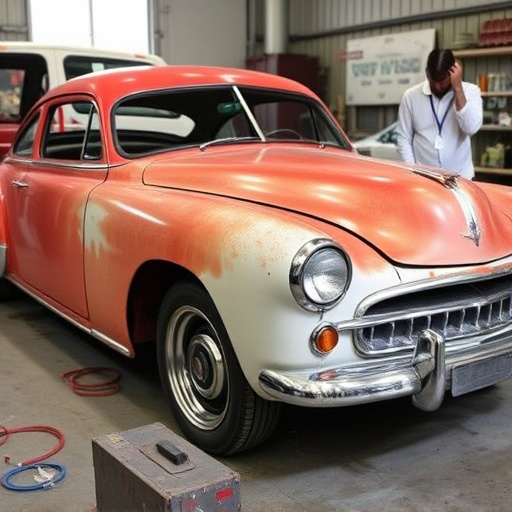
When it comes to color sanding and buffing, selecting the appropriate sandpaper is key to achieving a smooth finish. The grit size of the sandpaper determines the level of aggressiveness during the sanding process. For coarser projects like auto repair shop work or dent repair, opt for higher grit numbers like 80-120. These will help remove heavy scratches and imperfections from car paint repair processes. As you progress, switch to finer grits such as 220-400 for a smoother surface. Finer sandpaper is ideal for color sanding delicate surfaces, ensuring a more subtle finish.
Remember, the goal of buffing after sanding is to polish the surface and blend away any visible traces of scratches. The type of buffing compound you choose should match the level of refinement desired; finer compounds are suitable for achieving a high-gloss finish. Whether you’re tackling a DIY project or considering car paint repair, understanding your project’s needs will help guide your selection in both sandpaper and buffing materials.
Buffing to Achieve a Smooth, Polished Finish

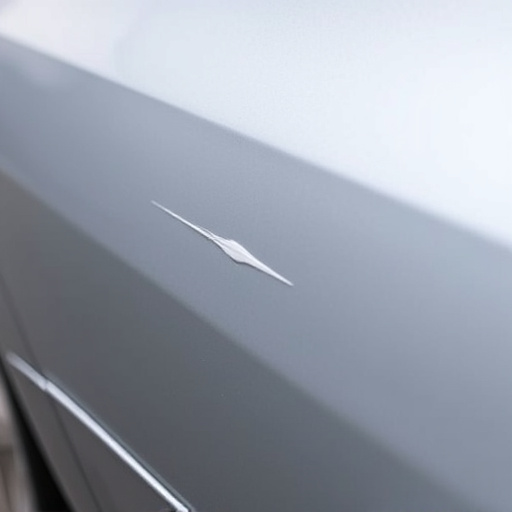
After sanding, the next crucial step in achieving a flawless finish is buffing. This process involves using a buffer with fine-grit polishing compound to smooth out any remaining roughness from the sanding stage. Buffing not only enhances the visual appeal but also improves the overall texture of the surface. It’s especially beneficial for color sanding projects, as it helps to reveal and enhance the natural colors of the material without altering its original hue.
A common application of this technique is in vehicle dent repair, where buffing is used to remove dents and scratches from car bodies, resulting in a seamless, polished look akin to auto glass repair precision. The same principles apply to DIY enthusiasts looking to perfect their woodworking or furniture restoration projects. By combining color sanding and subsequent buffing, you can transform a rough surface into a smooth, glossy finish—a true testament to your skills as a DIY enthusiast.
Whether you’re refining furniture or adding a subtle sheen to wood surfaces, mastering color sanding and buffing can elevate your DIY projects significantly. By understanding the techniques, selecting the appropriate tools and sandpaper, and perfecting the art of buffing, you’ll achieve professional-looking results that are smooth, polished, and ready to showcase. Incorporate these tips into your DIY toolkit for enhanced craftsmanship and satisfaction.