


Before replacing a radiator support, assess its condition and ensure compatibility with your vehicle model. Plan workflow, gather tools, parts, and resources for efficient, high-quality work. Prepare a kit with necessary materials for secure installation. Prioritize safety with proper training, gear, and careful disassembly. Inspect for damage, install new components precisely, and conduct final thorough inspection post-installation.
Efficient radiator support replacement is crucial for maintaining optimal vehicle performance. This comprehensive guide outlines best practices to streamline the workflow. Start by assessing the radiator’s condition and planning the replacement accordingly. Gather all necessary tools and parts in advance to ensure a seamless process. Learn safe disassembly, installation techniques, and conduct a thorough final inspection for a reliable, long-lasting solution. Implement these steps for a successful radiator support replacement.
- Assess Radiator Condition and Plan Replacement
- Gather Necessary Tools and Parts in Advance
- Safe Disassembly, Installation, and Final Inspection
Assess Radiator Condition and Plan Replacement
Before initiating any radiator support replacement workflow, it’s crucial to meticulously assess the condition of the existing radiator and its associated components. This step is a foundation for efficient work, as it helps in identifying issues that might require attention beyond the apparent damage. During the assessment, look out for signs of corrosion, leaks, or structural integrity compromises. Also, check if the radiator is compatible with your vehicle model—a common pitfall in hail damage repair scenarios where vehicles may have been repaired using parts not specifically designed for them.
Planning the replacement involves creating a detailed plan that includes gathering the necessary tools and replacement parts, preparing the workspace (often involving auto body repairs), and ensuring availability of all required resources. This stage is about organization and precision to avoid delays during the actual replacement process. Remember, a well-planned radiator support replacement workflow not only saves time but also ensures quality work, enhancing the overall efficiency of your body shop services.
Gather Necessary Tools and Parts in Advance
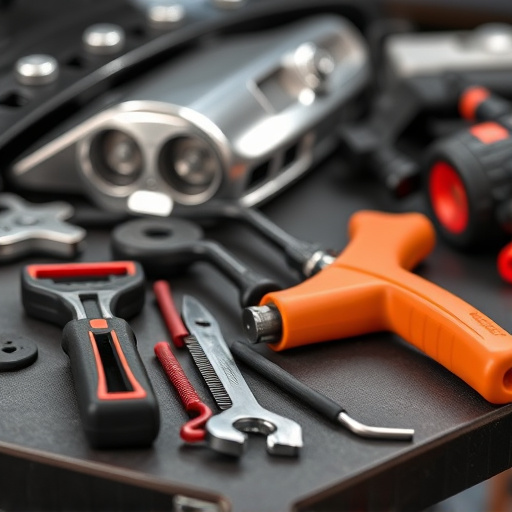
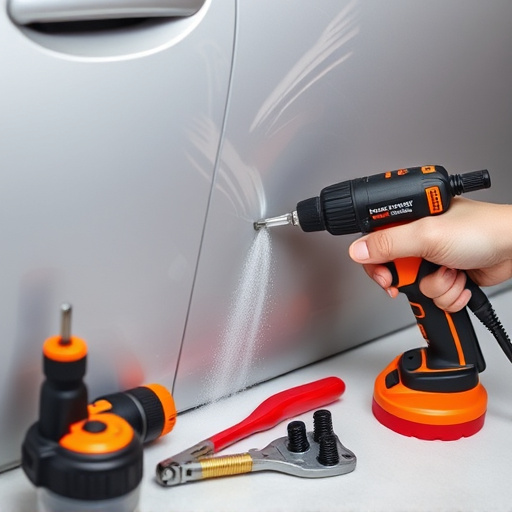
Before tackling a radiator support replacement, it’s crucial to prepare a well-organized kit of necessary tools and parts. This step is often overlooked but can significantly streamline the workflow and minimize delays. Gather all specific hardware required for the job, ensuring compatibility with your vehicle model. Additionally, have on hand any sealing materials, gaskets, or adhesives needed for a secure installation. Many professional mechanics advocate for pre-planning, emphasizing that having everything ready reduces the risk of pausing mid-repair due to missing components—a common pitfall in less organized workshops.
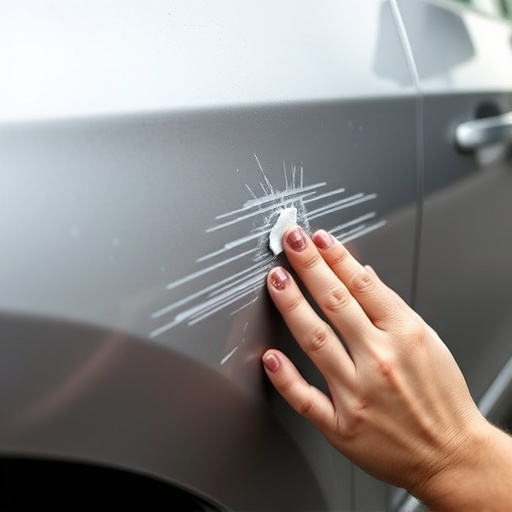
Proper preparation includes considering potential add-on repairs too. For instance, if the radiator support is easily accessible, assessing and planning for minor auto body repair, such as scratch repair, can be a good opportunity to enhance overall vehicle aesthetics. Ensuring these tasks are addressed efficiently contributes to a smoother replacement process and may prevent future issues related to damaged body panels or leaks around the radiator area.
Safe Disassembly, Installation, and Final Inspection
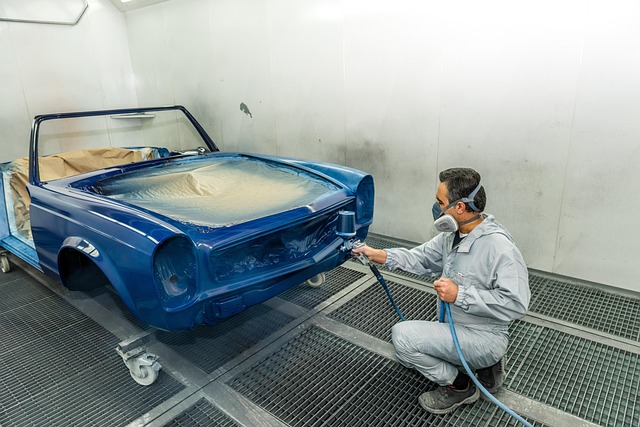
When undertaking a radiator support replacement, safety should be the top priority at every step of the process. Before beginning disassembly, ensure proper training and protective gear is worn to mitigate risks associated with handling heavy components and potential exposure to hazardous materials. This includes eye protection, work gloves, and masks designed for automotive applications. The first phase involves carefully removing the old support, using specialized tools to loosen bolts and brackets without causing damage to adjacent parts. Once disassembled, inspect the area for any signs of corrosion or damage that could impact the fitment of the new component.
Following safe disassembly, the installation process demands meticulous attention to detail. Ensure all new components are properly aligned and fastened according to the manufacturer’s specifications. After installation, conduct a thorough final inspection. This includes verifying that all bolts are securely fastened, checking for any leaks in the cooling system, and ensuring proper clearance between the radiator support and other components. The same level of care applied to dent repair or scratch repair should be directed towards these crucial steps to guarantee both safety and optimal performance during operation.
Efficient radiator support replacement involves careful planning and execution. By assessing the radiator’s condition, gathering the right tools and parts, and safely disassembling, installing, and inspecting, you can streamline the workflow and ensure a reliable, long-lasting solution. These best practices for radiator support replacement help maintain vehicle performance and safety, making it a crucial task for any automotive professional.