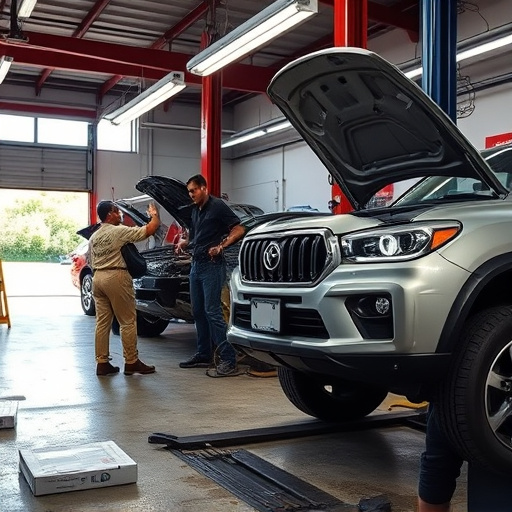


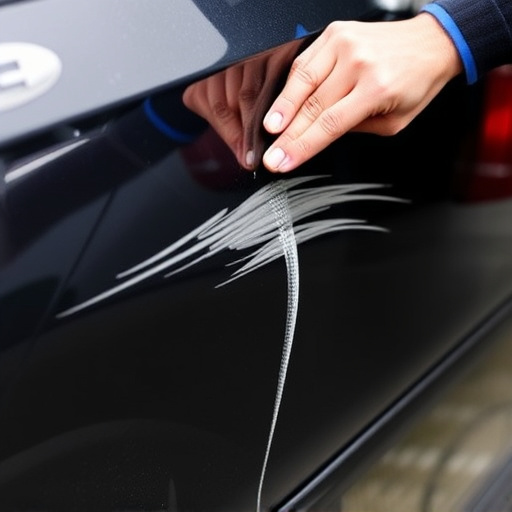


After Tesla bumper or fender replacement, misalignment or loose connections may disrupt integrated camera system. Professional repair requires specialized tools, software, and careful reassembly for optimal performance. Essential tools include precision screwdrivers, electronic handlers, cleaning supplies, and compatible replacement cameras. Power down vehicle, remove old module, install new camera, reconnect connectors, then test functionality.
Looking to fix your Tesla bumper camera after a replacement? This comprehensive guide covers everything from identifying common issues to a detailed step-by-step repair process. Learn how to efficiently address problems with your Tesla’s bumper camera, ensuring optimal visibility and safety on the road. We’ll walk you through the necessary tools, materials, and technical steps required for a successful Tesla bumper camera repair.
- Understanding Tesla Bumper Camera Issues Post-Replacement
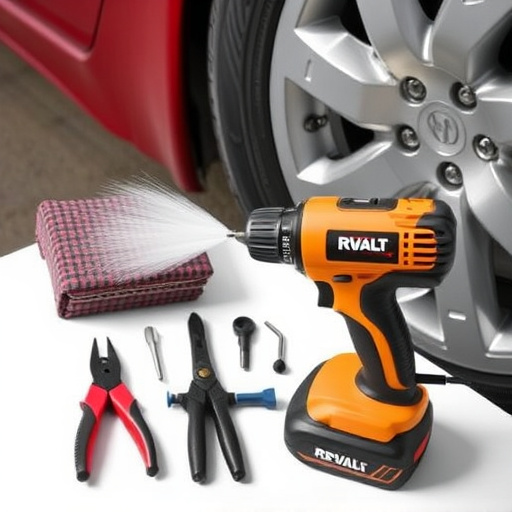
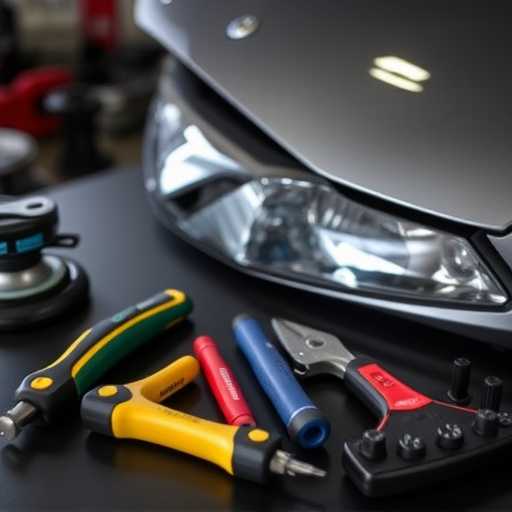
- Tools and Materials Required for Efficient Repair
- Step-by-Step Guide to Restoring Camera Functionality
Understanding Tesla Bumper Camera Issues Post-Replacement

After a Tesla bumper or fender replacement, there’s a chance that your car’s integrated bumper camera system may experience issues. This is due to several reasons, including potential misalignment during the repair process, loose connections from vibrations, or changes in the vehicle’s sensor calibration. Even minor adjustments during the initial repair can cause discrepancies for the camera’s field of view and focus, resulting in blurred or distorted images captured by the Tesla bumper camera.
Proper Tesla bumper camera repair involves careful reassembly, recalibration, and testing to ensure optimal performance. It’s not just about fixing physical damage but also fine-tuning the camera’s settings to match the vehicle’s updated body geometry. Professional technicians use specialized tools and software to address these issues, ensuring your Tesla’s advanced safety features function as intended post-vehicle body repair or car dent repair.
Tools and Materials Required for Efficient Repair
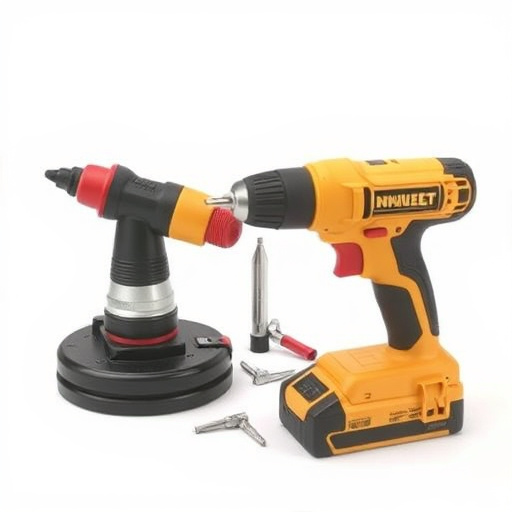
To efficiently undertake a Tesla bumper camera repair after a fender or bumper replacement, several specific tools and materials are essential. This includes a set of precision screwdrivers for disassembling and reassembling components, as well as specialized tools designed for handling delicate electronic parts. High-quality replacement cameras and connectors are crucial to ensure the restored functionality matches the original specifications.
Additionally, a clean and organized workspace in a reputable vehicle body shop or collision repair center is invaluable. Proper tools like rubber mallets, heating guns (for softening seals), and vacuum cleaners (to remove dust and debris) play significant roles in ensuring a seamless repair process. These elements collectively contribute to restoring your Tesla’s safety features and maintaining its aesthetic appeal.
Step-by-Step Guide to Restoring Camera Functionality

Restoring the functionality of your Tesla bumper camera after a fender or bumper replacement is a straightforward process that can be accomplished with the right tools and a few simple steps. Begin by powering down the vehicle to ensure safety during the repair. Next, locate the camera module behind the bumper or fender, usually attached with screws or adhesive. Carefully remove these fasteners without damaging any surrounding components. Once the old camera is detached, clean the area thoroughly to eliminate any debris that might hinder new installation.
Next, acquire a compatible replacement camera designed specifically for your Tesla model. Align and install the new camera, ensuring it’s securely fastened. Reconnect the electrical connectors carefully, matching them with their respective terminals. After double-checking all connections, power on the vehicle to test the camera’s functionality. This guide ensures a smooth auto repair shop experience, allowing you to restore your car’s safety features without needing an extensive automotive restoration.
After navigating through this guide, you’re now equipped to tackle Tesla bumper camera repairs with confidence. By understanding common issues post-replacement, gathering the necessary tools and materials, and following a detailed step-by-step process, you can restore your vehicle’s camera functionality efficiently. Remember, proper repair techniques are key to ensuring optimal performance and safety for autonomous driving features. Happy repairing!