

TIG welding auto body is a specialized technique using a tungsten electrode for precise, strong welds without disturbing paint. This method, favored by professionals, combines high heat and controlled arc for clean, consistent results in delicate repairs like paintless dent repair. It requires specific equipment, surface preparation, and attention to detail during the process, which includes setting up equipment, initiating the weld, controlling heat, and cleaning/inspecting for quality assurance.
Unleash the power of precision with TIG welding auto body—a game-changer in the automotive repair and customization realm. This article demystifies the fundamentals, guiding you through the process step by step. From understanding what TIG (Tungsten Inert Gas) welding entails to exploring essential equipment and materials, you’ll discover the secrets to achieving robust, aesthetically pleasing welds on car bodies. Master this technique, and you’ll revolutionize your auto repair and customization projects.
- What is TIG Welding Auto Body?
- Equipment and Materials for TIG Welding Auto Body
- Step-by-Step Guide to Performing TIG Welding Auto Body
What is TIG Welding Auto Body?
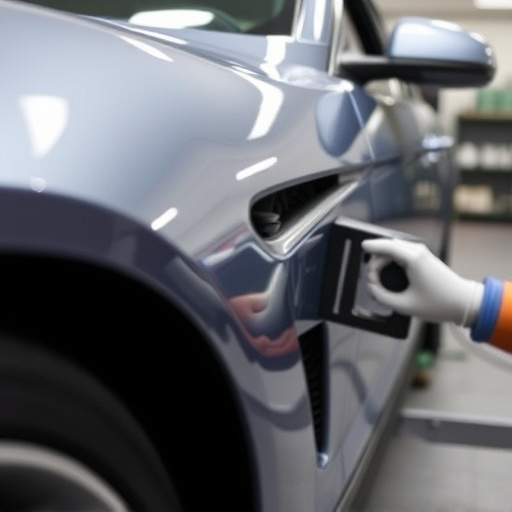
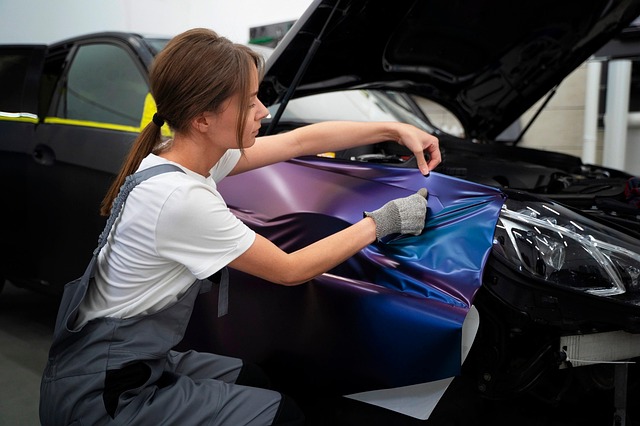
TIG welding auto body is a specialized technique used for joining metal components in automotive repair and restoration projects. It involves the use of a non-consumable tungsten electrode to create a strong, precise weld. This process is particularly valuable for repairing or replacing vehicle panels, such as fenders, doors, and hoods, without disturbing the surrounding areas or the original vehicle paint.
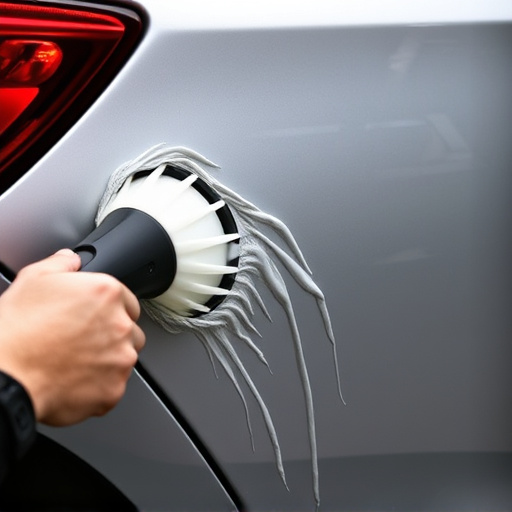
By combining high heat with a precisely controlled arc, TIG welding allows for meticulous adjustments, ensuring clean and consistent welds. Unlike some other welding methods, it is well-suited for delicate auto body work, including paintless dent repair, where maintaining the integrity of the original factory finish is paramount. This technique’s versatility makes it a go-to choice for professional mechanics and restorers aiming to achieve top-quality results in vehicle paint repair and fender repair tasks.
Equipment and Materials for TIG Welding Auto Body

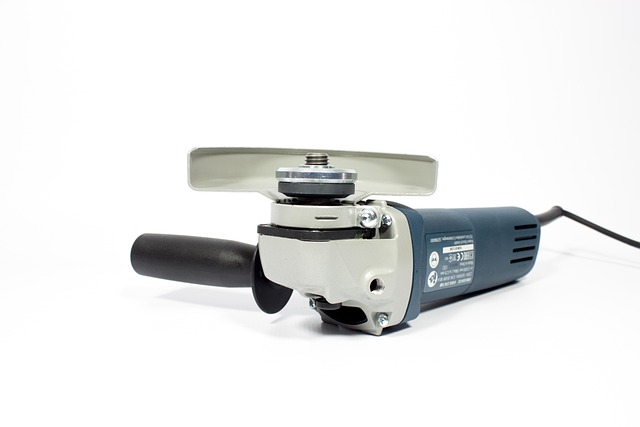
TIG welding auto body requires a specific set of equipment and materials to achieve precise and high-quality results. The primary tools include a TIG welder, which uses a non-consumable tungsten electrode to generate an arc that melts metal for welding. A regulator for controlling gas flow and a wire feeder are also essential for managing the weld material. For auto body work, specialized equipment like a T-track or jigs can help hold panels in place during the welding process, ensuring accuracy and consistency.
In terms of materials, TIG welding auto body involves using welding rod or wire in various alloys tailored to match the base metal’s composition. Common choices for car body restoration include aluminum, steel, and stainless steel. Additionally, a selection of gas blends, such as argon or helium, is used to shield the weld area from atmospheric contaminants during the process. For vehicle body repair or car scratch repair, proper preparation of the surface, including cleaning and deburring, is crucial before beginning TIG welding auto body tasks.
Step-by-Step Guide to Performing TIG Welding Auto Body

Performing TIG welding on auto body repairs is a precise art that requires skill and attention to detail. Here’s a step-by-step guide for achieving clean, strong welds:
1. Prepare the Surface: Begin by thoroughly cleaning the car body shop area where you’ll be working. Remove any debris or contaminants from the surface using appropriate solvents and brushes. Ensure the metal is free of oil, grease, or rust to guarantee a quality weld.
2. Set Up Your Equipment: Gather all necessary tools, including your TIG welder, welding gloves, eye protection, and a wire feeder. Attach the correct electrode and filler material as per your project requirements. Adjust the settings on your welder for optimal performance, considering factors like voltage, current, and gas flow. Position your workpiece securely in the auto body shop, ensuring it won’t shift during the welding process.
3. Start Welding: Initiate the weld by striking an arc at a specific point on the metal. Guide the electrode along the desired weld line, maintaining a consistent speed. Add filler material as needed to fill the joint, creating a smooth, continuous weld. Be mindful of heat input and adjust your settings if necessary to prevent overheating or burning the metal.
4. Control Heat and Speed: TIG welding requires careful control of heat and speed. Move the electrode smoothly along the joint, applying consistent pressure. Monitor the weld pool and ensure it’s not getting too hot or uneven. Adjust the heat as you progress to maintain a balanced weld.
5. Clean and Inspect: Once the weld is complete, turn off your equipment and allow the metal to cool. Use deburring tools to remove any excess material around the weld, creating clean edges. Inspect the weld closely for any defects or inconsistencies, ensuring it meets the required standards for car restoration or auto body shop work.
TIG welding auto body is a precise and versatile technique that offers exceptional strength and aesthetics for automotive repairs. By mastering the basics covered in this guide, from understanding the process to selecting the right equipment and performing each step accurately, you’ll be well-equipped to deliver high-quality welds on various auto body projects. TIG welding’s ability to join a wide range of metals makes it an invaluable skill for any automotive enthusiast or professional.