


Tesla's leather interior is prone to damage from wear and tear, pet accidents, and sun exposure, leading to scuffs, scratches, and discolouration. Minor repairs can be DIY with kits, but extensive damage needs professional services. Early intervention with high-quality materials prevents problems escalating. Tools for repair include scissors, adhesives, sandpaper, and leather dye kits. Extensive damage may require collision repair specialists. Restoration involves cleaning, sanding, buffing, and using touch-up paints and conditioners for a flawless finish that maintains vehicle value.
Is your Tesla’s leather interior showing signs of wear and tear? Don’t worry, you’re not alone. Learn how to tackle common issues with your vehicle’s faux or genuine leather trim. This comprehensive guide provides a step-by-step approach to repairing damage, from identifying the problem to using the right tools and materials. By following these instructions, you can restore your Tesla’s interior to its original glory, saving time and money on professional services.
- Understanding Tesla Leather Interior Damage Common Issues
- Tools and Materials Required for Repair
- Step-by-Step Guide to Restoring Your Tesla's Interior Trim
Understanding Tesla Leather Interior Damage Common Issues

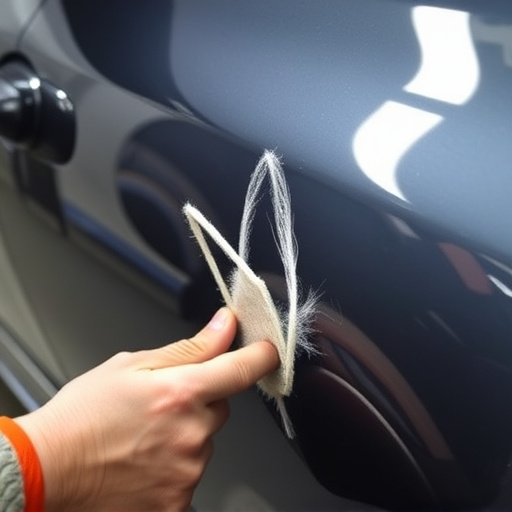
Tesla’s leather interior is a signature feature, but it’s not immune to damage. Over time, or due to unforeseen incidents, owners may encounter various issues that require Tesla interior trim repair. Common problems include scuffs and scratches from everyday use, tears caused by pet nails or sharp objects, and discolouration from sunlight exposure. Fading, peeling, or cracking of the leather are also not uncommon, especially in areas frequently touched or exposed to heat. Understanding these common issues is the first step in maintaining a pristine interior and knowing when to seek professional Tesla interior trim repair services.
While some minor damage can be addressed with DIY methods like car dent removal kits or leather restoration products, more extensive repairs often necessitate the expertise of vehicle repair specialists. They have access to high-quality materials, including authentic or premium faux leather, and employ advanced techniques such as auto painting to ensure a seamless and durable fix. Timely intervention and professional care can prevent minor issues from becoming major problems, preserving the value and aesthetics of your Tesla’s interior.
Tools and Materials Required for Repair
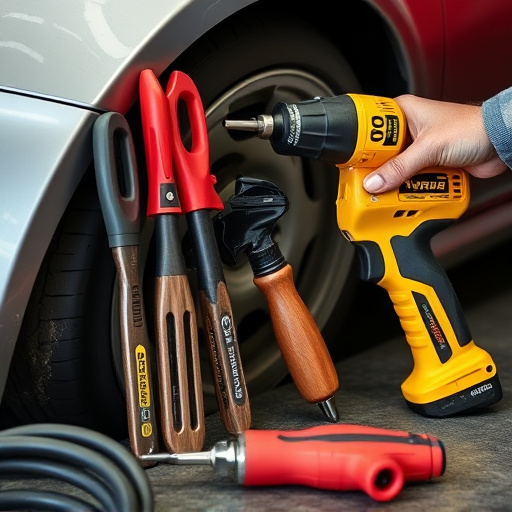
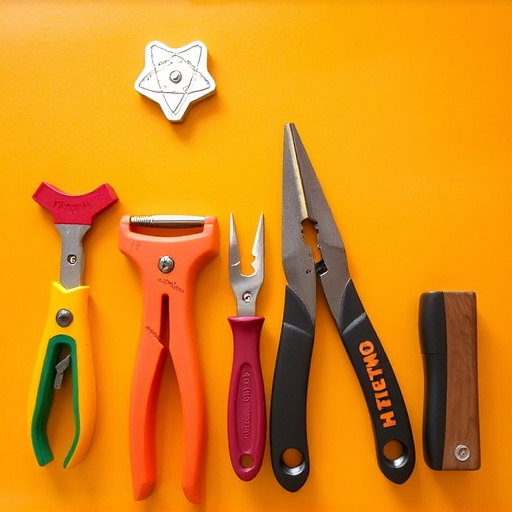
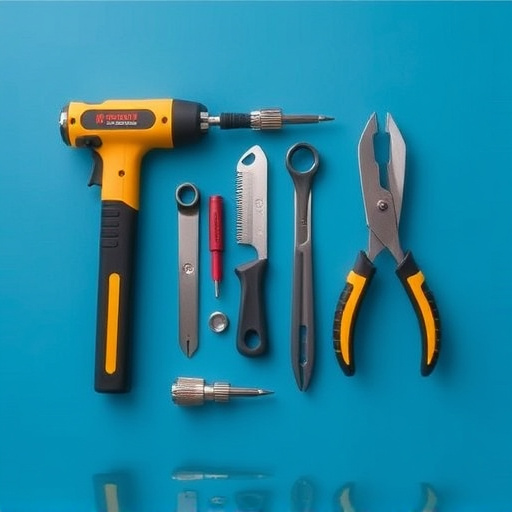
To successfully undertake Tesla interior trim repair for leather or faux leather damage, a few specific tools and materials are essential. These include a set of precision scissors or cutters for trimming excess material, a variety of adhesive formulas designed for automotive interiors, and fine-grit sandpaper for smoothing out rough edges or removing old glue residue. Additionally, you may need a toothpick or small brush for precise applications, as well as protective gloves and safety glasses to ensure a safe working environment.
For more intricate repairs, consider investing in a leather repair kit that includes dyes to match the car’s interior color. An automotive body shop often stocks these kits due to their specialized nature. If the damage is extensive, such as significant tearing or deep gouges, it might be best left to a collision repair expert who has the necessary tools for car dent removal and can guarantee professional results.
Step-by-Step Guide to Restoring Your Tesla's Interior Trim

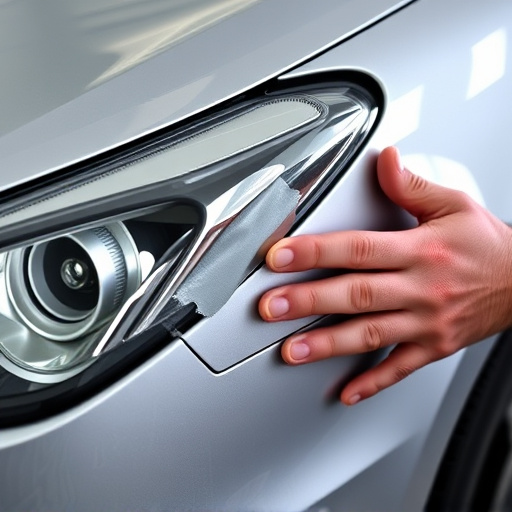
Restoring your Tesla’s interior trim is a process that requires care and precision to ensure a flawless finish. Here’s a simple step-by-step guide to help you tackle common issues like scratch repair or faded faux leather. First, gather all necessary tools and materials: a soft cloth, isopropyl alcohol, microfiber towels, leather conditioner (for genuine leather), touch-up paints in matching colors, and a small brush or applicator. Begin by cleaning the damaged area with isopropyl alcohol to remove any dirt or grime, then gently wipe down the entire interior surface with a damp cloth to ensure no residue remains.
Next, address the specific issue. For scratch repair, use the appropriate touch-up paint to fill in the scratch, allowing it to dry completely before sanding lightly to achieve a smooth finish. If dealing with faded or damaged faux leather, apply the leather conditioner evenly using a microfiber towel, following the product’s instructions for best results. Once the conditioner has absorbed into the leather, buff the area gently with another clean cloth until the color is uniform and the damage is minimized. These steps, when followed diligently, can significantly enhance your Tesla’s interior aesthetic while also extending its life, making it easier to maintain and enjoy for years to come.
Reparing your Tesla’s interior trim, whether leather or faux leather, is a feasible DIY project with the right tools and knowledge. By understanding common damage types and following a structured guide, you can effectively restore your vehicle’s aesthetic appeal. With this information at hand, you’re well-equipped to tackle minor repairs and maintain your Tesla’s luxurious interior for years to come, focusing on precision and meticulous care during the repair process known as Tesla interior trim repair.