New to Tesla premium paint repairs? Common issues include uneven coating and color fading. Essential tools for beginners: paint pen, sandpaper, microfiber cloth, putty knife, and versatile brushes. Follow a beginner-friendly guide: workspace cleanup, tool gathering, sanding, degreasing, priming, color matching with Tesla codes, even paint coats, and clear coat protection for small chips or scratches.
“Uncover simple solutions for Tesla premium paint repair with this comprehensive guide. Whether you’re a beginner or looking to refresh your vehicle’s exterior, understanding common issues is key. We’ll explore typical Tesla paint problems and provide an easy-to-follow step-by-step process.
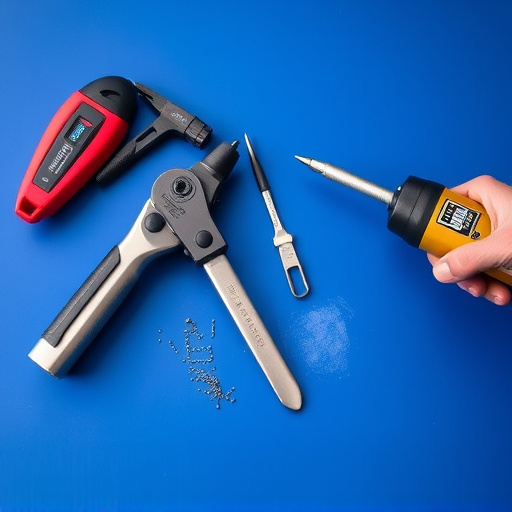
Get ready to equip yourself with the essential tools and materials needed for successful repairs. From preparation to finishing touches, this article will empower you to tackle minor paint damages, ensuring your Tesla maintains a sleek and premium finish.”
- Understanding Tesla Premium Paint Issues for Beginners
- Essential Tools and Materials for Simple Repairs
- Step-by-Step Guide to Effective Paint Repair Techniques
Understanding Tesla Premium Paint Issues for Beginners
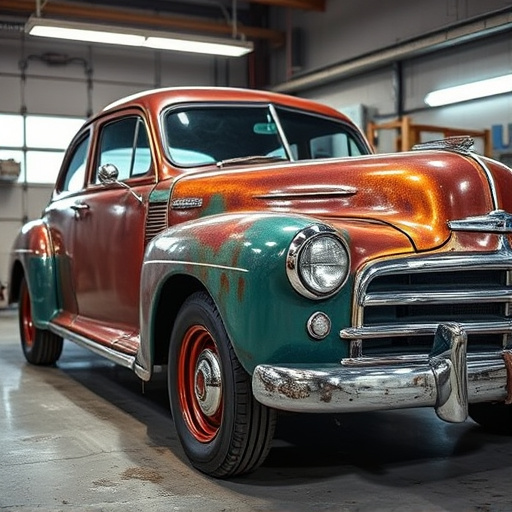
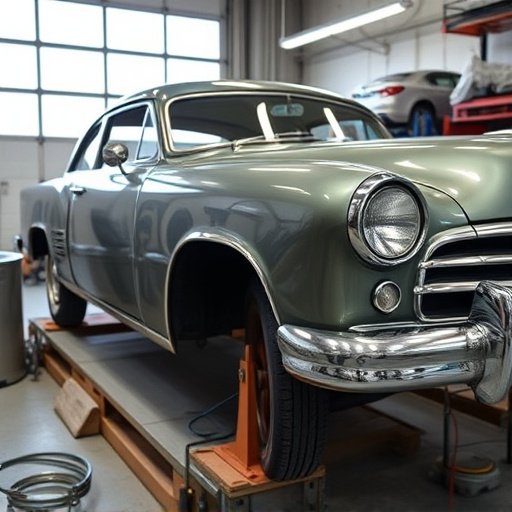
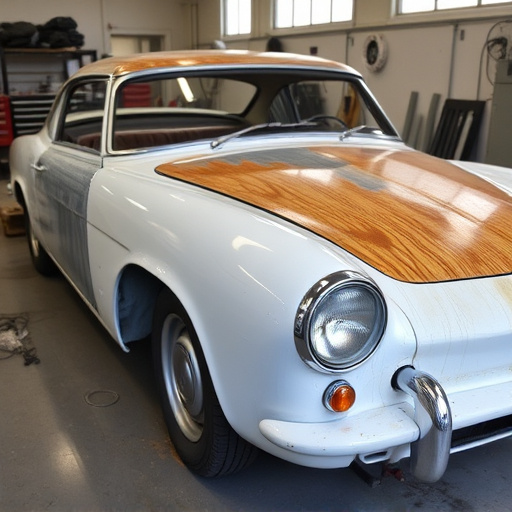
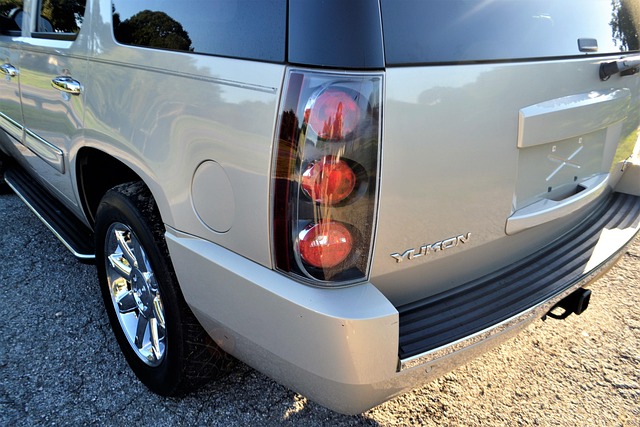
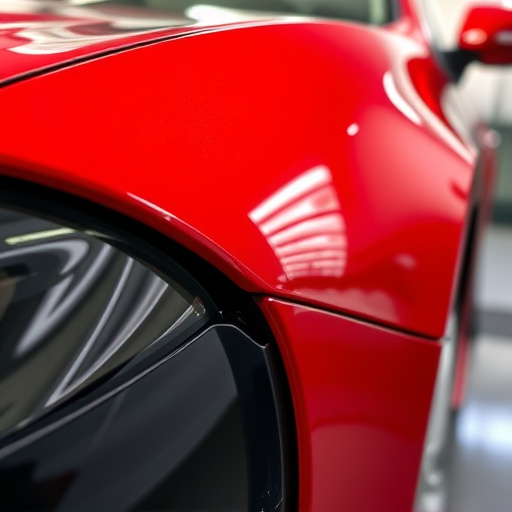
For beginners taking on Tesla premium paint repairs, understanding common issues is key. Unlike regular cars, Teslas have a unique painting process that involves advanced technologies like electrostatic painting and clear coat finishes. These methods, while revolutionizing car manufacturing, can also lead to specific challenges. One frequent problem is uneven coating, often noticeable as subtle swirls or spots of differing sheen. This can occur due to factors like surface imperfections, temperature fluctuations during curing, or even small contaminants on the paint surface.
Additionally, Teslas are known for their vibrant colors that, while stunning, might be more prone to chipping or fading over time. This is especially true in regions with extreme weather conditions or frequent car washes. Beginners should also be aware of the importance of proper preparation before painting—a step often overlooked but crucial in achieving a professional finish. This includes thoroughly cleaning and decontaminating the paint surface, repairing any minor dents or scratches using specialized tools, and ensuring the area is free from moisture and dust particles. Addressing these issues early on can significantly impact the final result of Tesla premium paint repairs.
Essential Tools and Materials for Simple Repairs
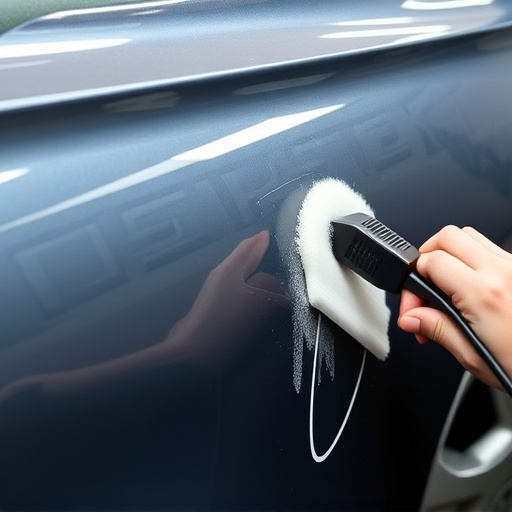
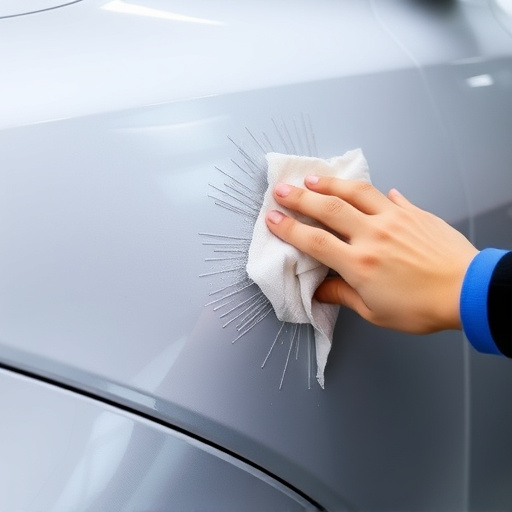
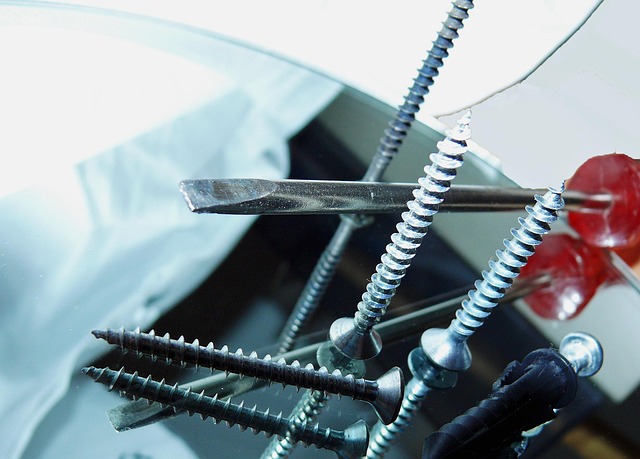
When tackling Tesla premium paint repairs as a beginner, having the right tools and materials is essential for achieving professional results. For simple fixes like car scratch repair or minor dent removal, you won’t need an extensive kit. Start with basic essentials such as a high-quality paint pen specifically designed for Tesla models, a small sandpaper block (grit 400-600), and a clean microfiber cloth. These tools will enable you to prepare the surface, fill in any imperfections, and apply the paint accurately.
Additionally, consider investing in a good putty knife for auto body repair, which can help with dent removal techniques. A versatile set of brushes, both fine and broad, will allow you to reach tight spots and ensure smooth application during your Tesla premium paint repair process. Remember, proper preparation is key; using these tools effectively will make the entire car scratch repair or dent removal experience more manageable.
Step-by-Step Guide to Effective Paint Repair Techniques
Fixing Tesla premium paint issues doesn’t have to be intimidating for beginners. By following a structured step-by-step guide, you can achieve professional results at home. Start by preparing your workspace; ensure it’s clean and well-lit. Gather all necessary tools including sandpaper (grit 400), primer, color match paint, clear coat, and a applicator pad or spray gun. Next, inspect the damaged area closely to determine the extent of the repair needed. For small chips or scratches, follow these steps:
1. Lightly sand the affected spot using fine-grit sandpaper, removing any debris and smoothing out the edge of the damage.
2. Clean the area thoroughly with a degreaser to eliminate any residue.
3. Apply a thin layer of primer designed for Tesla premium paint, allowing it to dry completely.
4. Match your car’s color using a paint matching system or pre-mixed color codes specific to Tesla vehicles.
5. Paint the damaged area with even coats, letting each coat dry as per the manufacturer’s instructions.
6. Once the final coat is dry, apply a clear coat to protect the repair and restore the original gloss.
For beginner Tesla owners facing premium paint issues, this guide offers a comprehensive solution. By understanding common problems, arming yourself with the right tools, and following simple, step-by-step techniques, you can effectively repair your Tesla’s paintwork, ensuring it retains its vibrant, high-quality finish. With these easy repairs, you’ll keep your Tesla looking as good as new, all while saving time and money.