


Tesla door handle repair involves identifying issues like loose handles, broken parts, or rust, gathering tools and compatible parts (e.g., screwdrivers, pliers, torque wrench, replacement handles), carefully removing old handles, inspecting for damage, replacing components precisely, reattaching new parts securely, testing functionality, and using car polish & microfiber cloths to restore. Timely DIY repairs save costs and empower owners; seeking professional help is recommended if unsure.
Looking to fix your faulty Tesla door handle? This comprehensive guide will walk you through the process, empowering you with the knowledge to tackle common issues DIY-style. We’ll break down the most frequent problems, equip you with the necessary tools and materials, and provide a detailed, step-by-step repair manual. By following these instructions, you can save time, money, and avoid costly dealership visits, ensuring your Tesla’s door handles function flawlessly once again.
- Understanding Common Tesla Door Handle Issues
- Gathering Tools and Materials for Repair
- Step-by-Step Guide to DIY Tesla Door Handle Replacement
Understanding Common Tesla Door Handle Issues

Tesla door handles, like any other component on a luxury vehicle, can suffer from wear and tear over time, leading to various issues that may require a DIY Tesla door handle repair. Common problems include loose handles that wiggle or fail to stay in place, broken or cracked plastic components, and difficulty in opening or closing the doors. Sometimes, a simple adjustment of the locking mechanism can resolve these issues. However, more severe cases might involve damaged springs, worn-out hinges, or even water intrusion leading to rusting, especially if your Tesla has seen its fair share of fender benders or been through a rough vehicle restoration process.
Identifying the specific problem is key when undertaking a DIY Tesla door handle repair. If you’re dealing with a loose handle, ensure it’s securely fastened and adjust the locking pins accordingly. For broken parts, replacing them with genuine Tesla spares is recommended to maintain the vehicle’s integrity and safety features. Addressing these issues promptly not only ensures your Tesla’s doors function smoothly but also prevents more significant luxury vehicle repair costs down the line.
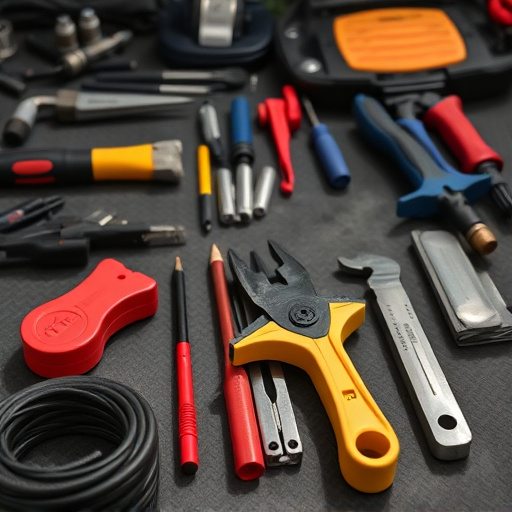
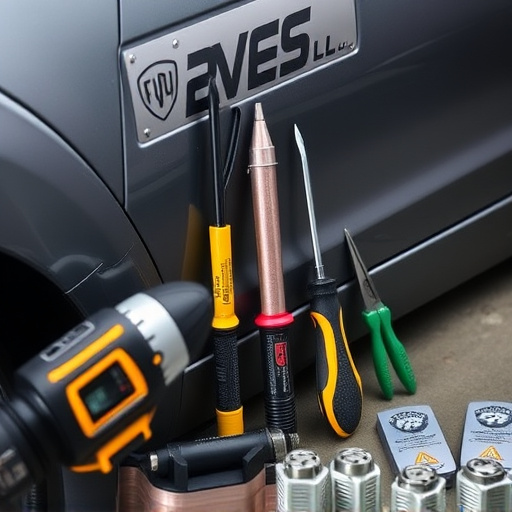
Gathering Tools and Materials for Repair

Before tackling any DIY project, ensuring you have all the necessary tools and materials is paramount. For a Tesla door handle repair, gather a variety of items including screwdrivers (both flathead and Phillips), pliers, a torque wrench, and replacement handles if needed. Additionally, consider having some rubber grommets on hand as these are crucial for securing the new handles in place. If you’re looking to restore your vehicle’s appearance, a good quality car polish and microfiber cloths can make a significant difference.
For those not comfortable with automotive repairs, it’s recommended to visit a reputable car repair shop or vehicle body shop for professional assistance. They have the specialized tools and expertise to handle Tesla door handle repairs swiftly and efficiently, guaranteeing both safety and aesthetic restoration of your vehicle.
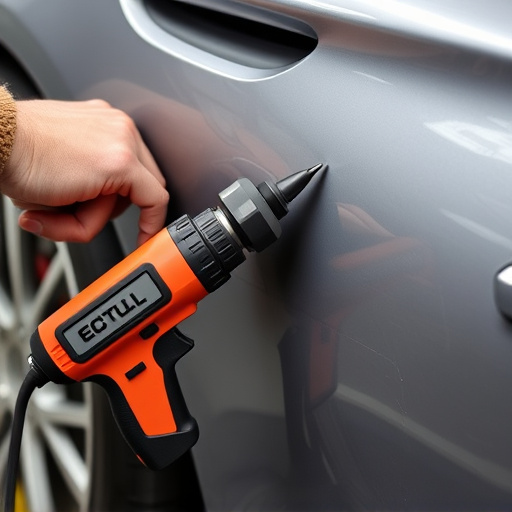
Step-by-Step Guide to DIY Tesla Door Handle Replacement

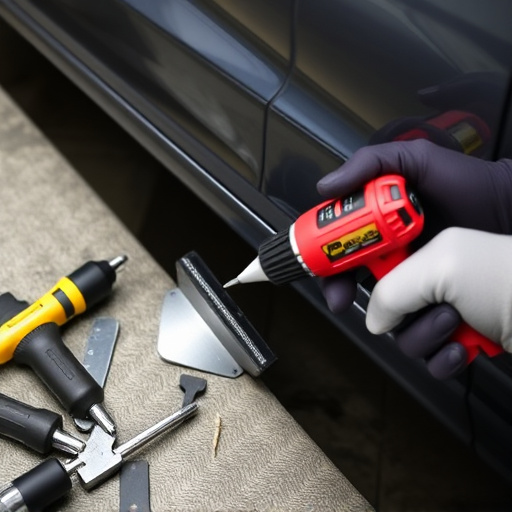
If you’re dealing with a faulty Tesla door handle, opting for a DIY repair can be both cost-effective and empowering. Before you begin, gather all necessary tools and materials, including a new door handle assembly (ensure it’s compatible with your Tesla model), socket sets, and any specific hardware required for your car. Start by locating the damaged or malfunctioning handle, usually accessible from the interior side of the vehicle door. Remove the old handle carefully, taking note of how it’s secured to the door panel—this knowledge will be crucial for the replacement process.
Next, inspect the surrounding area for any signs of damage or wear that might have contributed to the issue. With the old handle removed, you’ll now have direct access to the door’s inner mechanisms. Proceed with replacing the faulty components, ensuring every new part is securely fastened according to your vehicle’s specific design. Remember, precision is key in car body repair, so take your time and double-check connections. Once complete, test the newly installed handle to ensure it operates smoothly and securely, just like when you’re dealing with fender repair or any other vehicle restoration task.
Repairing your Tesla’s door handle doesn’t have to be a daunting task. By understanding common issues, gathering the right tools and materials, and following a step-by-step guide, you can tackle this DIY project with confidence. With a bit of patience and know-how, you’ll not only save money but also gain valuable skills in maintaining your electric vehicle. So, why wait? Dive into this comprehensive guide and take control of your Tesla door handle repair today.