


Tesla taillight assembly issues stem from factors like faulty wiring and weather damage. Regular maintenance prevents problems, with professional help recommended for repairs involving dent repair and component replacement. Skilled technicians use advanced tools to inspect and restore assemblies, addressing connector issues and ensuring optimal functionality and safety.
Looking to fix that stubborn Tesla taillight assembly? This guide breaks down the process, focusing on common issues with Tesla taillight assemblies and providing a step-by-step approach to effective repair. From understanding the root causes behind flickering or inoperable lights to disassembling, inspecting, and resetting connectors, we’ll walk you through every crucial step for a successful Tesla taillight assembly repair.
- Understanding Tesla Taillight Assembly Issues
- Disassembling and Inspecting the Taillight Module
- Resetting Connectors for Optimal Functionality
Understanding Tesla Taillight Assembly Issues
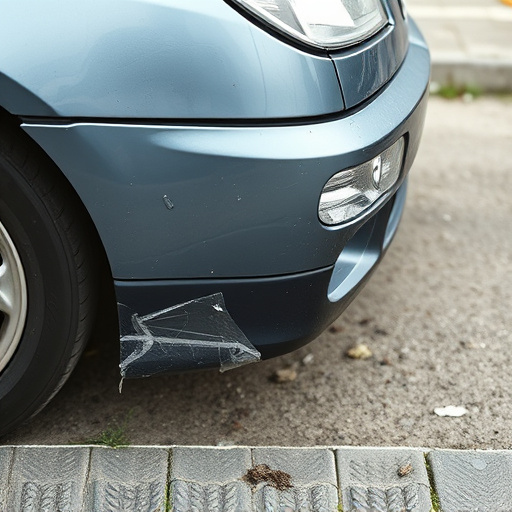
Tesla taillight assembly issues can stem from various factors, making it crucial to understand these problems for effective repairs. Malfunctions often manifest as lighting defects, where the headlights may flicker, dim, or fail to illuminate altogether. Such issues could be due to faulty wiring within the intricate electrical system of Tesla vehicles or damage to the taillight assembly itself. Over time, exposure to harsh weather conditions and road debris can weaken seals and connections, leading to water intrusion and subsequent malfunctioning.
Regular maintenance checks, including inspecting connectors for corrosion and ensuring proper sealing, are essential preventive measures. If problems arise, seeking professional help from specialized car bodywork services is recommended. Skilled technicians can diagnose the issue, whether it’s a simple connector reset or more complex repairs involving dent repair and replacement of damaged components. Automotive collision repair experts equipped with advanced tools and knowledge will restore your Tesla’s taillight assembly to optimal condition, ensuring safety and aesthetic appeal on the road.
Disassembling and Inspecting the Taillight Module
When carrying out a Tesla taillight assembly repair, disassembling and inspecting the module is a crucial step in the process. Begin by carefully removing the existing taillights, ensuring that any screws or bolts are accounted for. Next, take apart the housing to gain access to the core component—the taillight module itself. This intricate part houses the LED lights and associated electronics, which are sensitive and require meticulous handling during the disassembly process.
During inspection, look for signs of damage, corrosion, or loose connections. Over time, these can impact the performance of your Tesla’s taillights, leading to flickering or complete failure. Compare the module’s condition with a new one to identify any necessary repairs, such as cleaning corrosion from connectors or replacing faulty components. This level of scrutiny is vital in ensuring the effectiveness and longevity of your vehicle’s taillight assembly, especially after any automotive restoration or collision damage repair work.
Resetting Connectors for Optimal Functionality

When undertaking a Tesla taillight assembly repair, resetting connectors is an essential step for achieving optimal functionality. These connectors play a vital role in ensuring smooth communication between various components within the vehicle’s lighting system. Over time, they can become contaminated with dust or debris, leading to intermittent signals that might otherwise go unnoticed during routine driving.
A thorough cleaning and reset of these connectors can resolve issues related to dim or flickering lights, delayed activation, or even complete failure to illuminate. Many car repair shops, specializing in both modern and classic car restoration, offer this service as part of their Tesla taillight assembly repairs. By resetting the connectors, mechanics can ensure that every light function operates at peak performance, enhancing both safety and aesthetic appeal on the road.
In conclusion, repairing a Tesla taillight assembly involves several key steps, including understanding common issues, disassembling and inspecting the module, and resetting connectors for optimal functionality. By following these procedures, you can ensure that your Tesla’s taillights function properly and safely on the road. Remember that proper maintenance and timely repairs are crucial for keeping your vehicle in top condition.