


Tesla chrome trim is susceptible to damage but can be repaired for a factory finish. Accurate damage assessment and model-specific parts matching are crucial. A systematic repair process includes inspection, cleaning, filling, sanding, polishing, and buffing. DIYers or professionals need the right tools and techniques for optimal Tesla chrome trim repair results.
Tesla owners often take pride in their car’s sleek design, but chrome trim can be prone to damage from road debris, stone chips, or simple wear and tear. When your Tesla’s chrome starts to show signs of wear, it’s time for a repair. This comprehensive guide dives into the process of repairing Tesla chrome trim, offering insights on understanding common damage types, sourcing model-specific replacement parts, and step-by-step instructions for an efficient DIY or professional repair.
- Understanding Tesla Chrome Trim Damage and Causes
- Finding the Right Model-Specific Replacement Parts
- Step-by-Step Guide to Efficient Chrome Trim Repair
Understanding Tesla Chrome Trim Damage and Causes

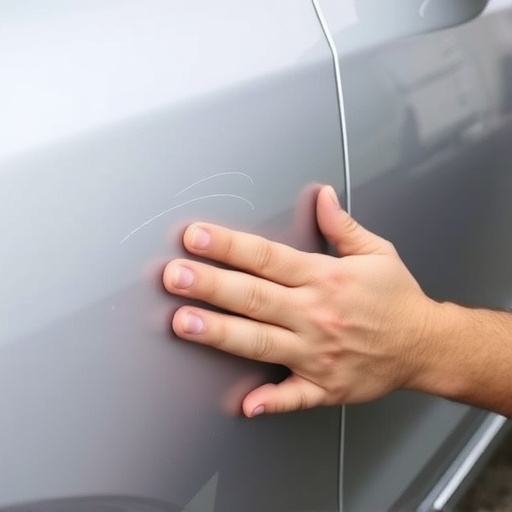
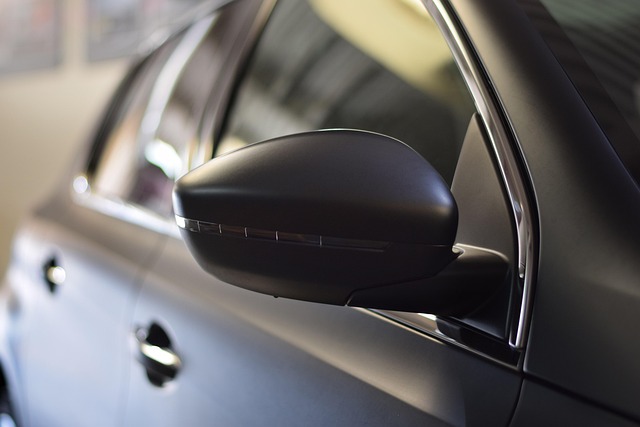
Tesla chrome trim, a sleek and stylish addition to the vehicle’s exterior, can sustain damage from various factors. Impact during a collision or road debris like stones or metal fragments can cause chips, cracks, or even complete detachment of the trim pieces. The intricate design often makes it challenging to match the exact style and color, especially with Tesla’s diverse model range. Over time, exposure to harsh weather conditions, UV rays, and chemical substances can also degrade the chrome, leading to discoloration and loss of shine.
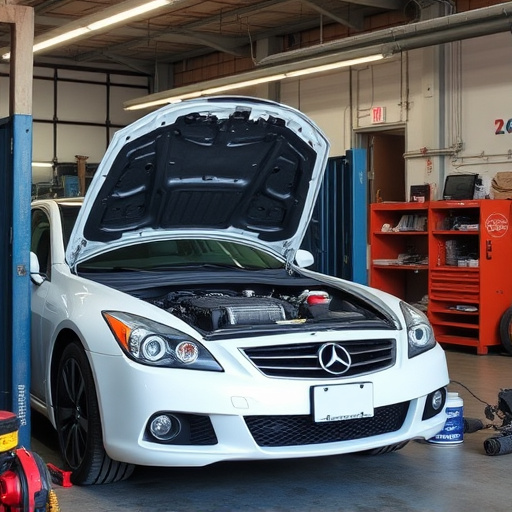
Identifying the extent of the damage is crucial before attempting any Tesla chrome trim repair. A visit to a reputable collision repair center or car body restoration shop equipped with specialized tools can help diagnose the issue. These professionals understand that precise matching of parts is essential for maintaining the vehicle’s aesthetics, ensuring a seamless and original-looking repair.
Finding the Right Model-Specific Replacement Parts

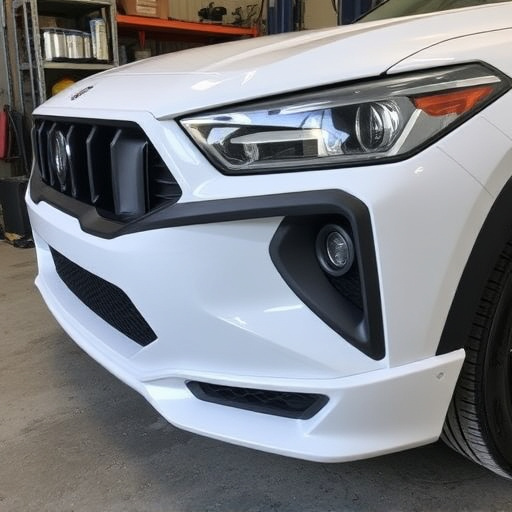
When undertaking Tesla chrome trim repair, finding the right model-specific replacement parts is paramount to achieving a seamless finish that matches your vehicle’s unique aesthetic. Unlike generic car parts stores, specialized suppliers focus on providing Tesla owners with precise components tailored to their specific models, ensuring both visual accuracy and structural integrity. These suppliers invest heavily in maintaining extensive databases and relationships with manufacturers to offer the latest and most compatible parts.
A keen understanding of your Tesla model year, trim level, and even unique design variations is crucial for accurate part matching. This level of specificity goes beyond mere aesthetics; it’s essential for ensuring proper fitment and long-term reliability during vehicle collision repair or car body restoration processes. By engaging with reputable suppliers who prioritize these details, Tesla owners can be confident that their chrome trim repairs will not only restore the original look but also maintain the overall value of their vehicle.
Step-by-Step Guide to Efficient Chrome Trim Repair

When it comes to Tesla chrome trim repair, a systematic approach can make all the difference in achieving a perfect, factory-like finish. Here’s a step-by-step guide designed for both DIY enthusiasts and those seeking services at a reputable collision repair shop specializing in luxury vehicle repair:
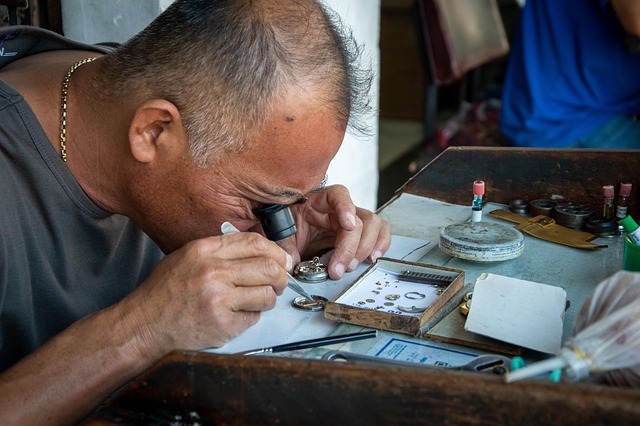
1. Inspect and Assess the Damage: Start by carefully examining the affected area to identify the extent of the damage. Note any cracks, chips, or pitting on the chrome trim. This step is crucial as it determines the necessary tools and materials for the repair process. For complex damage, consider seeking help from an automotive collision repair expert to avoid further complications.
2. Prepare the Workspace: Ensure your workspace is clean, well-lit, and equipped with the right tools—a small file, a polishing compound, microfiber cloths, and protective gloves. Remove any nearby objects that might obstruct your work area. This meticulous preparation facilitates a smoother, more precise repair process, whether you’re tackling the job yourself or working with a professional to fix your Tesla’s chrome trim after a collision.
3. Clean and Sand the Area: Thoroughly clean the damaged region using a mild detergent and water to remove any dirt, grease, or debris. Then, lightly sand the area using a fine-grit sandpaper to create a rough surface, which aids in better adhesion during the repair process.
4. Fill and Sand the Crack/Damaged Area: Apply a high-quality plastic filler to the crack or damaged zone. Allow it to dry completely before gently sanding with progressively finer grits until the area is smooth and even with the surrounding chrome trim.
5. Polish and Buff: Using a polishing compound, buff the repaired area until it achieves a glossy finish. This step enhances the visual appeal of the fixed chrome trim, ensuring it matches the vehicle’s original quality.
Tesla chrome trim repair is a specialized task that requires precision and an understanding of model-specific parts. By identifying the cause of damage and sourcing the right replacement pieces, you can efficiently restore your Tesla’s interior aesthetic. Following a step-by-step guide ensures a clean, professional repair, enhancing the overall value and appeal of your vehicle. Remember, proper maintenance and timely repairs are key to preserving the beauty of your Tesla’s chrome trim for years to come.