
Tesla taillight assembly repair is essential for maintaining vehicle safety and aesthetics. Common issues include cracks, breaks, loose connections, and malfunctioning lights, often caused by manufacturing defects or accidents. Skilled technicians diagnose problems, performing repairs ranging from part replacements to auto painting to match the original finish. Regular maintenance prevents issues, ensuring optimal functionality and enhancing road safety for Tesla taillight assemblies across models S, 3, X, and Y.
Experience a faulty Tesla taillight assembly? You’re not alone. These issues are common across Model S, 3, X, and Y vehicles. This guide breaks down the root causes and provides a comprehensive step-by-step repair process tailored to each model. From identifying loose connections to replacing worn-out parts, we’ll equip you with the knowledge needed for a successful Tesla taillight assembly repair.
- Understanding Tesla Taillight Assembly Issues
- Diagnosing Common Problems and Causes
- Step-by-Step Repair Guide for Different Models
Understanding Tesla Taillight Assembly Issues
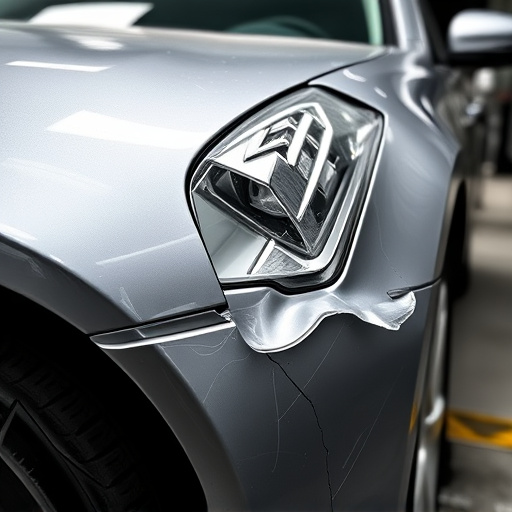
Tesla vehicles are renowned for their cutting-edge technology and sleek design, but like any car, they’re not immune to issues. One common problem that owners of Model S, 3, X, and Y vehicles may encounter is problems with their taillight assemblies. These issues can range from cracked or broken components to loose connections, causing the lights to malfunction or flicker. Understanding the root cause of these problems is essential for effective Tesla taillight assembly repair.
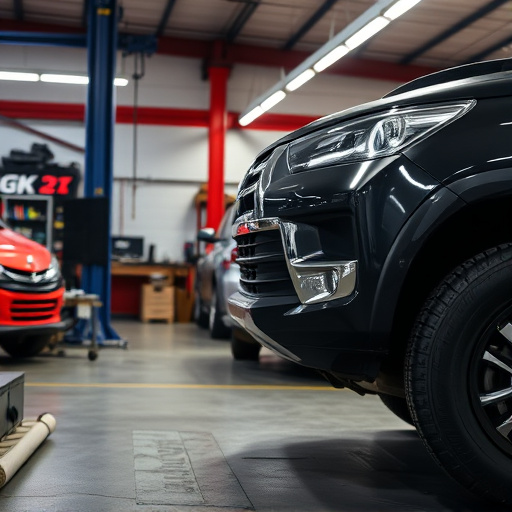
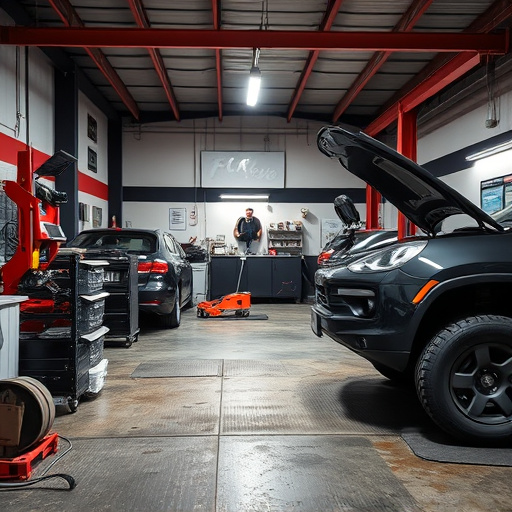
Regular auto maintenance, including inspecting and replacing worn-out parts, can help prevent such issues. However, when problems do arise, it’s often best to seek professional body shop services. Skilled technicians can diagnose the problem, whether it’s a simple replacement of faulty parts or more complex repairs involving auto painting to ensure the taillights match the vehicle’s original finish.
Diagnosing Common Problems and Causes
Diagnosing common issues with your Tesla taillight assembly is an important step before attempting any repairs. One of the most frequent problems owners encounter is a loose or malfunctioning taillight, often caused by manufacturing defects or exposure to extreme weather conditions. Over time, the seals and gaskets in the assembly can deteriorate, leading to water intrusion and potential short circuits. This may result in flickering lights, burnt-out bulbs, or even complete failure of the taillight assembly.
Additionally, collisions or minor impacts can cause damage, including cracked lenses or misaligned components within the assembly. It’s crucial to inspect for any signs of physical harm as these could indicate a need for professional car paint repair or even a trip to a collision center. Regular maintenance and prompt attention to warning signs will ensure your Tesla’s taillight assemblies function optimally and enhance road safety.
Step-by-Step Repair Guide for Different Models
Reparing a Tesla taillight assembly can vary slightly depending on the specific model year and design. For Model S, 3, X, and Y vehicles, the process follows a consistent structure. First, locate the taillight assembly, which is typically mounted behind the vehicle’s fender. In many cases, a minor fender bender or side impact can cause damage to these components. If you suspect any impact, it’s crucial to inspect the taillights immediately.
The repair process begins with removing the damaged or faulty taillight assembly, often requiring the disconnection of electrical connectors and the unscrewing of mounting bolts. Once removed, inspect the assembly for cracks, chips, or other signs of damage. After identifying the issue, procure a replacement taillight assembly from a trusted car repair services provider that matches your vehicle’s make and model. Reinstall the new part, ensuring proper alignment and secure fastening before testing its functionality to confirm the repair.
Repairing your Tesla’s taillight assembly is a crucial task, not only for safety but also to preserve the vehicle’s aesthetic appeal. With this comprehensive guide, you now have the knowledge to identify and address common issues affecting the Model S, 3, X, and Y vehicles. By following the step-by-step repair process tailored to each model, you can effectively restore your Tesla’s taillights to their original condition, ensuring both optimal performance and a sleek design – all while potentially saving time and money compared to professional repairs. Remember, a well-maintained Tesla is a safer and more enjoyable drive for everyone.