
Tesla camera housing repair demands specialized attention, using correct tools like torque wrenches to prevent damage and ensure optimal safety performance. Employ high-quality bolts and screws tailored for Tesla models. This guide emphasizes precise torque control, mounting area preparation, and adhering to manufacturer guidelines for secure, reliable repairs reflecting Tesla's luxury standards.
Tesla vehicles are renowned for their advanced technology, and a crucial component is the sophisticated camera system housed within. This article delves into the intricate process of repairing the Tesla camera housing, focusing on the importance of proper torque and fastening techniques. By understanding the unique structure of these housings, we’ll guide you through essential tools and provide a step-by-step repair manual to ensure your Tesla’s cameras are securely fastened, enhancing its safety and performance capabilities.
- Understanding Tesla Camera Housing Structure
- Tools and Techniques for Secure Fastening
- Step-by-Step Repair Guide: Ensuring Proper Torque
Understanding Tesla Camera Housing Structure
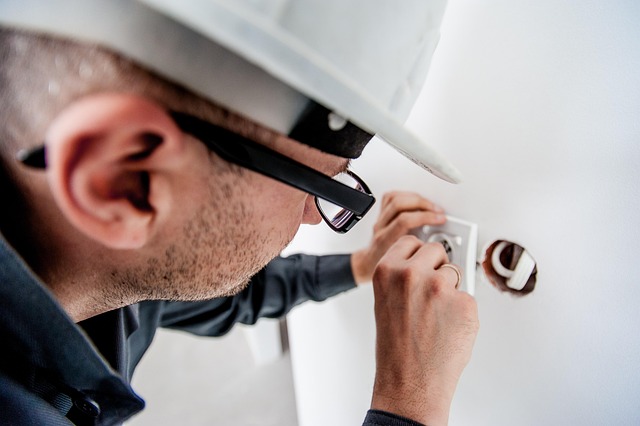
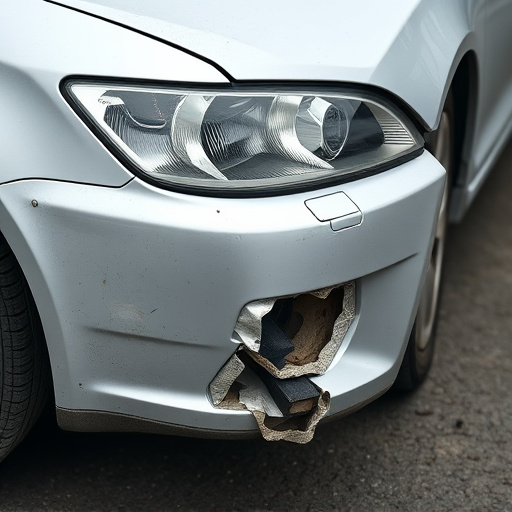
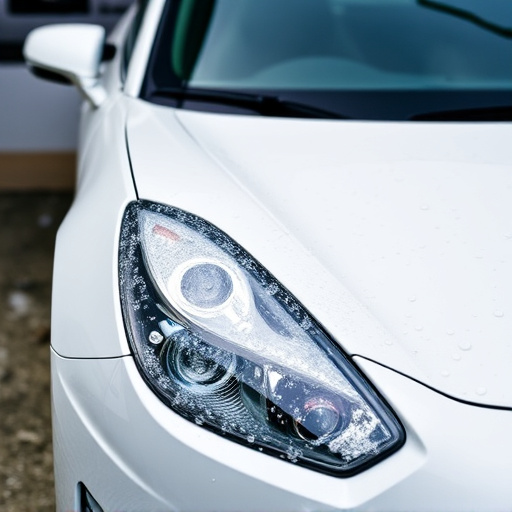
Tesla camera housing, integral to the car’s safety and driver assistance systems, is a sophisticated component that requires meticulous care during repairs. Understanding its structural design is crucial for effective Tesla camera housing repair. The housing, typically made from durable materials like aluminum or polycarbonate, houses high-tech cameras and sensors responsible for tasks like autonomous driving, lane departure warnings, and park assist.
Proper handling and fastening techniques are paramount when repairing these components. Unlike regular auto glass replacement or collision repair services, Tesla camera housing repairs demand precision torque control to prevent damage to delicate sensors inside. This ensures optimal performance of the vehicle’s safety features, enhancing both driver confidence and road safety.
Tools and Techniques for Secure Fastening
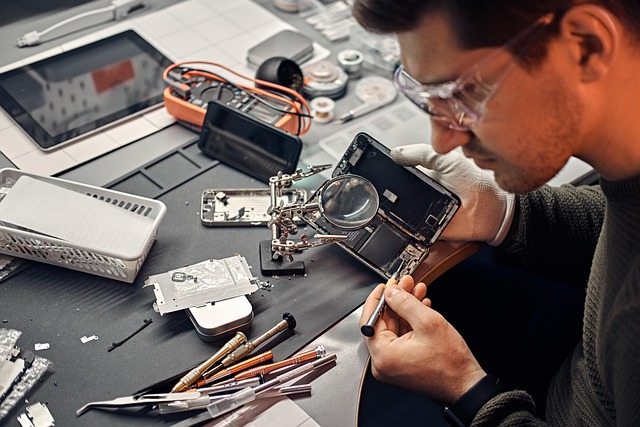
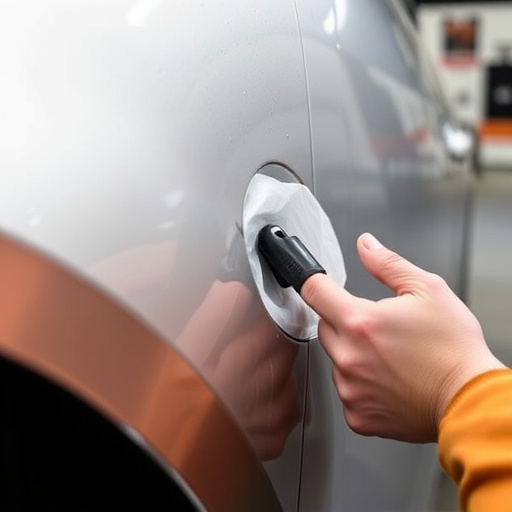
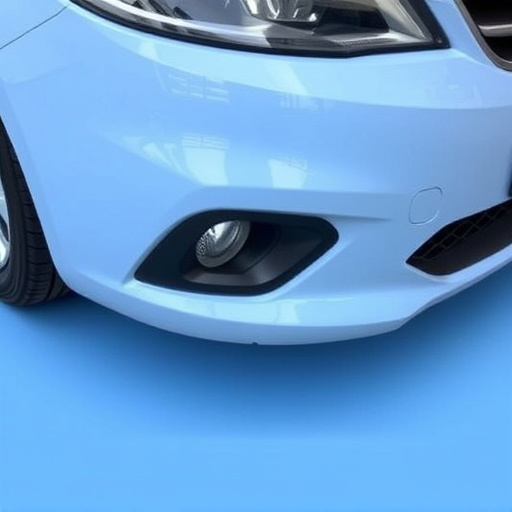
When undertaking Tesla camera housing repair, it’s paramount to employ the right tools and techniques for secure fastening. This ensures the integrity of the repair and prevents future issues. For instance, using a torque wrench is crucial when tightening screws to achieve the recommended torque specifications. This precise approach, commonly used in auto body shops, guarantees that each component is fastened correctly without over-tightening, which could cause damage.
Moreover, choosing the appropriate fasteners tailored for Tesla models is essential. Auto repair services often recommend using high-quality bolts and screws designed for automotive applications, offering superior strength and corrosion resistance. These specialized parts are particularly vital in regions with varying climates, ensuring the camera housing remains secure through all seasons, just as a Mercedes Benz would demand in its rigorous repair processes.
Step-by-Step Repair Guide: Ensuring Proper Torque
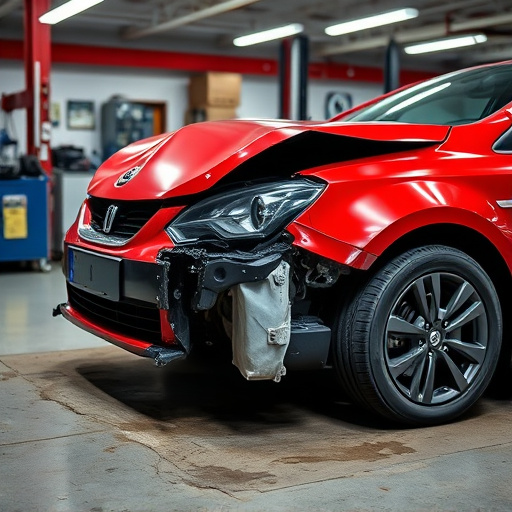
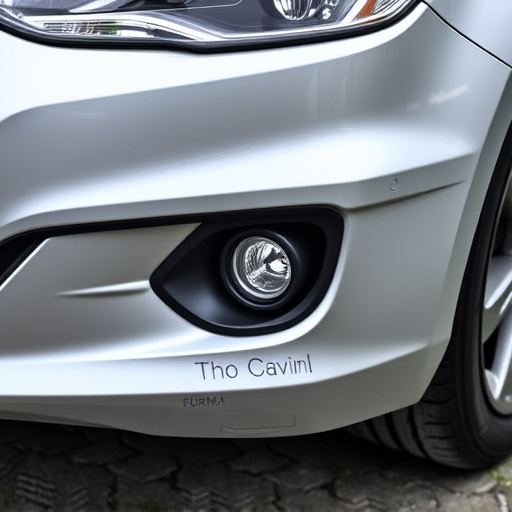
When undertaking a Tesla camera housing repair, achieving the right torque during fastening is paramount to ensure both functionality and longevity of the replacement parts. This step-by-step guide outlines the process for a seamless installation. Begin by gathering your tools, including a torque wrench suitable for your vehicle’s specifications. Next, locate the specific bolts or screws that secure the camera housing, often found behind or within the bumper or fender. Before fastening, clean the area to remove any debris or corrosion, ensuring a solid bond.
Now, carefully apply the appropriate torque as per the manufacturer’s guidelines. This may vary depending on the vehicle model and year, so consult your owner’s manual for precise measurements. Too much torque can damage the thread, while insufficient torque might lead to loose connections. Once all fastenings are secure, double-check the torque values one final time. Proper torque ensures not only a robust repair but also aligns with Tesla’s high standards for vehicle body repair, including bumper repair and car scratch repair in some cases.
In conclusion, a thorough understanding of the Tesla camera housing structure and the correct application of torque during fastening are paramount for successful repairs. By utilizing the appropriate tools and following the step-by-step guide, you can ensure your Tesla’s camera housing is securely fastened, enhancing its durability and functionality. Remember, proper repair techniques not only extend the life of these components but also contribute to overall vehicle safety and performance. For any Tesla camera housing repair, adhering to these principles will yield optimal results.