Tesla fender camera alignment is key to modern vehicle safety. Realignment after repairs ensures clear imaging for ADAS features like lane departure warning and automatic emergency braking. It requires specific tools, including precision screwdrivers, adhesive, and a bodywork kit. Follow steps like securing the vehicle, removing trim, inspecting for damage, reapplying adhesive, and positioning trim accurately to achieve flawless alignment.
Revitalize your Tesla’s exterior with a meticulous guide to Tesla fender camera alignment and adhesive reinstallation. This comprehensive article breaks down the fundamentals of Tesla fender camera alignment basics, equipping you with the knowledge to successfully navigate this process. From identifying necessary tools and materials to mastering precise camera trim adjustments, each step ensures optimal results. Get ready to enhance your Tesla’s aesthetic and drive with confidence.
- Understanding Tesla Fender Camera Alignment Basics
- Tools and Materials Required for Reinstallation
- Step-by-Step Guide to Precise Camera Trim Adjustments
Understanding Tesla Fender Camera Alignment Basics
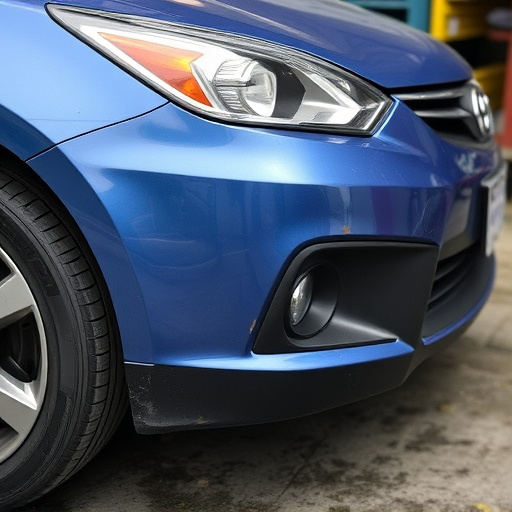
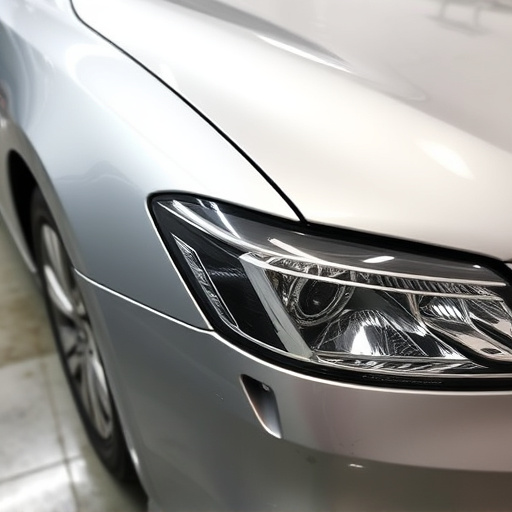
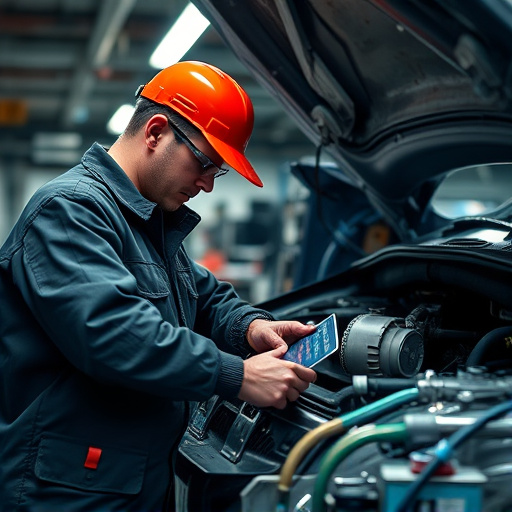
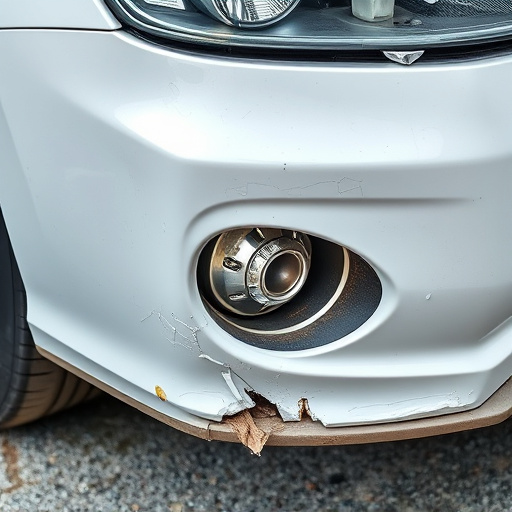
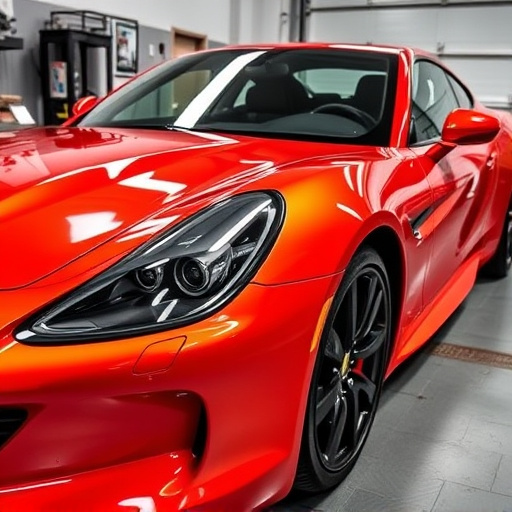
Tesla fender camera alignment is a crucial aspect of modern vehicle technology, ensuring optimal visibility and safety. These cameras, strategically placed on the front and rear fenders, serve as part of the car’s advanced driver-assistance systems (ADAS). Proper alignment guarantees that these cameras capture clear images, enabling features like lane departure warning, blind spot monitoring, and automatic emergency braking to function effectively.
When dealing with auto body repairs, especially after a fender repair or scratch repair, it’s essential to reassess and realign the Tesla fender cameras. This process involves meticulous calibration to maintain the integrity of the vehicle’s safety features. Technicians use specialized tools to adjust the camera’s positioning, ensuring they capture accurate and detailed footage without any obstructions from damaged or misaligned components, thus contributing to overall improved auto body repairs.
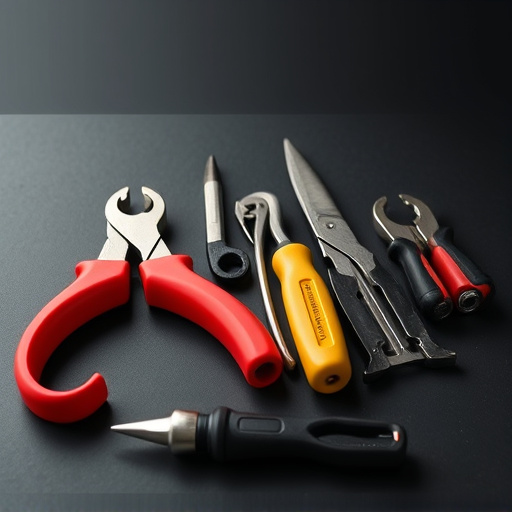
Tools and Materials Required for Reinstallation
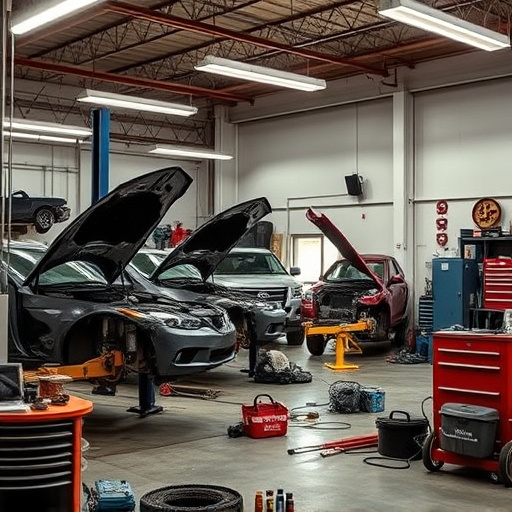
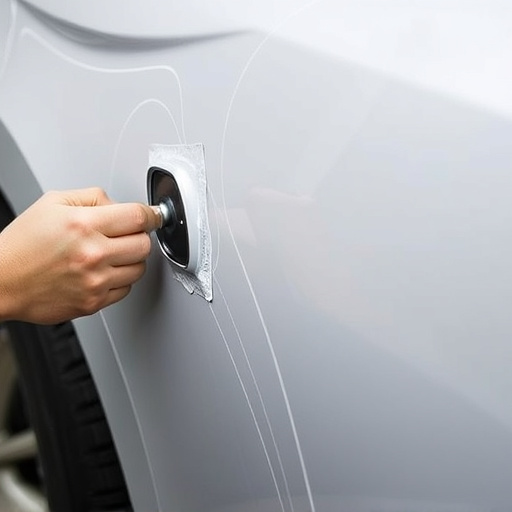
Reinstalling the Tesla fender camera alignment and trim adhesive requires a few specific tools and materials to ensure a successful and secure fit. Start with gathering essential items like a precision screwdriver set, suitable for your Tesla model, and high-quality adhesive designed for automotive applications. A small spatula or applicator tool is also crucial for accurately applying the adhesive along the fender’s edges.
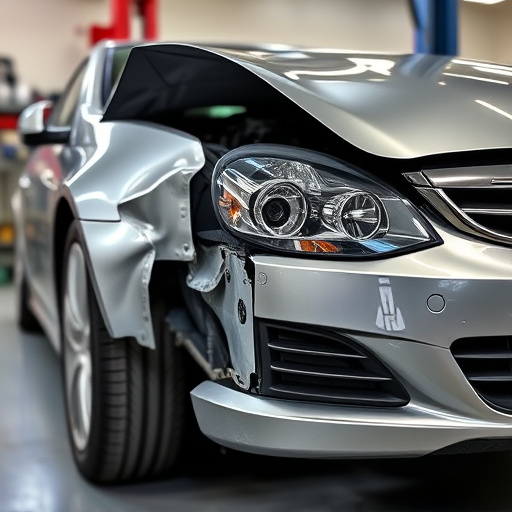
Additionally, consider having a car bodywork kit on hand, which may include putty, primer, and paint to address any minor dents or imperfections around the camera alignment. These repairs are often necessary to ensure the adhesive bonds firmly to clean, damage-free surfaces. Car dent removal and repair techniques can be utilized to achieve a flawless finish once the new adhesive is in place.
Step-by-Step Guide to Precise Camera Trim Adjustments

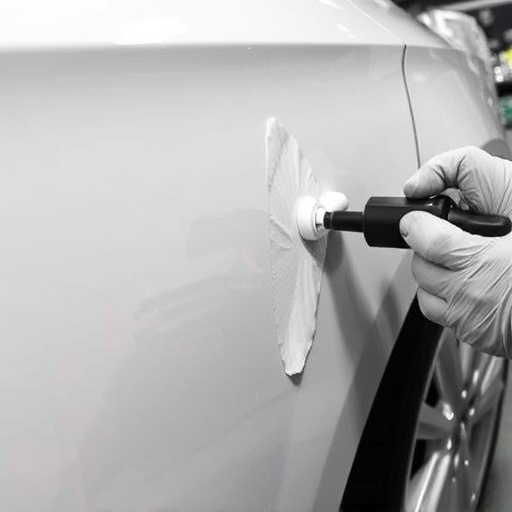
To achieve precise Tesla fender camera alignment, follow this step-by-step guide. Begin by ensuring your vehicle is secured and raised on a safe jacking point. Next, locate the camera trim pieces, which are typically attached with adhesive. Carefully remove any debris or old adhesive from the area using specialized tools designed for car body shop services.
Inspect the fender to identify any dents or damage that might require dent removal techniques. Once the surface is clean and prepared, reapply high-quality adhesive along the camera trim edges. Position the trim pieces accurately, aligning them with the vehicle’s sensors and mounting points. Gently press and secure each piece until the adhesive sets, ensuring a firm bond for optimal Tesla fender camera alignment and a seamless finish in vehicle collision repair.
Reinstating your Tesla fender camera alignment and trim adhesive is a crucial step in maintaining optimal vehicle safety features. By understanding the basic principles of alignment, gathering the right tools and materials, and meticulously following a step-by-step guide, you can ensure precise adjustments that enhance your Tesla’s overall performance and safety. Remember, proper camera alignment is key to navigating the road with confidence and peace of mind.