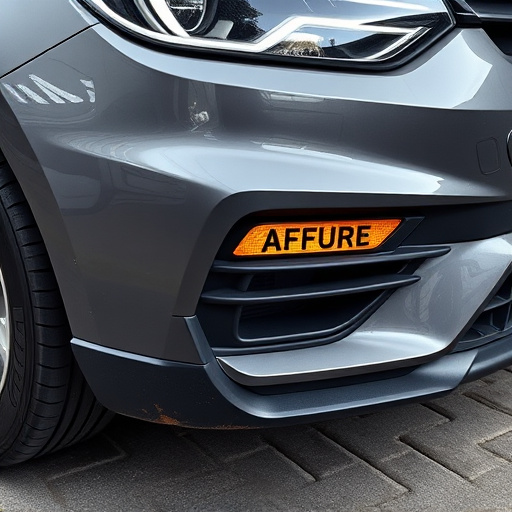
Mercedes pearl effect repair requires specialized care due to its multi-layered finish. Prepare by cleaning, gathering tools like sandpaper, clear coat compound, and buffer. For scratches, start with car polish, then use clear coat touch-up paint for precise matching. This meticulous process ensures repairs blend seamlessly with the car's original design and aesthetic.
“Discover how to restore your Mercedes with pristine condition using our guide on repairing scratches from its distinctive pearl effect finish. This comprehensive article delves into the unique characteristics of Mercedes pearl effect, outlining essential tools and materials needed for successful repair. We provide a detailed step-by-step process, ensuring you can expertly address minor imperfections. By following these instructions, your Mercedes will regain its glossy allure, maintaining its luxury aesthetic.”
- Understanding Mercedes Pearl Effect Finish
- Tools and Materials Required for Repair
- Step-by-Step Guide to Scratch Removal
Understanding Mercedes Pearl Effect Finish
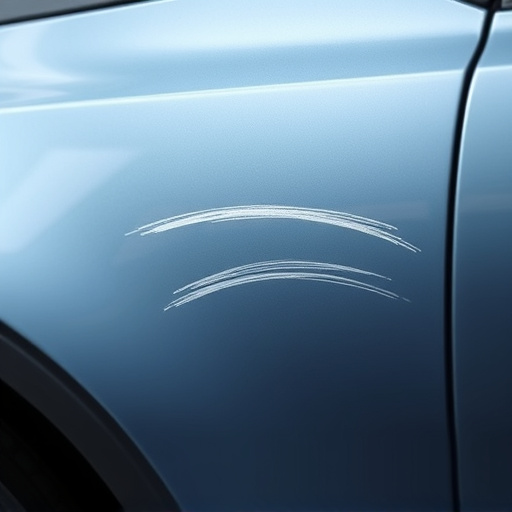
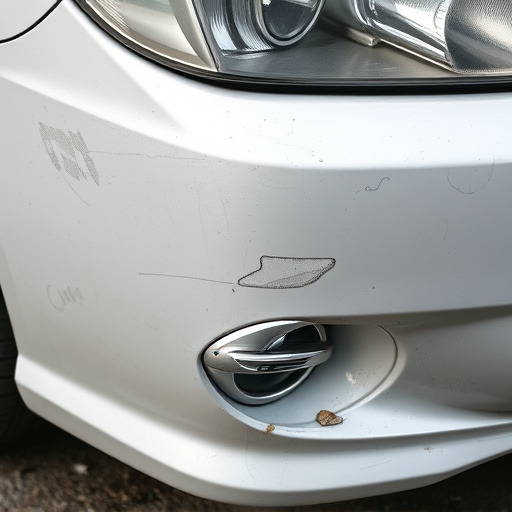
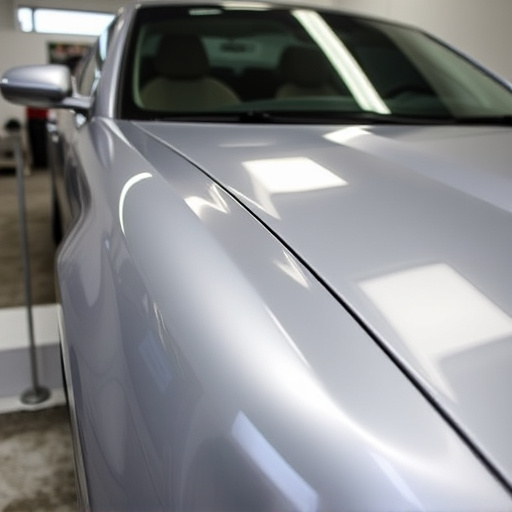
The Mercedes Pearl Effect Finish is a unique and distinctive feature of many modern Mercedes-Benz models, known for its stunning, iridescent glow that seems to change color with the light. This finish is achieved through a specialized painting process that layers vibrant pigments and clear coats to create a smooth, glossy surface. However, like any sophisticated automotive exterior, it’s not invulnerable to scratches and swirls. Understanding this finish is crucial for effective Mercedes pearl effect repair. It involves more than just touch-up paint; it requires knowledge of the multi-layered structure to ensure the scratch is filled seamlessly, preserving the car’s original aesthetic.
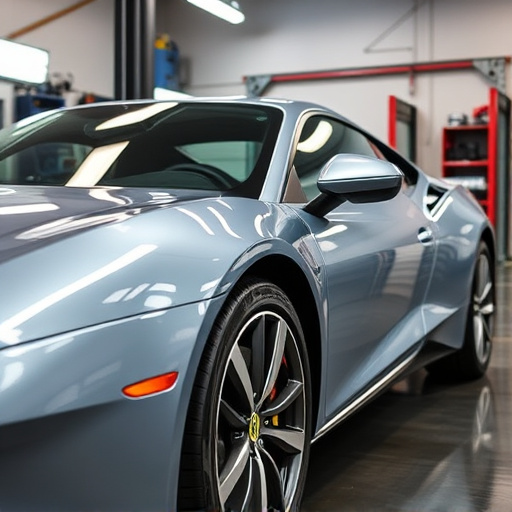
Mercedes pearl effect repair, or car body restoration in general, demands precision and attention to detail. Auto painting experts use specific techniques tailored for this finish, ensuring that the repairs blend perfectly with the surrounding area. This meticulous process includes preparing the damaged area, matching the unique color and texture of the pearl effect, and applying the correct clear coat to protect the repair and maintain the car’s signature luster. Through these vehicle repair services, owners can restore their Mercedes’ exterior to its original beauty, preserving not just the car’s value but also its iconic design.
Tools and Materials Required for Repair
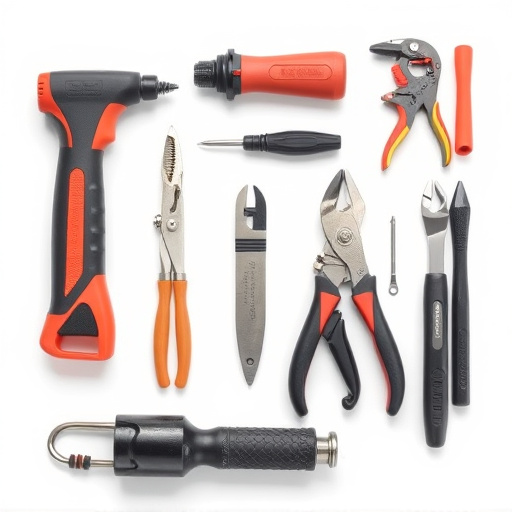
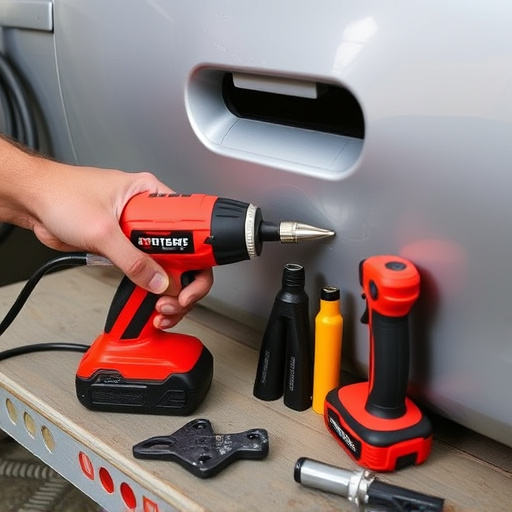
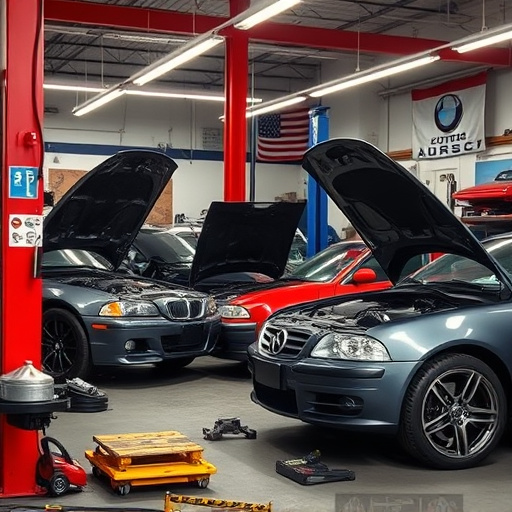
To successfully repair scratches in a Mercedes pearl effect finish, you’ll need a few specific tools and materials tailored for this high-end automotive surface. Start with a thorough cleaning to remove any dirt or debris that might obscure the damage. This involves using a dedicated car shampoo and a microfiber cloth to ensure no residue remains. Next, gather essential items like a fine-grit sandpaper (typically 1200-2000), a clear coat restoration compound suitable for pearl finishes, an applicator paddle or spatula, a buffer with low-speed settings, and a high-quality microfibre towel. These tools are crucial for achieving a seamless repair that matches the car’s original finish, be it in a garage or as part of a DIY project, focusing on automotive repair precision.
The process requires careful navigation, especially when addressing deeper scratches or dents. For minor scuffs, the restoration compound and buffer can work miracles, allowing you to restore the pearl effect to its former glory. In more severe cases, reminiscent of car collision repairs, it might be necessary to lightly sand away damaged clear coat layers before applying the compound, ensuring a robust Mercedes pearl effect repair that blends seamlessly with the vehicle’s unique finish.
Step-by-Step Guide to Scratch Removal
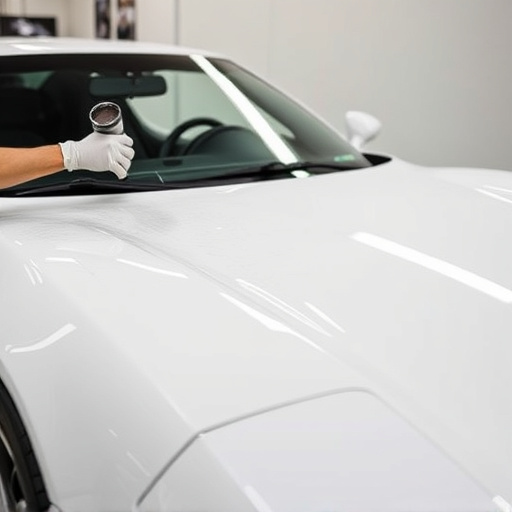
Repairing scratches in a Mercedes Pearl Effect finish involves a meticulous process to restore its glossy appeal. Begin by inspecting the damage—light scratches might be polishable, while deeper ones may require more extensive repair. Next, gather your tools and materials: a mild car polish or compound, a microfiber cloth, a buffer (optional), and a clear coat touch-up paint that matches the Pearl Effect finish.
Follow these steps:
1. Wash and dry the affected area thoroughly to ensure no debris remains.
2. Apply a small amount of car polish or compound using the microfiber cloth, working in circular motions.
3. Allow it to sit for several minutes, then buff gently with light pressure until the scratch begins to fade.
4. If deeper scratches persist, use a buffer (at a low speed setting) and follow the same process, taking care not to over-polish or damage the finish further.
5. Once the scratch is significantly reduced, apply clear coat touch-up paint using a small brush, matching it precisely with the Pearl Effect finish.
Repairing scratches in a Mercedes Pearl Effect finish is a doable task with the right knowledge and materials. By understanding the unique properties of this luxurious coating, you can effectively navigate through the process using common tools and specialized products. Following the step-by-step guide ensures minimal disruption to the surface, preserving the car’s aesthetic appeal. With dedication and the right approach, you can restore your Mercedes to its former gleam, making it a testament to your DIY skills and a shining example of Pearl Effect repair.