

Quarter panel dent repair involves assessing depth and severity before choosing DIY tools (rubber mallets, putty knives) for minor dents or professional PDR services for complex damages. Gather essential toolkit items including screwdrivers, hammer, auto-body filler, sandpaper, primer, paint, and protective gear. Assess dent, release air, apply body putty, dry, sand, prime, then paint for a high-quality, cost-effective repair.
Are you tired of looking at that unsightly dent in your vehicle’s quarter panel? Don’t worry, you’re not alone. Quarter panel dent repair is a common concern for car owners. This comprehensive guide dives into understanding quarter panel dent damage, gathering the right tools and materials, and provides a step-by-step guide to effectively removing those pesky dents. By following these DIY tips, you’ll be back on the road with a smooth, dent-free finish.
- Understanding Quarter Panel Dent Damage
- Gathering Tools and Materials for Repair
- Step-by-Step Guide to Effective Dent Removal
Understanding Quarter Panel Dent Damage

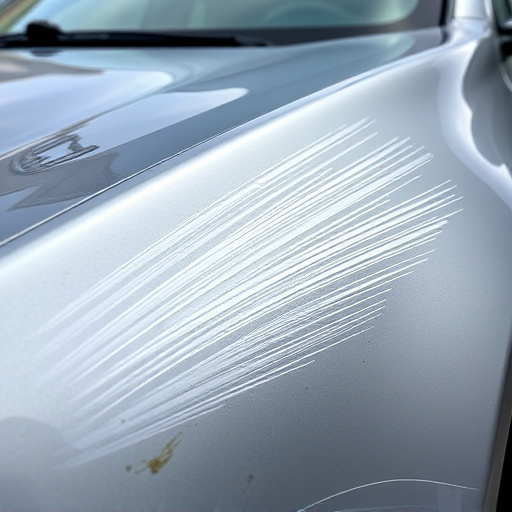
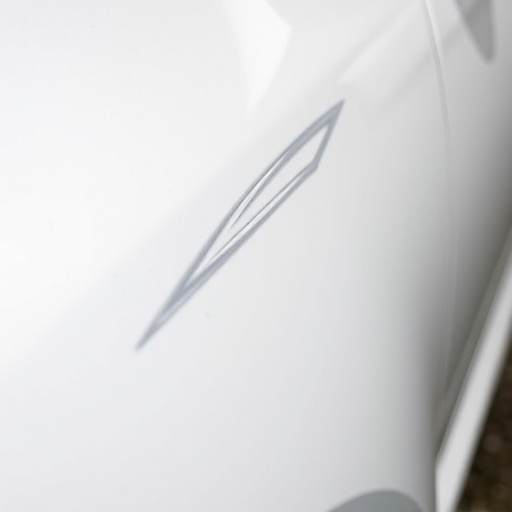
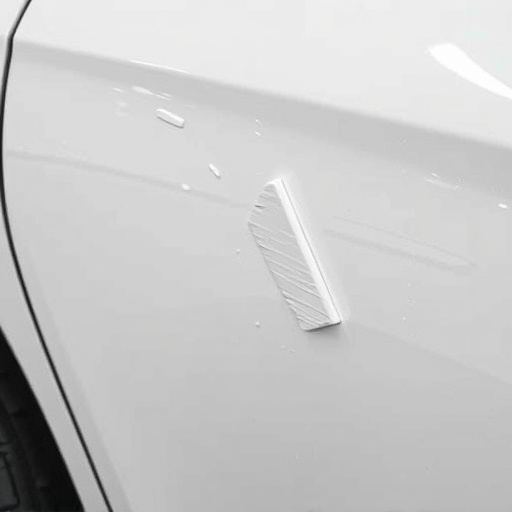
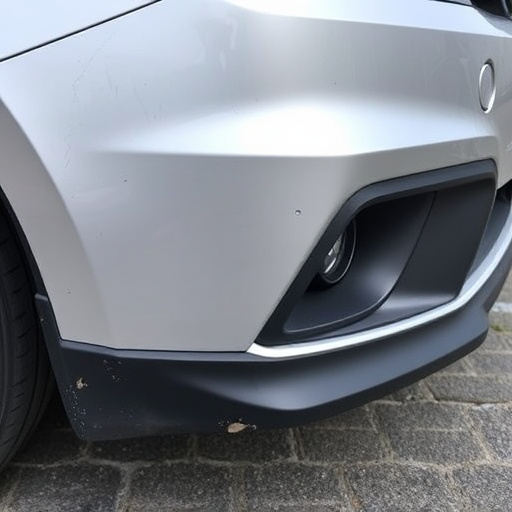
Quarter panel dent damage is a common issue that can arise from various incidents, such as car collisions, parking accidents, or even a stray object hitting the side of your vehicle while driving. These dents can range in size and severity, from small, shallow indentations to large, unsightly deformities that compromise the car’s aesthetics and structural integrity. Understanding the extent of the damage is crucial before attempting any quarter panel dent repair, whether it’s a DIY project or a visit to a professional shop.
When assessing quarter panel dent damage, pay close attention to the depth and location of the dent, as well as the surrounding area for signs of metal stretching or cracking. A simple, shallow dent might be suitable for at-home repairs using tools like rubber mallets and putty knives, while deeper or more complex dents may require professional car collision repair services that employ advanced techniques such as PDR (Paintless Dent Repair) or specialized equipment to ensure a precise restoration of your car’s bodywork and tire services.
Gathering Tools and Materials for Repair

Before starting any quarter panel dent repair, it’s crucial to gather all necessary tools and materials. This typically includes a set of screwdrivers (both flathead and Phillips), a hammer, a putty knife for removing dents, auto-body filler or putty, sandpaper in various grits, primer, paint that matches your vehicle’s color, and possibly an air compressor if you plan to use a pneumatic tool. Ensure you also have protective gear like gloves and safety glasses.
For more complex repairs, you might need additional equipment such as a heat gun for heating up the dented area before removal, or a spot welder for making precise adjustments. If you’re new to quarter panel dent repair, consider seeking guidance from online tutorials or consulting an auto body expert near you, especially when dealing with deep or stubborn dents. Remember, having the right tools and materials is key to achieving a smooth, professional-looking finish—a far cry from messy tire services or impromptu auto glass repair attempts.
Step-by-Step Guide to Effective Dent Removal

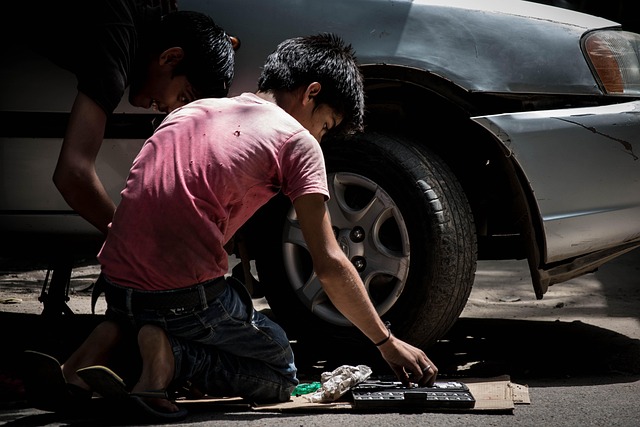
Removing a quarter panel dent is a common DIY project for auto enthusiasts looking to save on auto repair shop costs and gain a deeper understanding of their vehicle’s maintenance. Here’s a step-by-step guide designed specifically for tackling this task yourself, focusing on both efficiency and safety. Begin by preparing your workspace, ensuring adequate lighting and setting up all necessary tools like a mallet, putty knife, sandpaper, primer, and paint. Next, inspect the dent carefully to determine its severity; minor dents can often be repaired at home, while larger or deeper ones may require professional intervention.
If the dent is small to medium, gently tap around the edges with the mallet to release trapped air. Apply a thin layer of body putty over the dent using the putty knife, smoothing it out until the surface is even with the surrounding panel. Allow the putty to dry according to the manufacturer’s instructions. Once cured, lightly sand the area with fine-grit sandpaper to remove any excess putty and create a smooth base. Before painting, prime the repaired area to ensure proper adhesion. This step-by-step approach for quarter panel dent repair can save you money on auto repair shop visits and empower you to take control of your vehicle’s auto maintenance.
Quarter panel dent repair can be a challenging but rewarding task. By understanding the type of damage, gathering the right tools, and following a systematic approach, DIY enthusiasts can successfully restore their vehicle’s exterior. The step-by-step guide provided offers practical tips for effective dent removal, enabling car owners to save time and money while achieving professional-looking results. Remember, proper preparation and precision are key to achieving a seamless finish.