


Rain sensor glass, a critical safety component, can be damaged by environmental factors and wear, affecting moisture detection accuracy. Regular inspection is essential as minor issues impact performance significantly. Repairs require specialized tools and techniques like replacement, polishing, or coating. DIY repair involves removing old glass, cleaning, applying adhesive, positioning new glass, and testing. Use specific tools and follow steps for successful rain sensor glass repair, ensuring vehicle safety and convenience. Seek professional help if unsure.
Are you tired of a malfunctioning rain sensor in your vehicle? This complete beginner’s guide walks you through repairing or replacing the rain sensor glass, one of the primary components responsible for detecting moisture. From understanding common glass damage to securing the right tools and materials, we break down the process step-by-step. By the end, you’ll be equipped with the knowledge to restore your car’s rain-sensing wipers like a pro, saving time and money.
- Understanding Rain Sensor Glass Damage
- Tools and Materials for Repair
- Step-by-Step Guide to Rain Sensor Glass Replacement
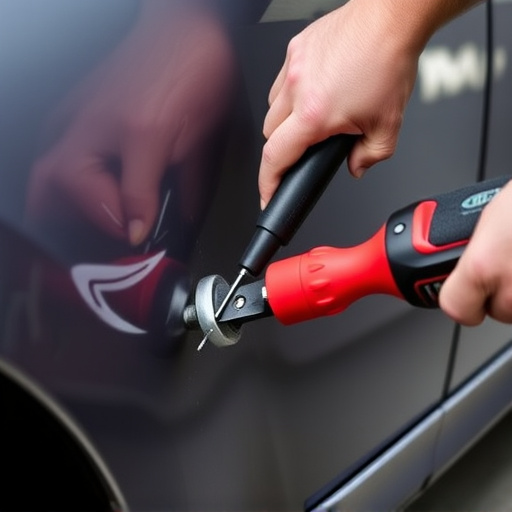
Understanding Rain Sensor Glass Damage

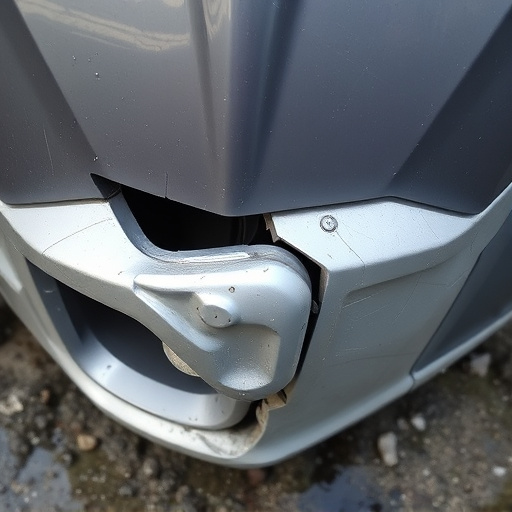
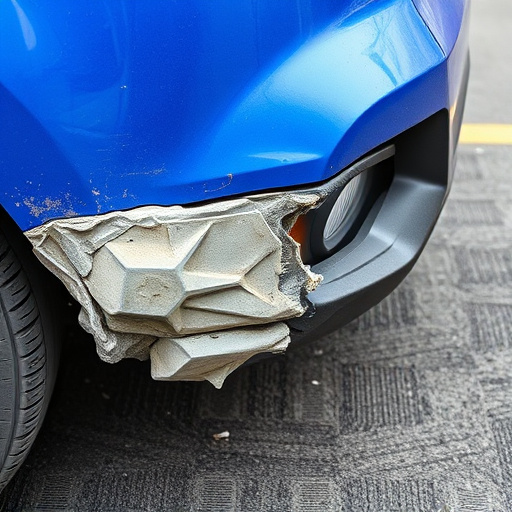
Rain sensor glass damage can often be overlooked, but it’s a crucial component of modern vehicles designed to enhance safety and convenience. The glass, typically located on the front grill or bumper, is not just a protective shield; it’s finely calibrated to detect moisture, preventing accidents by triggering the vehicle’s wipers. Damage, ranging from cracks to scratches, can impair its functionality. These issues might go unnoticed during routine inspections, but they can significantly affect the sensor’s accuracy in wet conditions.
Regular wear and tear, along with environmental factors, contribute to this damage. Road debris, such as pebbles or bugs, can cause small cracks, while harsh weather conditions may leave etch marks or corrosion. Even minor bumps or scratches can alter the sensor’s light path, affecting its performance. Recognizing these potential problems is the first step in ensuring optimal rain sensor glass repair. The process often involves specialized techniques, including replacement, polishing, or coating, to restore clarity and functionality, reminiscent of the vehicle paint repair expertise offered by top auto body services and shops.
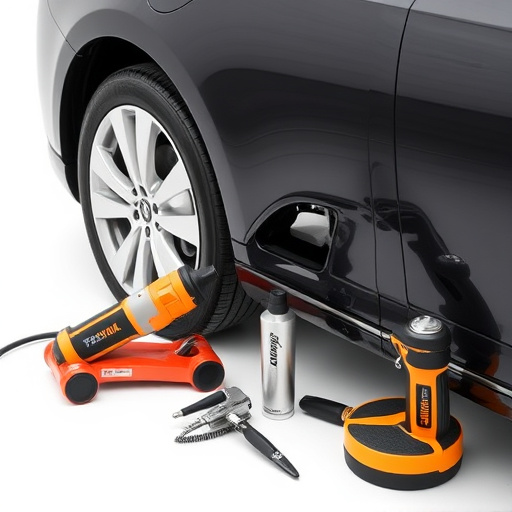
Tools and Materials for Repair
When embarking on a rain sensor glass repair, having the right tools and materials is essential for success. For this task, you’ll require a selection of precision tools designed for intricate car paint repairs and vehicle restoration work. A set of fine-tipped screwdrivers, including both flathead and Phillips varieties, will be indispensable. These are crucial for navigating the narrow spaces behind the rain sensor glass.
Additionally, a small pair of tweezers, some high-quality dental picks, and a can of clear coat paint specifically formulated for car paint services are must-haves. The dental picks aid in carefully removing any debris or shattered glass, while the clear coat ensures a seamless finish once the repair is complete. Remember to source these materials from reputable automotive suppliers for guaranteed quality.
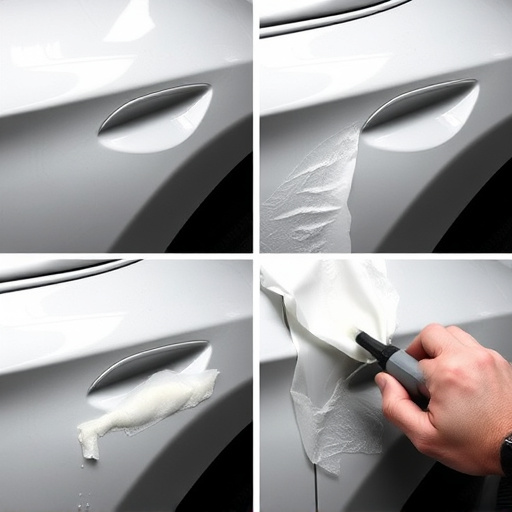
Step-by-Step Guide to Rain Sensor Glass Replacement
Replacing a damaged or faulty rain sensor glass is a straightforward process that can be accomplished with the right tools and a few simple steps. First, gather all necessary components, including a new rain sensor glass, adhesive suitable for automotive use, and any required spacers. Then, carefully remove the old glass by gently prying it out from its frame using a flathead screwdriver. Once the old glass is removed, clean the area thoroughly to ensure proper adhesion. Apply a thin layer of adhesive along the edges of the new rain sensor glass, ensuring even coverage. Place the new glass into position, pressing firmly to create a secure seal. Allow the adhesive to cure according to the manufacturer’s instructions before testing the sensor to confirm the repair.
Remember, precision is key during this process. Take your time and ensure all components are aligned correctly for a seamless fit. If you’re not comfortable performing this repair yourself, consider seeking professional auto painting and automotive body work services from experienced mechanics who can handle the job efficiently.
Rain sensor glass repair is a feasible DIY project, offering significant cost savings compared to replacement sensors. By understanding the common causes of damage and using the right tools and materials, you can effectively replace a damaged glass element. The step-by-step guide provided offers a clear path for completing the repair with confidence. Remember, proper care and regular maintenance can help extend the life of your rain sensor, ensuring reliable performance in various weather conditions.