


Tesla rear hatch alignment issues arise from intricate design and environmental factors. While DIY solutions exist, specialized tools and knowledge are crucial for accurate repair. For safety and warranty validity, reputable collision centers offer EV-specific services near me. For minor damage, car scratch repair tools can restore aesthetics after achieving perfect alignment using proper equipment and techniques.
Struggling with a misaligned Tesla rear hatch? You’re not alone. Learn how to realign your Tesla’s rear hatch yourself without dealer intervention using simple tools and techniques. This comprehensive guide covers common issues, essential tools, and step-by-step instructions to ensure precise alignment. Take control of your vehicle’s performance and save on costly dealership visits with these expert tips on Tesla rear hatch alignment.
- Understanding Tesla Rear Hatch Alignment Issues
- Tools and Equipment Required for DIY Alignment
- Step-by-Step Guide to Realigning Your Tesla's Rear Hatch
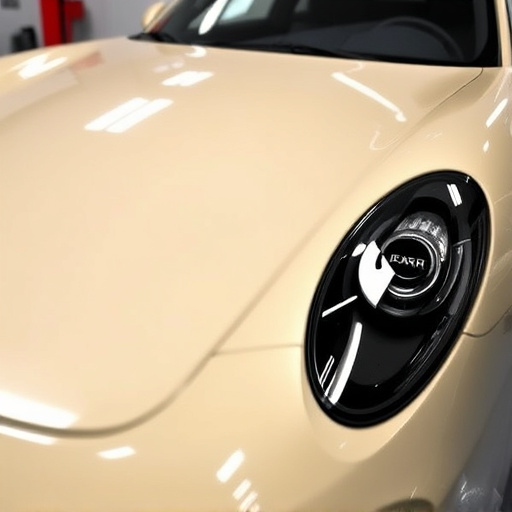
Understanding Tesla Rear Hatch Alignment Issues

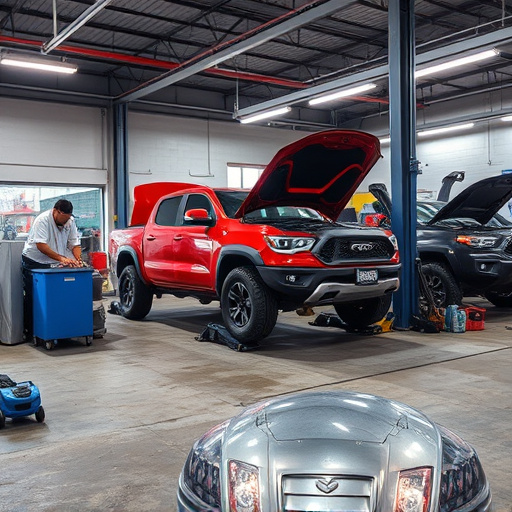
Tesla rear hatch alignment issues can be a common problem for owners, often resulting from the precise engineering and design of these electric vehicles. The rear hatch, being a unique and complex mechanism, is subject to various factors that can disrupt its optimal positioning. One of the primary reasons is the precision-engineered design that requires exacting tolerances for seamless operation. Even minor adjustments or environmental influences can impact this delicate system, leading to misalignment.
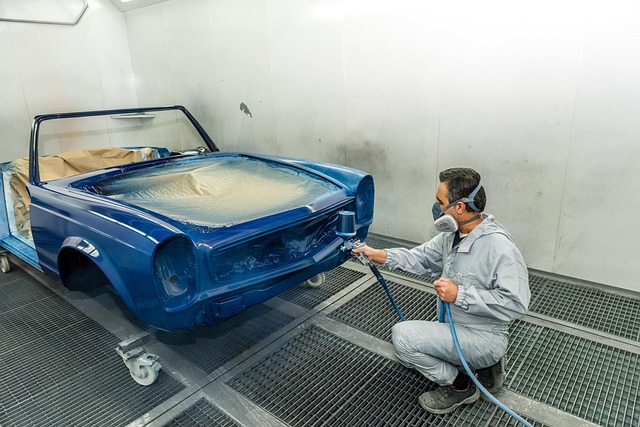
Additionally, certain events like accidents or collisions can cause physical damage, resulting in a misaligned rear hatch. While some owners might attempt do-it-yourself solutions, it’s crucial to understand that Tesla rear hatch alignment problems often require specialized tools and knowledge. Seeking assistance from a reputable collision repair center with experience in electric vehicle repairs is recommended. They offer tire services and comprehensive auto repair near me solutions tailored for Tesla vehicles, ensuring the issue is addressed effectively without compromising safety or warranty validity.
Tools and Equipment Required for DIY Alignment

Achieving proper alignment for your Tesla rear hatch is a feasible DIY project with the right tools and techniques. For this task, you’ll need several specific items to ensure precision and effectiveness. Start with a high-quality car jack and jack stands for safe and stable lifting of your vehicle. A measuring tape and angle gauge are essential for accurate alignment adjustments. Additionally, consider investing in a set of impact wrenches with the necessary sockets to make quick work of removing and tightening any hatch components.
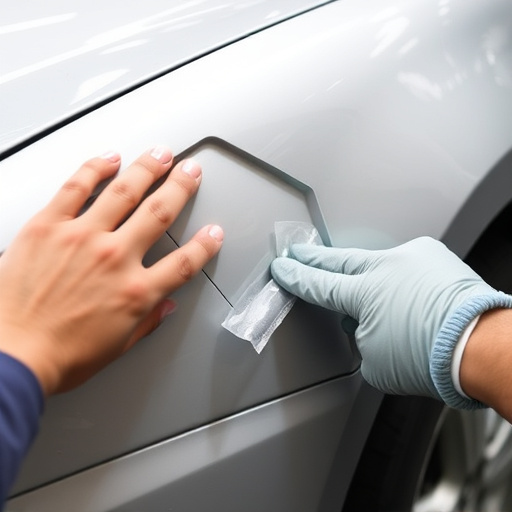
Don’t overlook safety gear like gloves and eye protection during this process. For minor scuffs or dents around the rear hatch area, you might already have some car scratch repair or dent repair tools on hand, such as a putty knife for filling and sanding small imperfections. These can come in handy after ensuring perfect alignment to restore your Tesla’s aesthetic appeal.
Step-by-Step Guide to Realigning Your Tesla's Rear Hatch

Realigning your Tesla’s rear hatch yourself is a feasible task for car enthusiasts with some DIY skills and the right tools. Here’s a step-by-step guide to help you achieve perfect alignment:
1. Safety First: Ensure your vehicle is on a level surface and apply the parking brake. Engage ‘Park’ mode in the center console, removing any potential hazards around your Tesla. This safety measure ensures that adjustments are made in a controlled environment.
2. Assess the Issue: Identify the misalignment by visually inspecting the hatch. Check for gaps or uneven edges when the hatch is closed. Sometimes, a simple adjustment might be all that’s needed, while other cases may require more meticulous work to achieve the desired alignment.
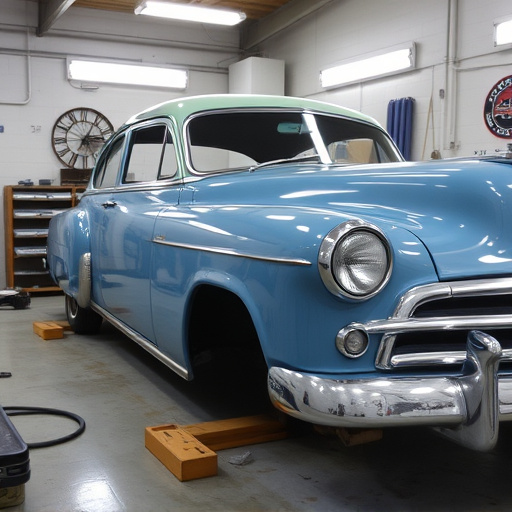
3. Jack Up and Support: Use a jack to lift the rear of your Tesla, ensuring it’s secure with wheel chocks for safety. Place jack stands under the vehicle for additional support during adjustments. This step provides easy access to the underbody and allows precise manipulation of the hatch.
4. Adjust the Hatch: With the car elevated, locate the adjustment bolts or screws on the rear hatch. These can often be found behind plastic covers or panels. Using a torque wrench (recommended for precision), tighten or loosen these bolts in small increments until the hatch aligns perfectly. Be patient and take your time to avoid over-tightening, which could cause damage.
5. Visual Verification: Once adjusted, lower the vehicle gently and visually inspect the alignment from various angles. Ensure there are no gaps, and the hatch closes flush against the car body. If necessary, repeat the adjustments until satisfaction is achieved.
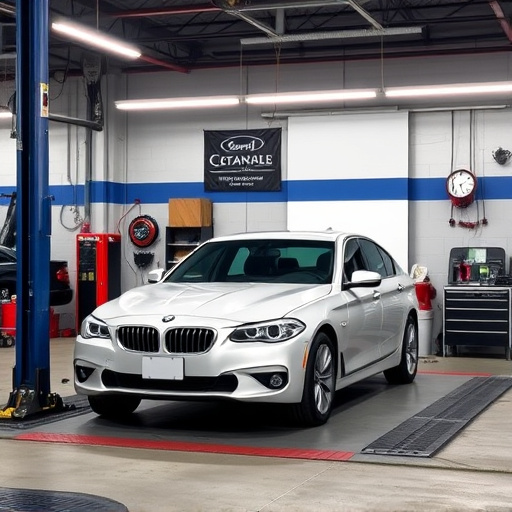
6. Alternative Solutions: For more complex misalignments, professional automotive repair services or paintless dent repair experts can offer solutions without damaging the vehicle’s finish. These specialists have the tools and expertise to handle tougher cases.
Realigning your Tesla’s rear hatch is a feasible task for car enthusiasts with some mechanical knowledge and the right tools. By understanding the common issues and following a detailed guide, you can avoid costly dealer visits and maintain your vehicle’s optimal performance. With this DIY approach, you’ll be able to quickly and efficiently address any misalignment, ensuring your Tesla’s rear hatch operates smoothly and securely. Remember, proper alignment is crucial for both functionality and safety, so why not take control and become your own mechanic?