


Before replacing a bumper cover, measure the existing one accurately for fit, consider material type (plastic, fiberglass, composite) and gather essential tools including jack, stands, protective gear, and torque wrenches. This process requires safety precautions like parking on level ground, wearing gear to prevent injuries during removal and installation of heavy parts with sharp edges, inspecting and preparing the bumper, removing old fasteners, cleaning, applying adhesive, aligning, and securing the new cover. Follow these steps for a successful bumper cover replacement.
Proper prep is key for a flawless bumper cover replacement. Before tackling this task, understand your vehicle’s unique bumper cover size, type, and material. Gather essential tools and safety gear, including jack, lug nuts, and a new bumper cover matching your vehicle’s specifications. This step-by-step guide ensures a smooth process, from removal of the old cover to secure fitting of the new one, leaving your car looking as good as new. Discover the secrets to successful bumper cover replacement here.
- Understanding Your Bumper Cover: Size, Type, and Material
- Tools and Safety Gear: What You Need Before You Start
- Step-by-Step Guide to a Flawless Replacement Process
Understanding Your Bumper Cover: Size, Type, and Material
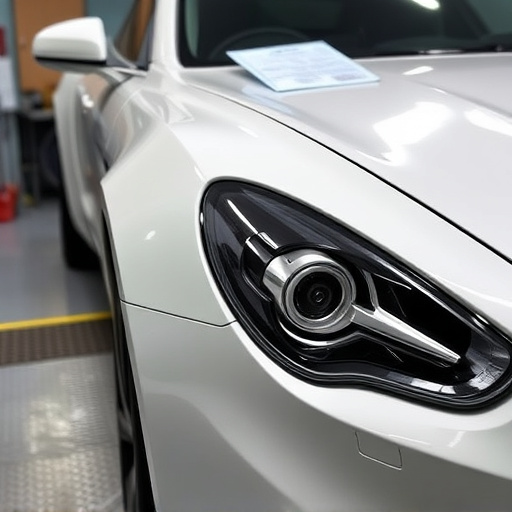
Before tackling a bumper cover replacement, it’s crucial to understand your vehicle’s specific bumper cover—its size, type, and material. Bumper covers come in various shapes and sizes, designed to fit different car models and years. Measuring the existing cover accurately ensures you get a perfect fit for the new one.
The type of bumper cover can range from plastic to fiberglass or composite materials. Each material has its advantages and requires specific tools and techniques for replacement. For instance, plastic bumper covers might be easier to work with due to their flexibility, but they can also be more prone to cracking. Knowing your car’s bumper cover material will help you prepare the necessary tools and anticipate potential challenges during the replacement process at a collision repair shop or automotive body shop.
Tools and Safety Gear: What You Need Before You Start
Before diving into a bumper cover replacement, ensure you have all the necessary tools and safety gear. This includes a jack, jack stands, a new bumper cover (preferably OEM for a perfect fit), and protective equipment such as gloves and safety glasses. Additionally, having a set of torque wrenches on hand is crucial to properly tighten all fasteners without overtightening, which could cause damage to other parts.
Remember that bumper cover replacement involves working with heavy components and potentially sharp edges. Proper eye protection and durable work clothing are essential to prevent injuries from debris or mishaps during the process. These precautions aren’t just recommended; they’re vital for a successful collision damage repair and ensuring your safety throughout the car bodywork services you’re performing.
Step-by-Step Guide to a Flawless Replacement Process
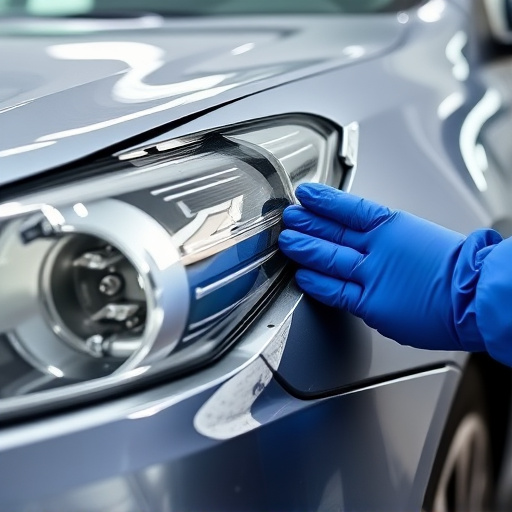
To ensure a flawless bumper cover replacement, follow this step-by-step guide. First, gather all necessary tools and materials, including the new bumper cover, adhesive, and any required hardware. Park your vehicle on a level surface, engage the parking brake, and turn off the engine to guarantee safety throughout the process. Put on protective gear, such as gloves, to shield yourself from debris and chemicals.
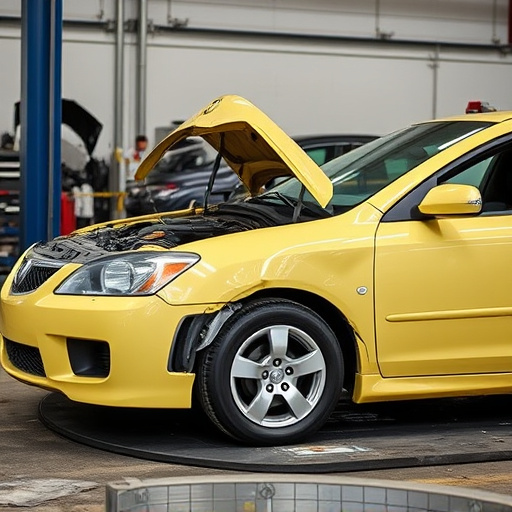
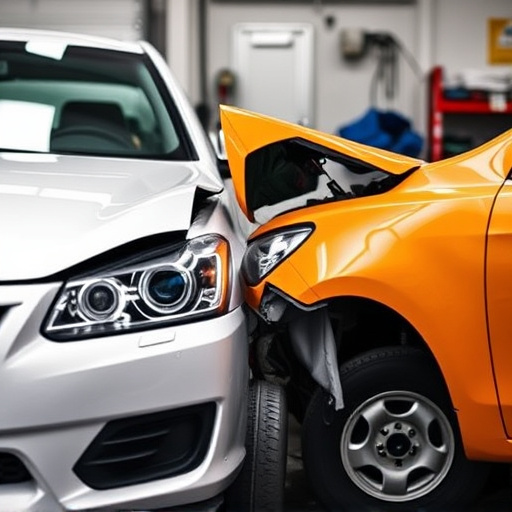
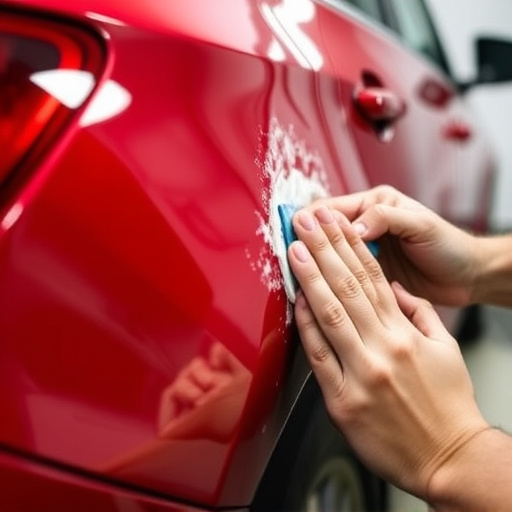
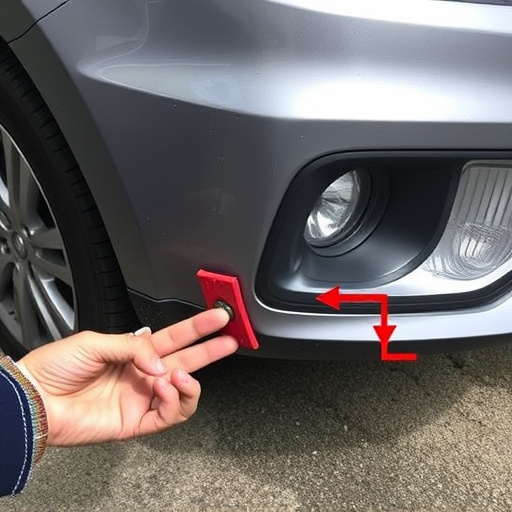
Next, inspect the existing bumper to identify any damage or corrosion that needs addressing before installing the new cover. Remove any screws or fasteners securing the old bumper in place, taking note of their positions for later reinstallation. Gently pull the damaged bumper away from the vehicle, cleaning the surface thoroughly to ensure a secure bond with the new cover. After preparing the car body and applying the adhesive as per manufacturer instructions, carefully align the new bumper cover and securely fasten it using the saved screws or fresh fasteners.
A successful bumper cover replacement is within reach with proper preparation. By understanding your vehicle’s specific bumper cover requirements, assembling the right tools and safety gear, and meticulously following a step-by-step guide, you can achieve a flawless result. Armed with knowledge and the right resources, performing this task becomes an achievable goal for any car enthusiast. Remember, a well-prepared approach is key to ensuring a seamless bumper cover replacement process.