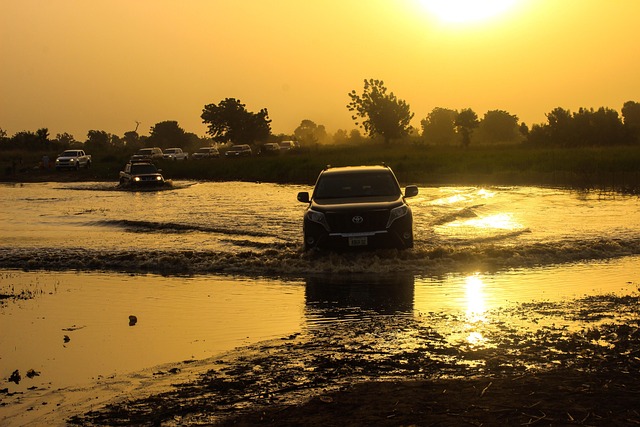
Long-distance travel subjects vehicles to exterior hazards like debris and potholes, often damaging the cowl panel (hood-windshield connection). Prompt recognition of such damage is crucial for safety and aesthetics. Regular cowl panel replacement maintains vehicle integrity, prevents structural issues, enhances resale value, and protects essential components. This guide teaches DIY enthusiasts how to replace a damaged cowl panel safely and efficiently, focusing on clear, step-by-step instructions.
Long-distance vehicle owners face unique challenges, and one oft-overlooked aspect is the health of their car’s cowl panel. This protective barrier takes a beating from road debris and extreme weather conditions, leading to damage that can compromise structural integrity. Regular cowl panel replacement isn’t just about aesthetics; it ensures optimal vehicle performance and safety for countless cross-country journeys. Discover why and how this maintenance step can be a game-changer for your long-distance travels.
- Understanding Cowl Panel Damage for Long-Distance Travel
- Benefits of Regular Cowl Panel Replacement
- Step-by-Step Guide to Effortless Cowl Panel Repair
Understanding Cowl Panel Damage for Long-Distance Travel
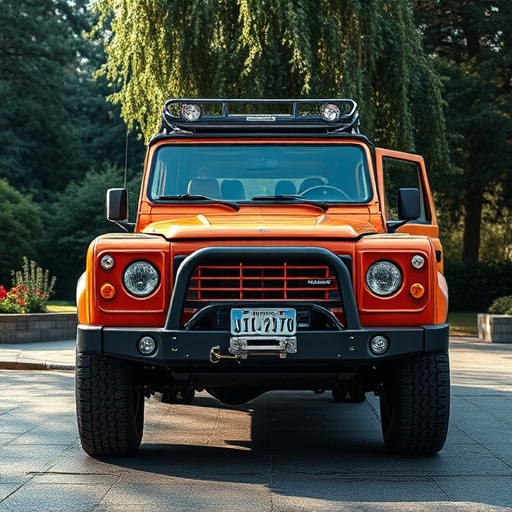
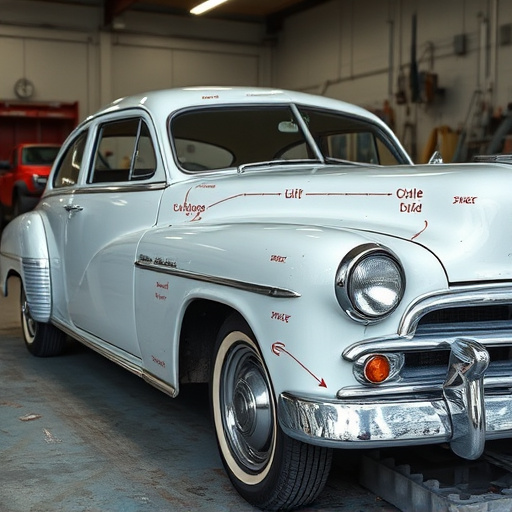
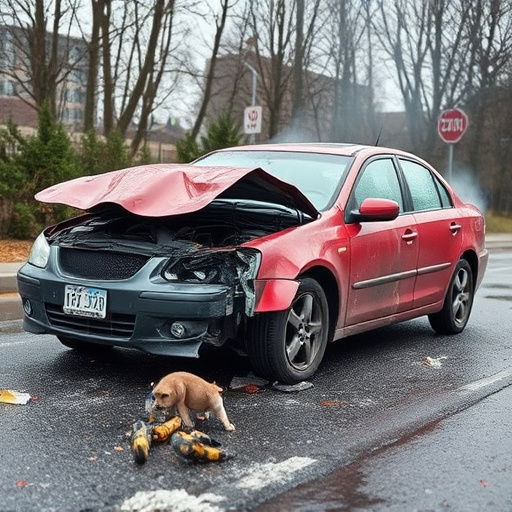
Long-distance travels can be exhilarating, but they also come with unique challenges for your vehicle, especially when it comes to the exterior. One part that often takes a beating is the cowl panel—the component that connects the hood to the windshield. This area is vulnerable to road debris, potholes, and other obstacles, leading to dents, cracks, or even complete replacement needs over time.
Understanding potential cowl panel damage is crucial for long-distance drivers. From small nicks and scratches to more severe collisions, these can impact not just the vehicle’s aesthetics but also its structural integrity. If you’ve noticed signs of damage, it’s essential to consider a cowl panel replacement at an auto repair shop near me. Regular maintenance and prompt repairs are key to ensuring your vehicle remains safe and reliable for all your future journeys.
Benefits of Regular Cowl Panel Replacement
Regular cowl panel replacement is a crucial aspect of vehicle maintenance, especially for long-distance travelers. This routine service offers numerous advantages that go beyond mere aesthetics. By replacing the cowl panel, owners can prevent and mitigate hail damage repair needs, which can be a common issue during road trips through diverse climates and terrains. A well-maintained cowl panel also contributes to better vehicle performance and longevity, as it protects essential components from debris, bugs, and other environmental elements, ensuring smooth operation of the engine and cooling systems.
Moreover, cowl panel replacement is an effective way to restore the vehicle’s original look and enhance its overall appeal. Just like scratch repair can revive a car’s surface, replacing the cowl panel with new or restored parts can transform a vehicle from looking dated or damaged to sleek and modern. This not only boosts the owner’s satisfaction but also commands better resale value in case of future vehicle sales. Thus, prioritizing regular cowl panel replacement is a smart move for any long-distance driver looking to keep their vehicle in top condition.
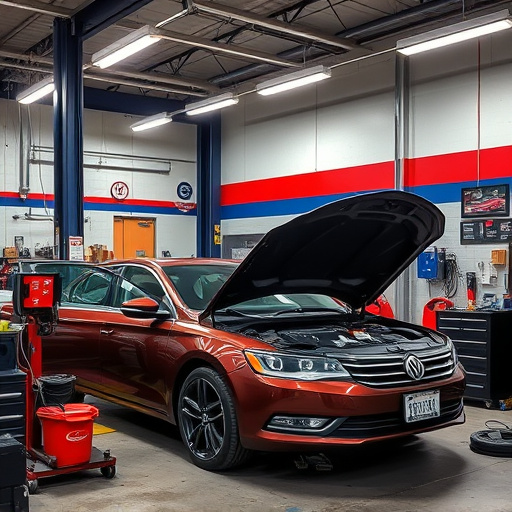
Step-by-Step Guide to Effortless Cowl Panel Repair
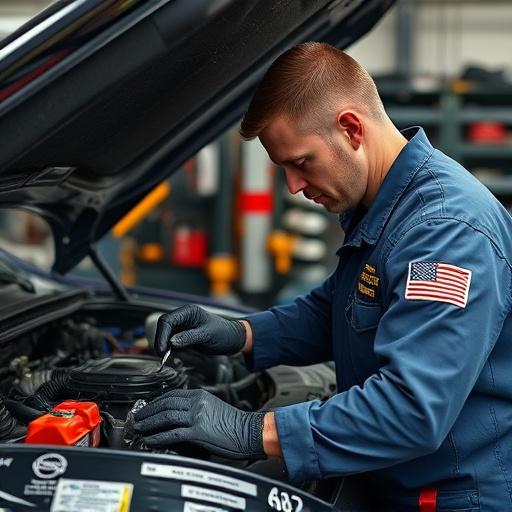
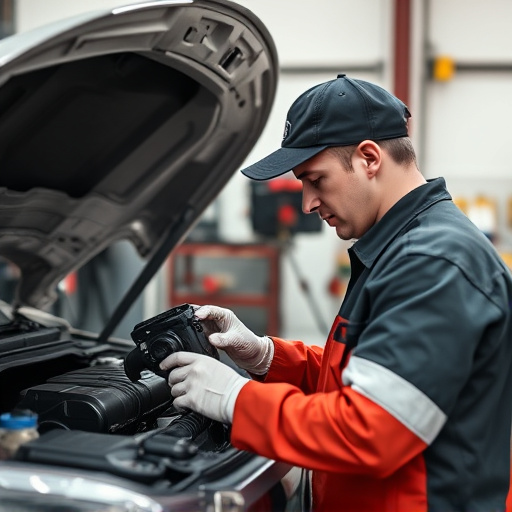
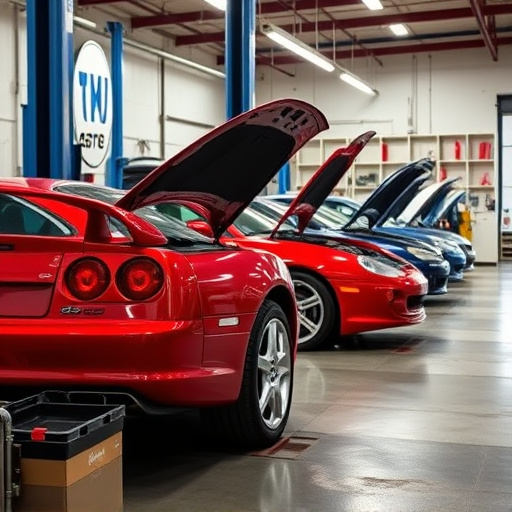
Replacing a cowl panel is a common task for long-distance vehicle owners who have experienced minor collisions or fender benders during their journeys. It’s an easy DIY project that can be accomplished with just a few basic tools and supplies. Here’s a step-by-step guide to make the process effortless:
1. Safety First: Start by parking your car on a level surface and engaging the parking brake. Put on protective gloves and safety goggles to shield yourself from any debris or sharp edges during the repair.
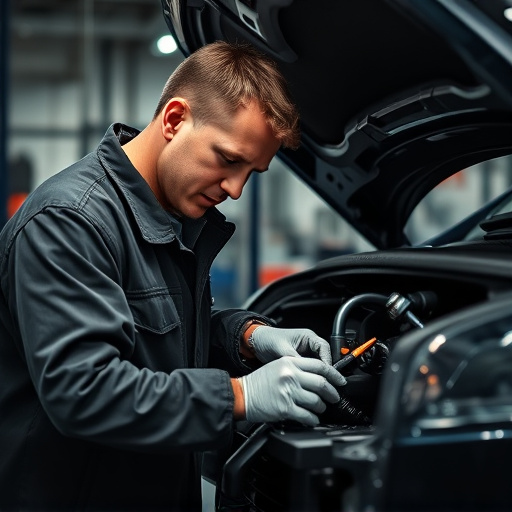
2. Remove the Damaged Panel: Using a set of wrenches or socket tools, carefully loosen and remove the bolts securing the cowl panel in place. Be mindful of where each bolt is located to ensure proper reinstallation later. Once the bolts are removed, gently pull the panel away from the vehicle. If there are any clips or fasteners holding it in place, release them accordingly.
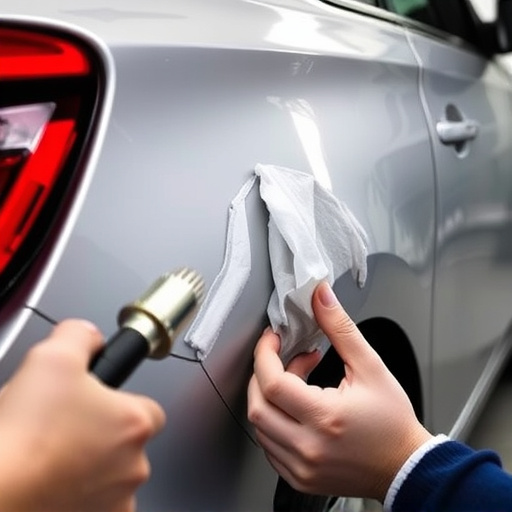
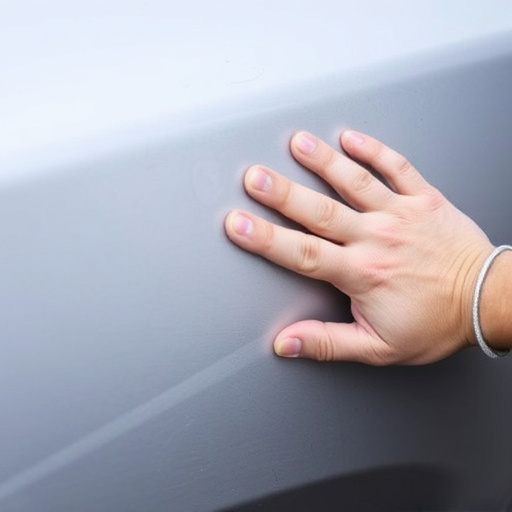
3. Inspect and Prepare: Examine the damaged area and surrounding panels for any additional damage. Clean the surface thoroughly using a degreaser or car wash solution to ensure proper adhesion of the new panel.
4. Measure and Cut (if necessary): If you’re replacing a specific section of the cowl panel, measure the dimensions carefully. Cut the new panel to fit using a hacksaw or a jigsaw, being mindful of any curve or contour in the car’s body.
5. Install the New Panel: Aligne the new cowl panel with the vehicle’s body and secure it in place using the previously removed bolts. Ensure all bolts are tight and evenly distributed for a secure fit.
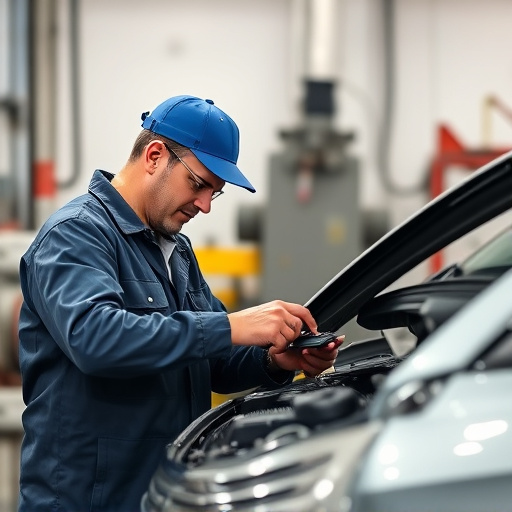
6. Test and Adjust: After reinstallation, test the panel’s functionality, such as opening and closing doors or hood smoothly. Make any necessary adjustments to ensure everything is secure and operating correctly.
7. Clean Up (Optional): Depending on the extent of the repair, you might want to give your vehicle a quick wash to remove any residue or debris from the repair process.
For long-distance vehicle owners, regular cowl panel replacement is a crucial aspect of maintaining their rides. By understanding potential damage and following a simple step-by-step guide for repairs, drivers can ensure their vehicles remain in top condition during extensive journeys. Embracing proactive care not only enhances the aesthetic appeal but also contributes to overall vehicle longevity.