


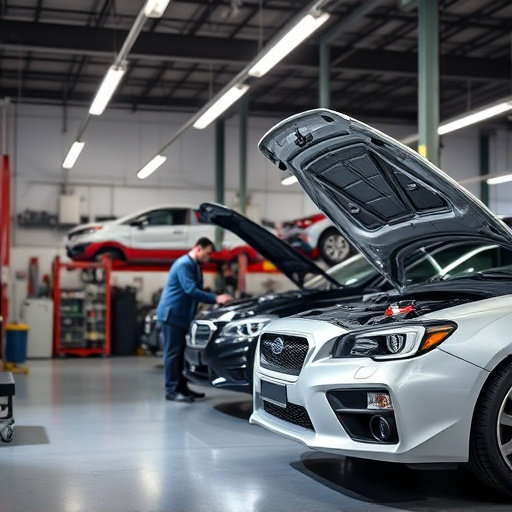
The radiator support in classic and vintage vehicles is a critical structural component prone to corrosion and damage over time. Regular inspections and timely replacement prevent severe issues, ensuring vehicle safety, reliability, and maintaining aesthetic appeal. This guide outlines meticulous steps for successful radiator support replacement, from securing the vehicle and inspecting the old part to proper installation, sealing, and testing.
Looking to restore your classic or vintage vehicle? Consider the often-overlooked radiator support—a crucial component for maintaining optimal engine cooling. This guide breaks down the importance of replacing worn-out radiator supports and provides a comprehensive step-by-step process tailored for these unique vehicles. From identifying signs of damage to ensuring proper fitment, master the art of radiator support replacement and keep your beloved classic running cool.
- Understanding Radiator Support in Classic Vehicles
- Why Replace Radiator Support for Vintage Cars
- Step-by-Step Guide to Effective Replacement
Understanding Radiator Support in Classic Vehicles
In classic and vintage vehicles, the radiator support plays a crucial role in maintaining both the vehicle’s structural integrity and its cooling system functionality. This critical component is often an overlooked aspect during routine maintenance or repairs, especially when compared to more visible parts like engines or transmissions. However, its significance becomes evident when considering that a damaged or deteriorated radiator support can lead to serious issues with your classic car’s performance and safety.
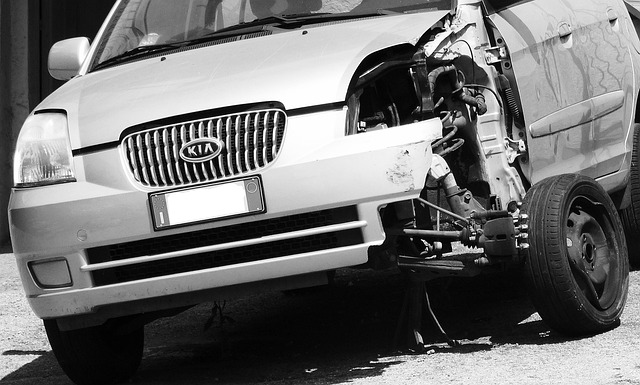
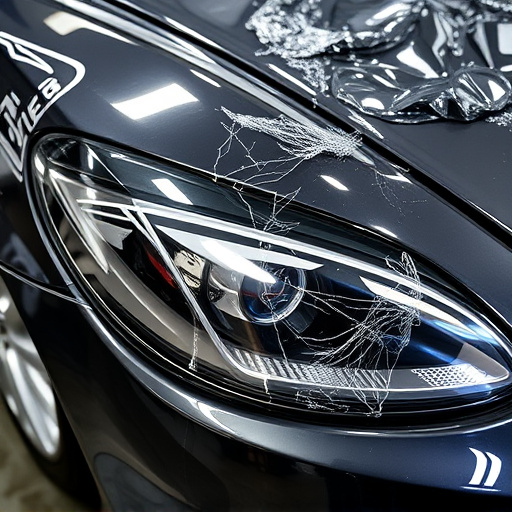
A proper understanding of the radiator support’s function and condition is essential for any enthusiast involved in collision repair or classic car restoration. The support acts as a critical structural link, securing the radiator and associated components firmly in place. Over time, this support can suffer from corrosion, cracks, or even complete failure due to accidental damage or exposure to harsh environmental conditions. Recognizing these issues early on is key; a simple radiator support replacement can prevent more complex and costly problems down the line, ensuring your vintage vehicle remains reliable and safe on the road.
Why Replace Radiator Support for Vintage Cars

Over time, the radiator support in vintage cars can suffer significant wear and tear, which often leads to structural weaknesses. This component plays a crucial role in holding the radiator in place, ensuring proper cooling of the engine. If left unaddressed, damaged or faulty radiator supports can compromise the vehicle’s overall stability and safety during driving. Thus, replacing the radiator support for vintage cars is an essential part of regular maintenance, especially for vehicles that have been well-loved and driven extensively over the years.
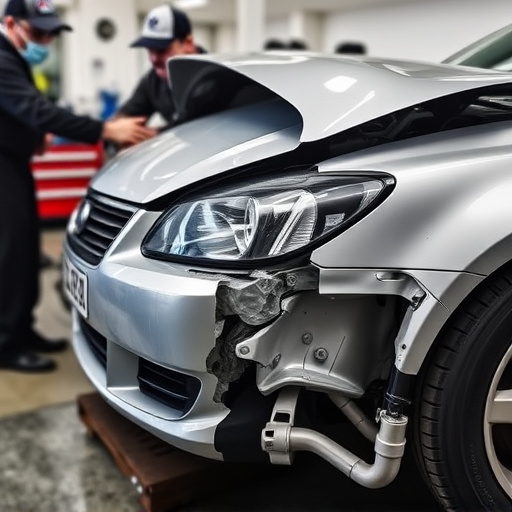
A broken or weakened radiator support can also affect the alignment and positioning of other components in the vehicle body repair process, such as the grille and bumper. In the case of iconic classics like Mercedes Benz models, where every detail contributes to the vehicle’s aesthetic appeal and performance, ensuring that the radiator support is in top condition is vital. Promptly addressing any issues with this part can prevent more costly collision repairs down the line, keeping your vintage ride both safe and reliable for years to come.
Step-by-Step Guide to Effective Replacement

Replacing a radiator support on classic or vintage vehicles requires careful attention to detail and a systematic approach. Here’s a step-by-step guide to ensure a successful radiator support replacement that maintains the integrity of your vehicle’s structure and aesthetic:
1. Safety First: Ensure your vehicle is safely secured and cooled before beginning any work, especially considering the engine’s heat and potential for hot components. Use jack stands for stability and protect yourself from sharp edges with safety gear.
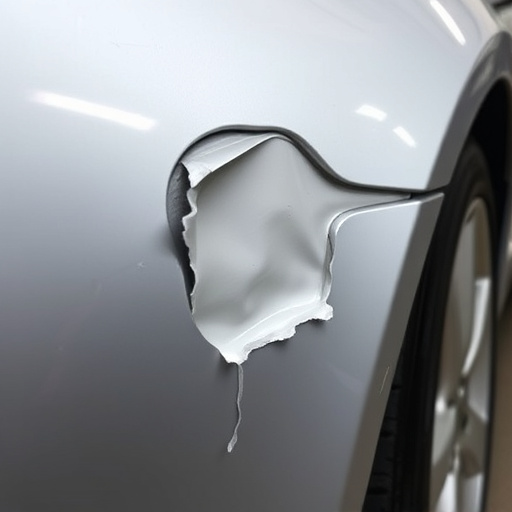
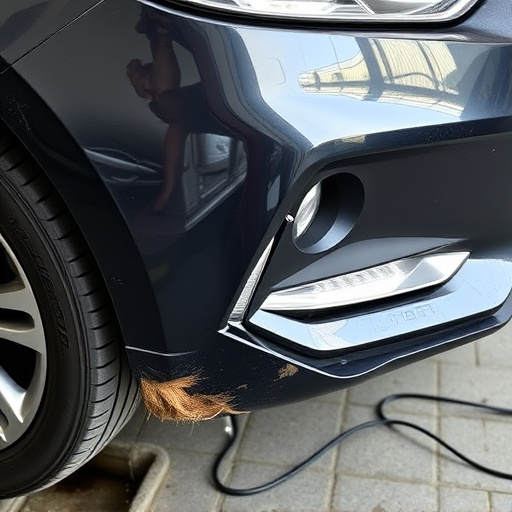
2. Assess the Damage: Carefully inspect the existing radiator support for signs of corrosion, rust, or damage. Compare it to the new replacement part to ensure a precise fit. This step is crucial for matching both structural integrity and cosmetic appearance.
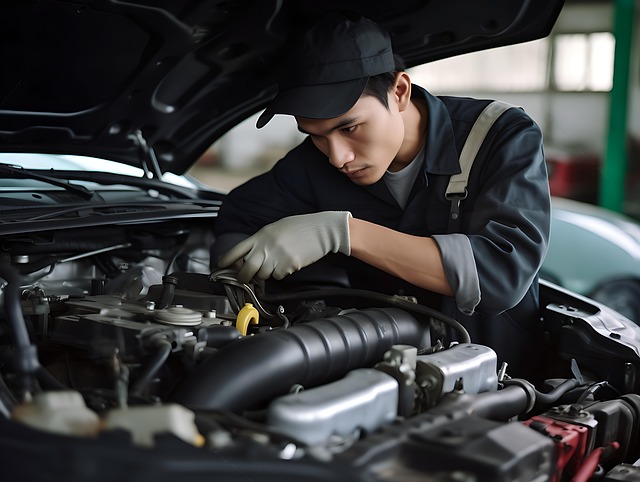
3. Remove the Old Support: Using appropriate tools, carefully dismantle the existing radiator support. This process may involve removing brackets, pipes, and other components connected to the support. Take note of how everything is secured for easier reassembly later.
4. Install the New Support: Position the new radiator support in place, aligning it with the vehicle’s structure. Secure it using the same bolts or brackets from the old support, but double-check that all fasteners are tight and secure after installation.
5. Reattach Connected Components: Once the new support is firmly in place, reconnect any pipes, wires, or other components removed during the old support’s disposal. Ensure everything is properly sealed and secured to prevent leaks or electrical hazards.
6. Test and Adjust: After reattaching all components, test the cooling system for any leaks and ensure proper air flow through the radiator. Make adjustments as needed, checking again for stability and security.
Upgrading your classic or vintage vehicle with a new radiator support is a crucial step in maintaining its longevity and performance. By addressing this component, you ensure optimal engine cooling, prevent leaks, and enhance overall stability. Following our comprehensive guide, you’re now equipped to undertake this task yourself, ensuring a reliable and cost-effective solution for your beloved ride. Remember, proper care and regular maintenance are key to preserving these timeless vehicles for future generations.