

Mercedes pearl effect paint requires careful handling due to its delicate structure. DIY repairs for minor damage are feasible but severe dents need professional attention to avoid unsightly finishes. Gather high-quality materials including pearl effect paint, sandpaper, and safety gear. Follow a systematic approach: inspect, sand, clean, prime, apply paint in thin layers, and finish with clear coat. Consult professionals for best Mercedes pearl effect repair results.
Are you a car enthusiast looking to restore your Mercedes’ pearl effect paint without professional costs? This guide is your solution. Learn how to safely tackle Mercedes pearl effect repair with a DIY approach. Understand common damage, gather essential tools and materials, then follow our step-by-step instructions for a flawless restoration. By the end, you’ll master the art of maintaining your Mercedes’ stunning exterior finish.
- Understanding Mercedes Pearl Effect Paint Damage
- Gather Tools and Materials for DIY Repair
- Step-by-Step Guide to Safe Pearl Effect Restoration
Understanding Mercedes Pearl Effect Paint Damage
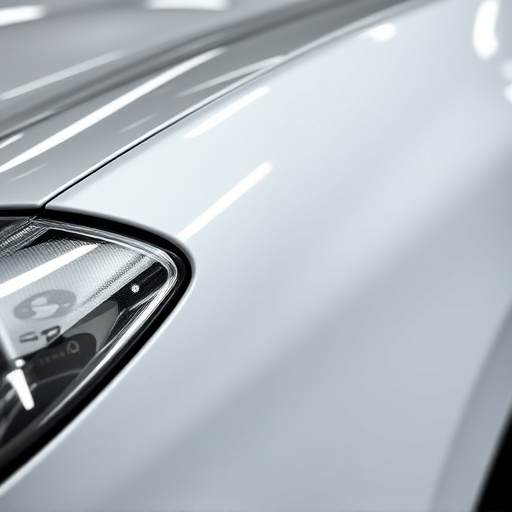
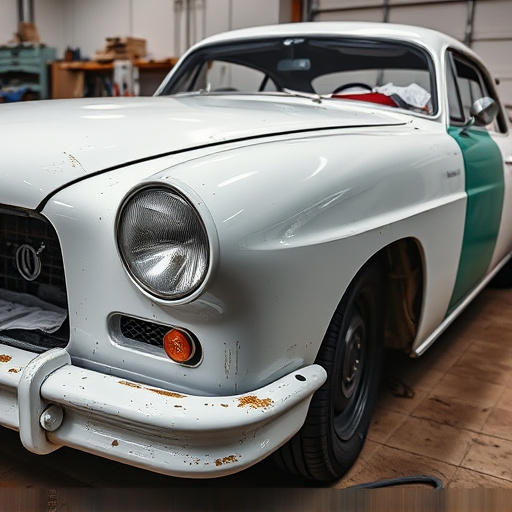
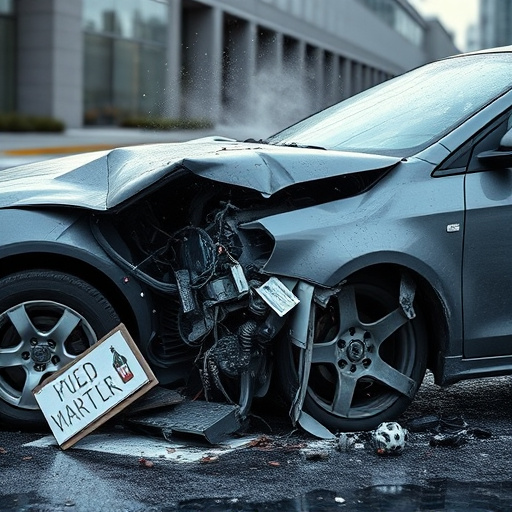
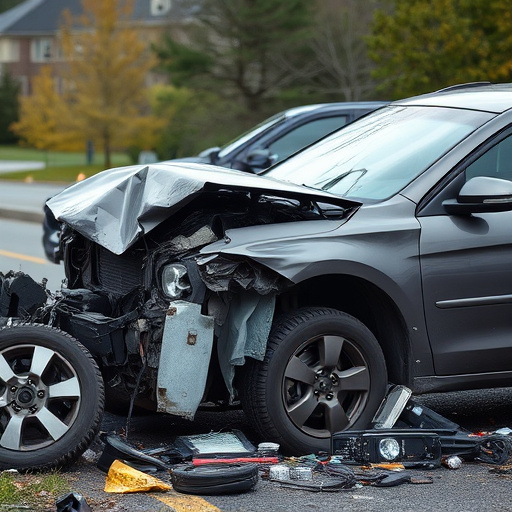
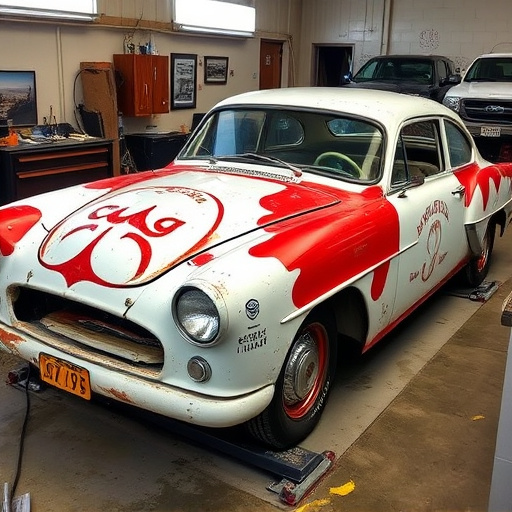
Mercedes Pearl Effect paint is renowned for its stunning, iridescent finish—a signature look for many Mercedes-Benz models. However, this delicate coating can be susceptible to damage, especially from minor collisions or curbs. Understanding the nature of pearl effect paint damage is crucial before attempting any DIY repairs. Unlike traditional paints, pearl effects rely on microscopic layers of pigment and resin to create their distinctive shimmer. Even small impacts can disrupt these layers, resulting in scratches, dents, or chips that alter the color and depth of the finish.
Collision damage repair for pearl effect paint requires a careful approach. While some minor scuffs and scratches can be touch-up painted at home, deeper dent removal or more extensive repairs are best left to professional car repair services. Attempting to fix severe pearl effect paint damage using incorrect techniques or subpar products could lead to an unsightly, uneven finish. Car dent removal methods like painting over severe dents or using inferior filler materials can compromise the integrity of the pearl effect, leaving you with a less-than-satisfactory result.
Gather Tools and Materials for DIY Repair
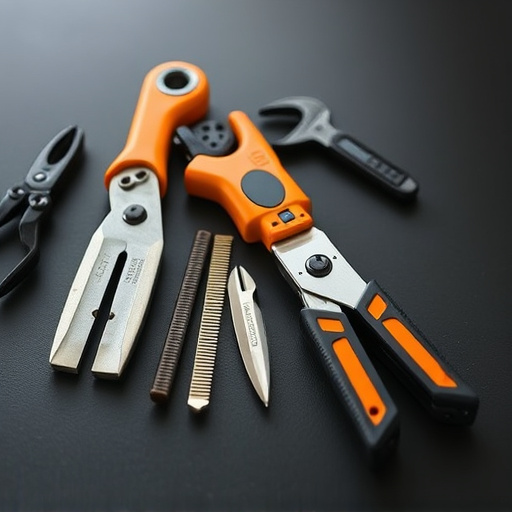
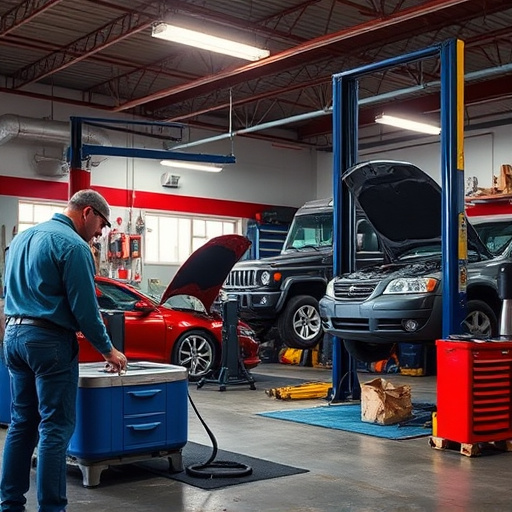
Before tackling any DIY Mercedes pearl effect paint repair, ensure you have all the necessary tools and materials to achieve a professional-like finish. For this project, you’ll require specific items designed for car paint restoration. Start with high-quality pearl effect paint, which is crucial for matching the original shade accurately. Also, gather sandpaper (grits 400, 600, and 1200), a detailing brush, a plastic scraper, and a clean microfiber cloth. Don’t forget safety gear, including gloves and a respirator, as these will protect you from inhaling harmful particles during the sanding process.
Additionally, consider having a touch-up kit for any minor imperfections and a clear coat to seal the repair. While some may opt to visit a classic car restoration shop for specialized services, especially in cases of severe hail damage or complex collision repair, many enthusiasts find DIY methods rewarding. With the right tools and a step-by-step guide, you can restore your Mercedes’ pearl effect paint to its former glory safely and effectively.
Step-by-Step Guide to Safe Pearl Effect Restoration
Restoring a Mercedes pearl effect paint job safely requires a systematic approach. Begin by thoroughly inspecting the damaged area to assess the extent of the pearl effect loss or discolouration. Next, gather your tools and materials, including a fine-grit sandpaper, a suitable primer designed for pearl effect finishes, a high-quality pearl effect paint matching your vehicle’s colour, and a clear coat.
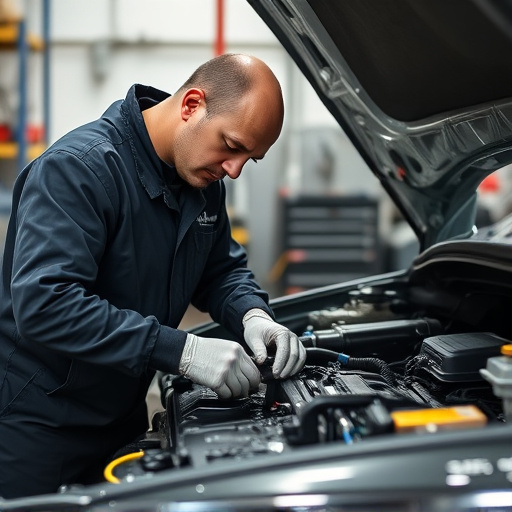
Follow these steps: first, gently sand the damaged surface using the fine-grit paper to remove any imperfections or rough edges, taking care not to sand through the base coat; second, clean the area thoroughly with a degreaser to eliminate any oil, dirt, or dust particles; third, apply a thin layer of primer designed for pearl effect finishes, allowing it to dry completely; fourth, carefully match and apply the pearl effect paint, using small, controlled strokes and allowing each layer to dry before applying the next; finally, finish with a clear coat to protect the restored area. For best results, consider seeking guidance from an experienced auto repair shop or car repair specialist if you’re unsure about any step in the Mercedes pearl effect repair process.
While DIYing Mercedes pearl effect paint repair is feasible with the right tools and knowledge, it’s crucial to consider the extent of damage and your comfort level. If minor scratches or swirls are involved, a safe at-home restoration using specialized products is achievable. However, for deeper dents or severe degradation, professional assistance may be required to ensure optimal results and maintain the car’s original finish. Always remember, proper preparation and following safety guidelines are key to achieving a satisfactory Mercedes pearl effect repair.